Creating and sharing a media cache folder, Bed in, Creating and sharing a media – Grass Valley iTX Output Server 2 v.2.6 User Manual
Page 18: Cache folder, Below
12
Installing Output Server 2 on a New System
Creating and Sharing a Media Cache Folder
10 Apply any additional configuration that is required for your channel. See
on page 29 for more information.
Creating and Sharing a Media Cache Folder
As part of the installation of Output Server 2, you are required to create a folder on your
playout server to use as the caching location for media as it transitions from your media
store to playout.
To configure the Media Cache for your playout server:
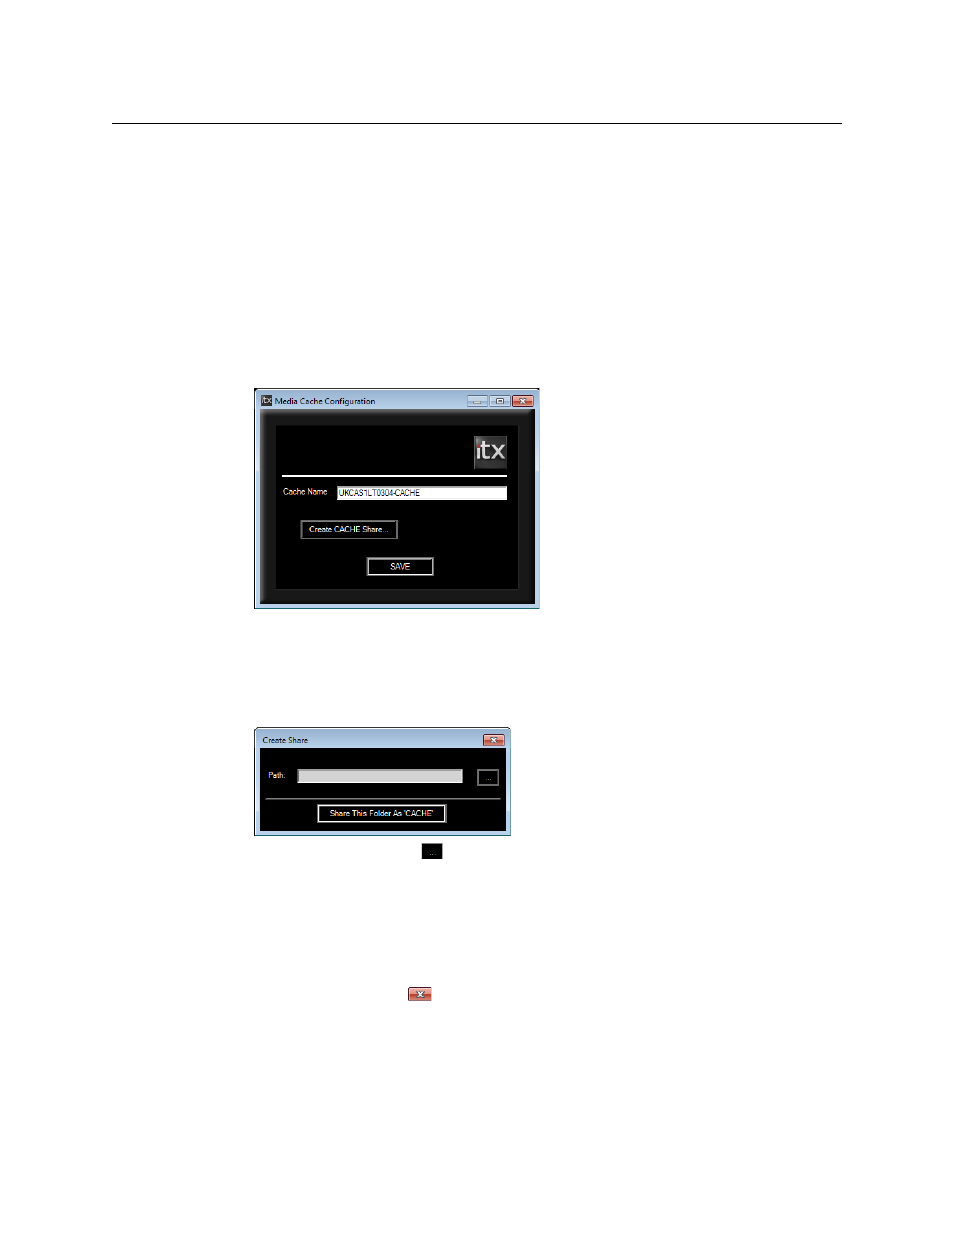
1 During the installation of Output Server 2, the Media Cache Configuration dialog
appears.
2 By default, the Cache Name field will be populated with the playout server’s Windows
Computer Name followed by the suffix
-CACHE
.
You may enter a name of your choice, but you must ensure the name does not match
any channel names in your iTX system. The name must also include the
-CACHE
suffix.
3 Click Create CACHE Share. The Create Share dialog appears.
4 Click the Browse button
. The Browse For Folder dialog appears.
5 Select a location to create the caching folder (e.g.
Computer > C:
).
6 Click Make New Folder and enter the name
Cache
.
7 Click OK.
The Browse For Folder dialog closes and you are returned to the Create Share dialog.
8 Click Share This Folder as ‘CACHE’.
9 Click the Close button
. The Create Share dialog disappears, retaining your
selection and you are returned to the Media Cache Configuration dialog.
10 Click SAVE to confirm your media cache configuration.
The installation continues.