Verilink PRISM 3000 (34-00184) Product Manual User Manual
Page 18
PRISM 3000
3-2
Operation
3.1.2
Password
If no password has been programmed, the password prompt
will not appear and the PRISM 3000 proceeds directly to the
menu system. The unit is factory shipped without a pro-
grammed password. The process of setting a password is
described in ‘Edit Password’,
If a password has been programmed, the password screen
appears when any key is pressed. Each character must be
entered using the up and down arrow keys until the desired
character is displayed. Using the up arrow, the characters
scroll through ‘
0 - 9
’, ‘
A -Z
’, and ‘
a - z
’ for a total of 62
distinct characters. When the correct character is displayed,
press the right arrow to move the cursor to the next position.
The preceding character is accepted and disappears.
Password Screen
Continue this pattern until the last character is selected.
Press the right arrow once more and then press
NOTE: The password is case sensitive. Lower case and
upper case characters must be entered exactly as they
were programmed.
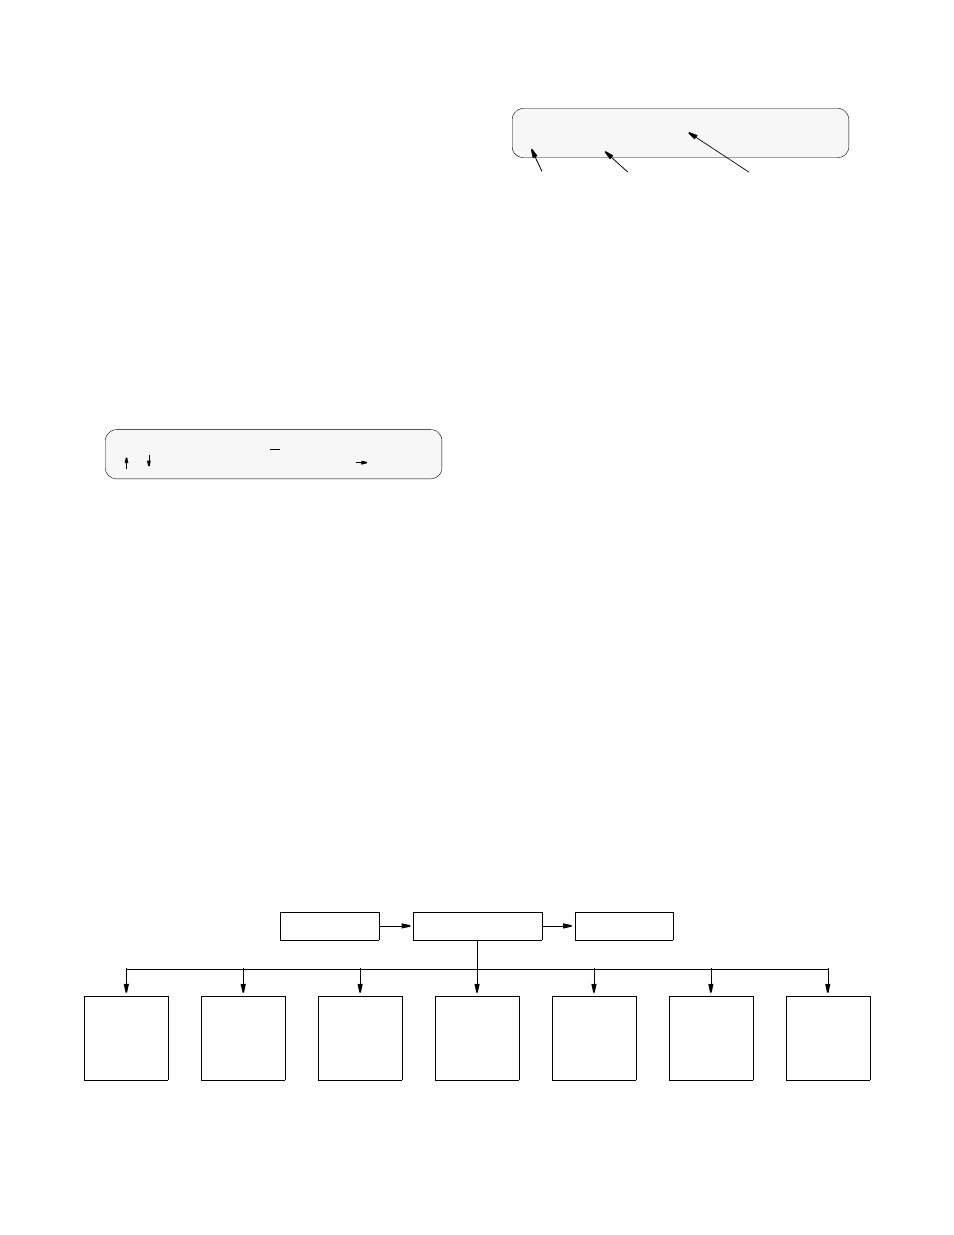
3.1.3
Menu Components
The PRISM 3000 front panel display consists of three com-
ponents: a menu title, a menu element, and a cursor. These
components are shown in the following screen using the
Main Menu as an example.
Main Menu Screen
Menu Title: The menu title is the general classification of
functions currently accessible to the user.
Menu Element: There are three types of menu elements. In
this manual, the distinction is made by the box type shown
in the ‘menu diagrams’.
1)
A large, solid box indicates user selectable menus with
lower level menu items.
2)
A dashed box lists user selectable parameters. Pressing
<
Select
> executes the displayed configuration.
3)
A small, solid box (with small type) indicates either a
non-selectable status or a field in which a particular value
may be entered.
For example, refer to the menu diagram
on the bottom of
. The upper level menus are shown within a large,
solid box. This indicates that these items are user selectable
menus. The lower level menus are shown within dashed
boxes to indicate that these items are user selectable param-
eters. The small, solid boxes under ‘Alarm Thresholds’ indi-
cate that values may be entered in these fields.
If the menu element contains a submenu, it is accessed by
pressing
T1
NET
Configuration
’, pressing
T1
NET
Configuration
’ up to the menu title level and
‘
Framing
Type
’ will move up to the menu element level.
Cursor: The cursor first appears on the left side of the dis-
play as
seen in the top example of the screen shown below.
Enter Password: A
/ =Letter
Select=Done
= move
Menu Element
Main Menu
>
Diagnostics
Cursor
Menu Title
MAIN MENU
Log Off
Log On
T1 NET
Configuration
)
T1 DTE
Configuration
)
DTE Port
Configuration
)
SNMP
Configuration
)
Diagnostics
)
System
Utilities
)
Main Menu Diagram