9320-a front & rear panel, display details – Triplett 9320-A User Manual
Page 14
13
Triplett Model 9320-A
6: 9320-A FRONT & REAR PANEL, DISPLAY DETAILS
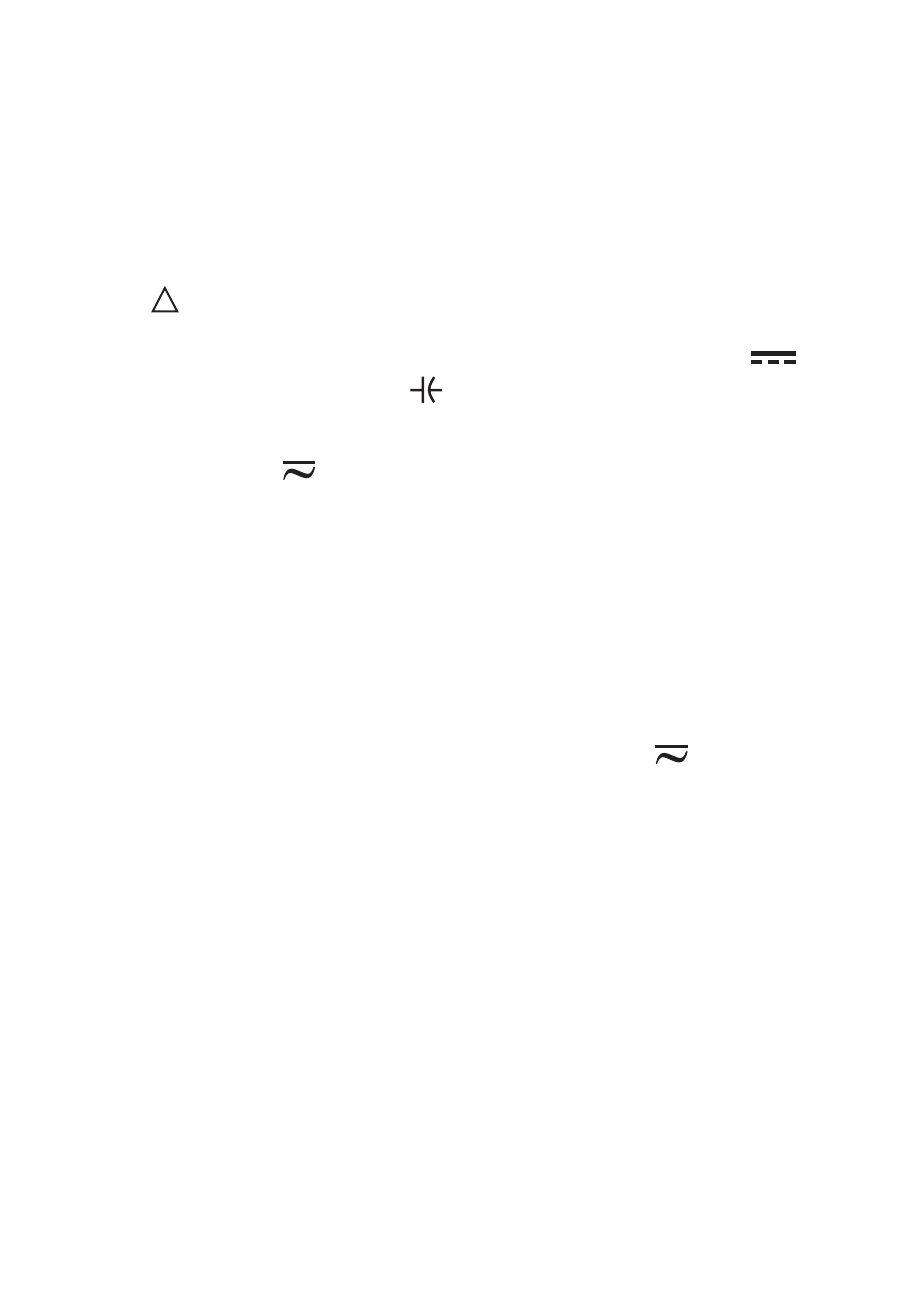
1) Centering Marks – Position the conductor within the jaws at the intersection
of the indicated marks in order to meet the specified accuracy. An additional
error of several percent may result if conductor is not properly positioned.
2) Lever – Opens and closes the clamp jaws.
3) REL
and DCA ZERO ADJ – Press this button to REL (make subsequent
readings RELative to the current reading) or to “zero out” any zero error. The
button is usually used to zero out errors on the‘400
Ω
range, the A
range, or the 40nF Capacitance
range.
4) SELECT – Press this button to access alternate measurement modes. For
example, on the V
range, pressing the button selects between AC and DC
measurement modes.
5) COM Jack – The black test lead is plugged into this jack for all measurements
except current (amps). To avoid electrical shock or instrument damage, do
not connect this jack to any source that is more than 600V with respect
to earth ground.
6) V
Ω
Hz Jack – The red lead is plugged into this jack for all measurements
except current (amps).
7) Hz/DUTY – When the FUNCTION switch is set to Hz or V
, pressing this
button allows selection of the Frequency Measurement (Hz) mode or the Duty
Cycle Measurement (DUTY) mode.
8) MIN/MAX – Pressing this button makes LCD display the Maximum or
Minimum value that the meter has measured. This feature does not work on
all ranges. For example, it does not work on any of the Frequency ranges
or Capacitance ranges.
9) Display – The LCD display provides the measurement indication and other
instrument status. See Figure 2 for a more detailed view.
10) FUNCTION Switch – Used to select the function and range to measure