Input calibration – screen version 1.49 and above – Super Systems Paperless VR User Manual
Page 40
Super Systems Inc.
Page 39 Video Recorder Manual Version 2 Rev. B
using a 10:1 jumper (see the
Adding a Jumper to an Input
section in the
Analog Inputs
section), the user
will need to multiply the source signal by 10 to get the correct span value
. For example, if the 10:1
jumper is set on a 1.25V range, the suggested source signal will read 1000 mV. The supplied signal will
need to be 10000 mV to account for the 10:1 jumper. The user can also individually select each input (one
through five) to calibrate, where Check = yes (calibrate) and No Check = no (do not calibrate). Once an
input is checked, its current value will be displayed.
For a span calibration, a value of 90 % of the full range will need to be sourced to the input or inputs.
Click on the Calibrate button to begin the calibration.
A progress bar will be displayed along the bottom of the screen giving the progress of the calibration.
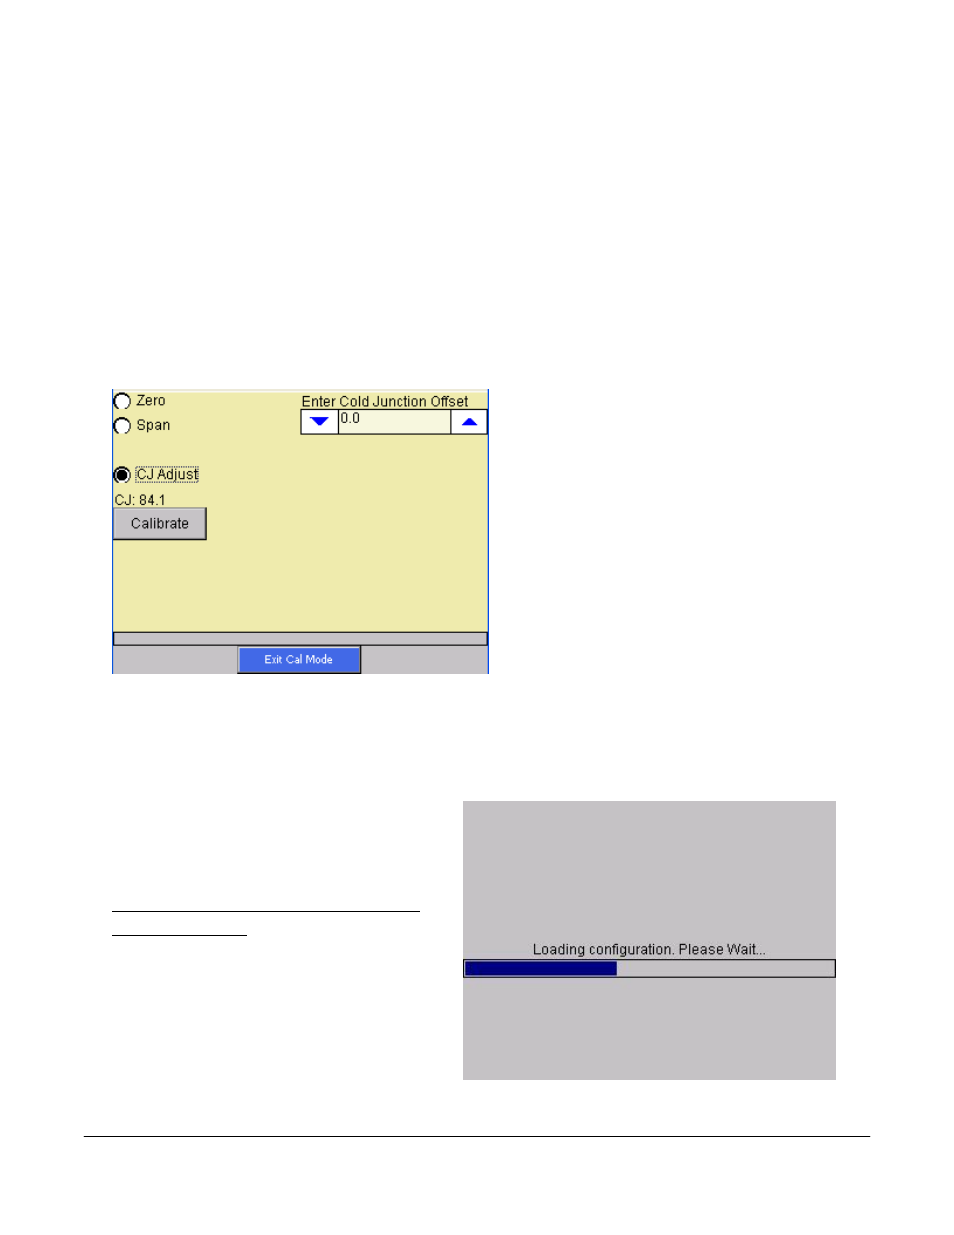
Cold Junction Adjust
To perform a cold junction adjust, click on the
“CJ Adjust” option. The circle will be filled in for
the selected option. The cold junction offset can
be entered by using the up and down arrows to
modify the “Enter Cold Junction Offset” value.
The user could also click on the value, which will
display the numeric keypad, which will allow the
user to enter the new value in that way. The cold
junction adjust will adjust all of the inputs on one
board simultaneously.
Note – To subtract a
value from the current cold junction value, be
sure to set the offset value as a minus value by
clicking on the plus/minus key on the keypad (+/-
)
.
The overall Cold Junction value is modified by
adding or subtracting a value to the current
value.
Click on the Calibrate button to begin the calibration.
A progress bar will be displayed along the bottom of the screen giving the progress of the calibration.
Press the Exit Cal Mode to return to the previous
screen and select a different board. Pressing
the Done button from that screen will exit the
calibration menu item.
Input Calibration – Screen Version
1.49 and Above
The user will need a thermocouple calibrator
capable of outputting a thermocouple signal to
calibrate the zero, span or cold junction value of
the video recorder data logger. The user will
need to connect the calibrator to one of the
inputs on the data logger for the channel that
will be calibrated. It is recommended to let
everything (calibrator and datalogger) sit for approximately thirty minutes to allow the temperature to
achieve equilibrium. Set up the calibrator for the specific thermocouple type of the thermocouples in the