3 internal cleaning – Microcom 226 Users Guide User Manual
Page 47
Chapter 6
Maintenance and Adjustments
226/426 User’s Guide
37
6.3
Internal Cleaning
The overall internal cleaning of the printer is important to help reduce the dust and other
contaminates residing in the printer. Contaminates may attach to the print head or drive
roller and affect the printer’s performance. Refer to Figure 18 for common areas needing
cleaned.
1. Remove any installed media.
2. Turn the printer power OFF.
3. Unplug and remove the power cord.
4. Loosen captive screw (A on Figure 16) and remove the top cover from the printer.
5. Using the two Head Release Levers (See Figure 17), unlatch and raise the print
head.
6. Basic internal cleaning can be done using a combination of compressed air, soft-
bristle brushes, foam/cotton tipped swabs, and/or lint-free cloths dampened in
alcohol. Using any combination of these materials, remove dust or other
contaminants from the printer. See section 6.4 for the proper print head maintenance
procedure.
7. When finished, latch the print head completely and reinstall the top cover and media.
8. Reattach the power cord and turn the printer power ON.
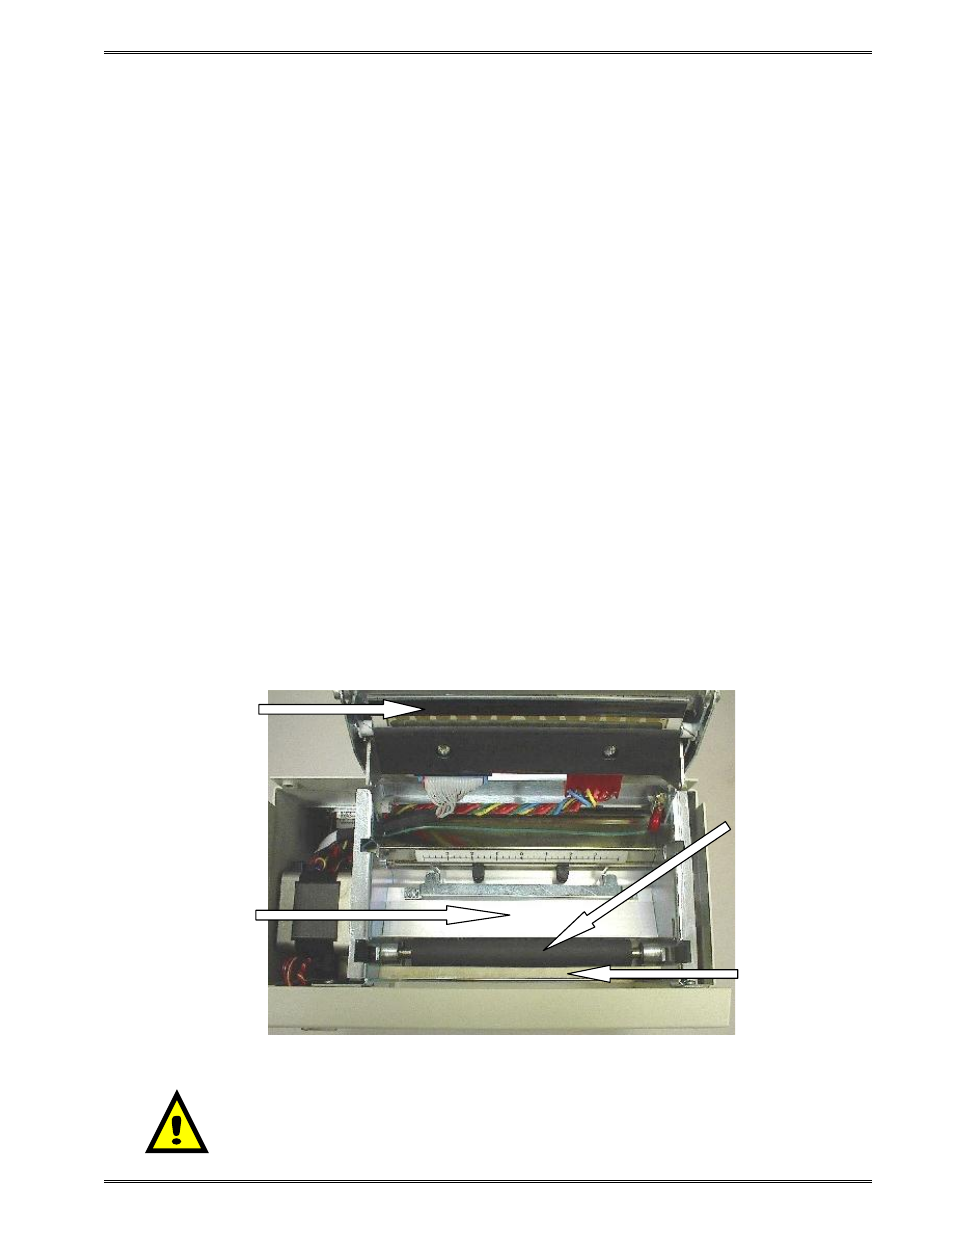
Figure 18
Internal Cleaning
Peel Edge
Media Path
Driver
Roller
Print head
Elements
CAUTION: Unplug the power cord before removing the printer
covers to avoid possible personal injury or damage to the printer.