MacroSystem Bluebox World User Manual
Page 25
24
25
Chapter 8
Application example
Bluebox with all the extras
In this example we shall begin with raw video
material and finish with a fully featured Bluebox
effect. This will involve using almost all the
techniques that Bluebox World can offer.
Task: a person is to be placed a against a diffe-
rent background.
What is required for this purpose:
• A wall or similar surface with a background of
a single color (a blue cloth or blue-painted wall)
• A video camera
• Any background scene
8.1 Preparations
You must first make some suitable video recor-
dings before you can try out Bluebox World. You
need a scene for the background (left in the sto-
ryboard) and another scene for the foreground
(right in the storyboard). Any background scene
is suitable. A racing car motif will be used in our
example.
The foreground scene, on the other hand, must
be given special attention: the most evenly
colored surface is required. This will be made
transparent in our trial. A blue cloth hung
against the wall or similar background would be
entirely suitable for our purposes. It is possible
to use other colors, but avoid strong, dark colors
and avoid either black or white. A relatively light,
not too intense, evenly illuminated blue would
be ideal. In our example, the motif will be placed
in front of a blue wall.
Record both scenes. Your project should now
contain these two scenes:
• The background scene
anything at all
• The foreground scene
a person (or object) in front of a blue wall
Now trim these scenes both to a length of 5 se-
conds. Next place the scenes in the storyboard,
using a specific sequence: the background must
first be inserted as the left-hand scene in the
storyboard, followed by the foreground as the
right hand scene.
A reminder: the foreground contains elements
of a single color, i.e. the blue wall or similar
item, whereas the background can consist of any
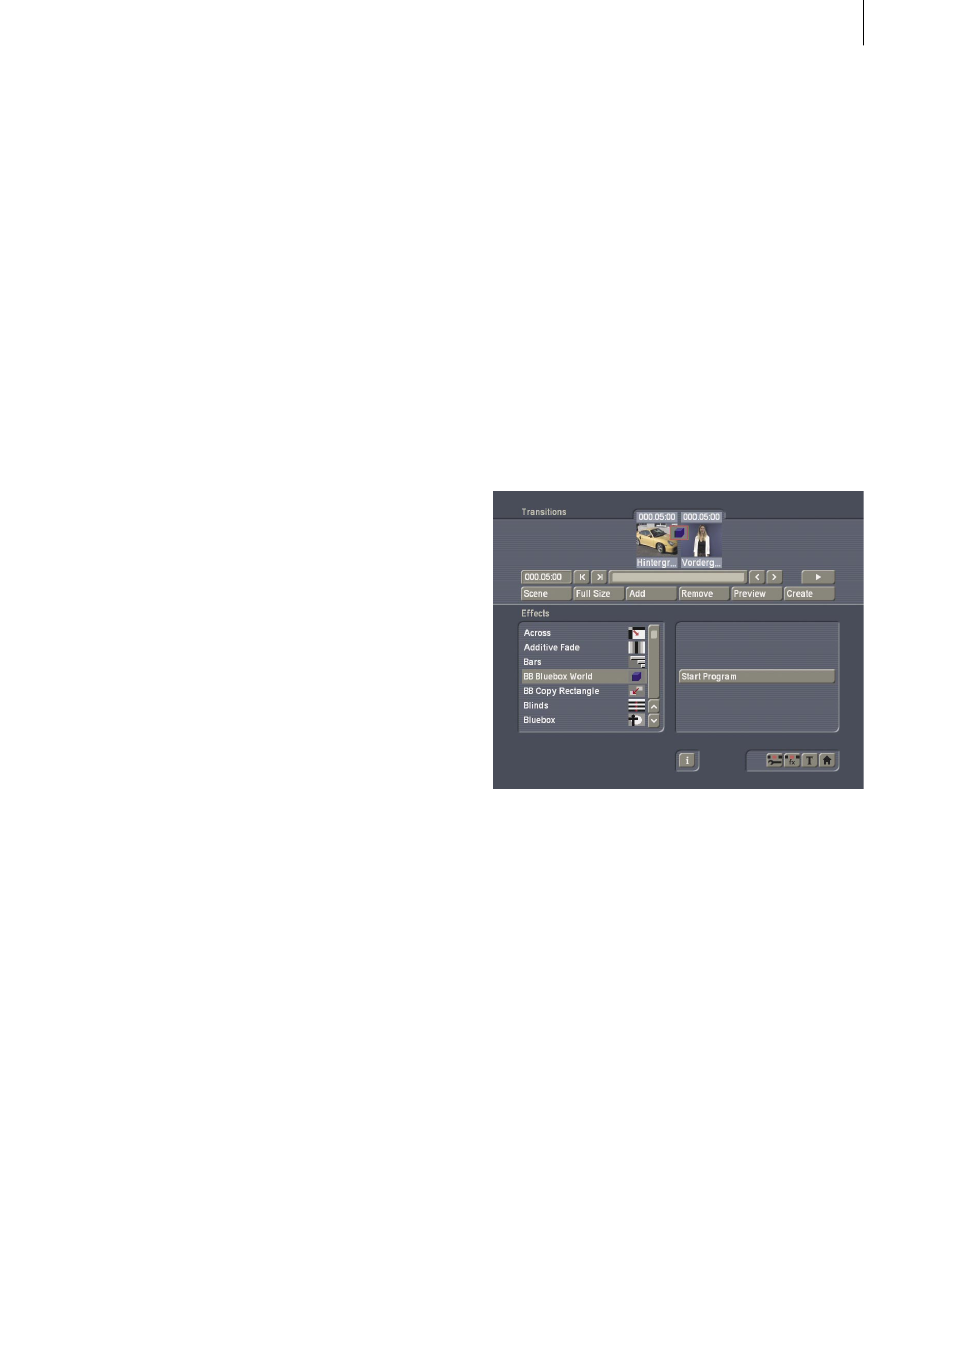
image whatsoever. The Bluebox World effect
must now be inserted. You will find it under the
label“BB Bluebox World“ in the“Transitions“
menu.
Place the effect (in the usual way) between the
background and foreground scenes, then select
the maximum possible duration for the effect,
i.e. the full length of the scene.
8.2 Starting Bluebox World
Start Bluebox World with the “Start Program“
button, and begin by resetting all the adjus-
tments to their default values by clicking the
“Default“ button once.
(It is necessary to reset these values, since
adjustments made on a previous occasion might
distort the results of this effect, or even make it
impossible.) You will already see a preview of
the foreground scene in the background of the
Bluebox World user window.