2 initial setup – Lumens Technology VS-LC101 User Manual
Page 14
13
5.2 Initial Setup
5.2.1 Confirm and Set the VC-A20P Network Settings
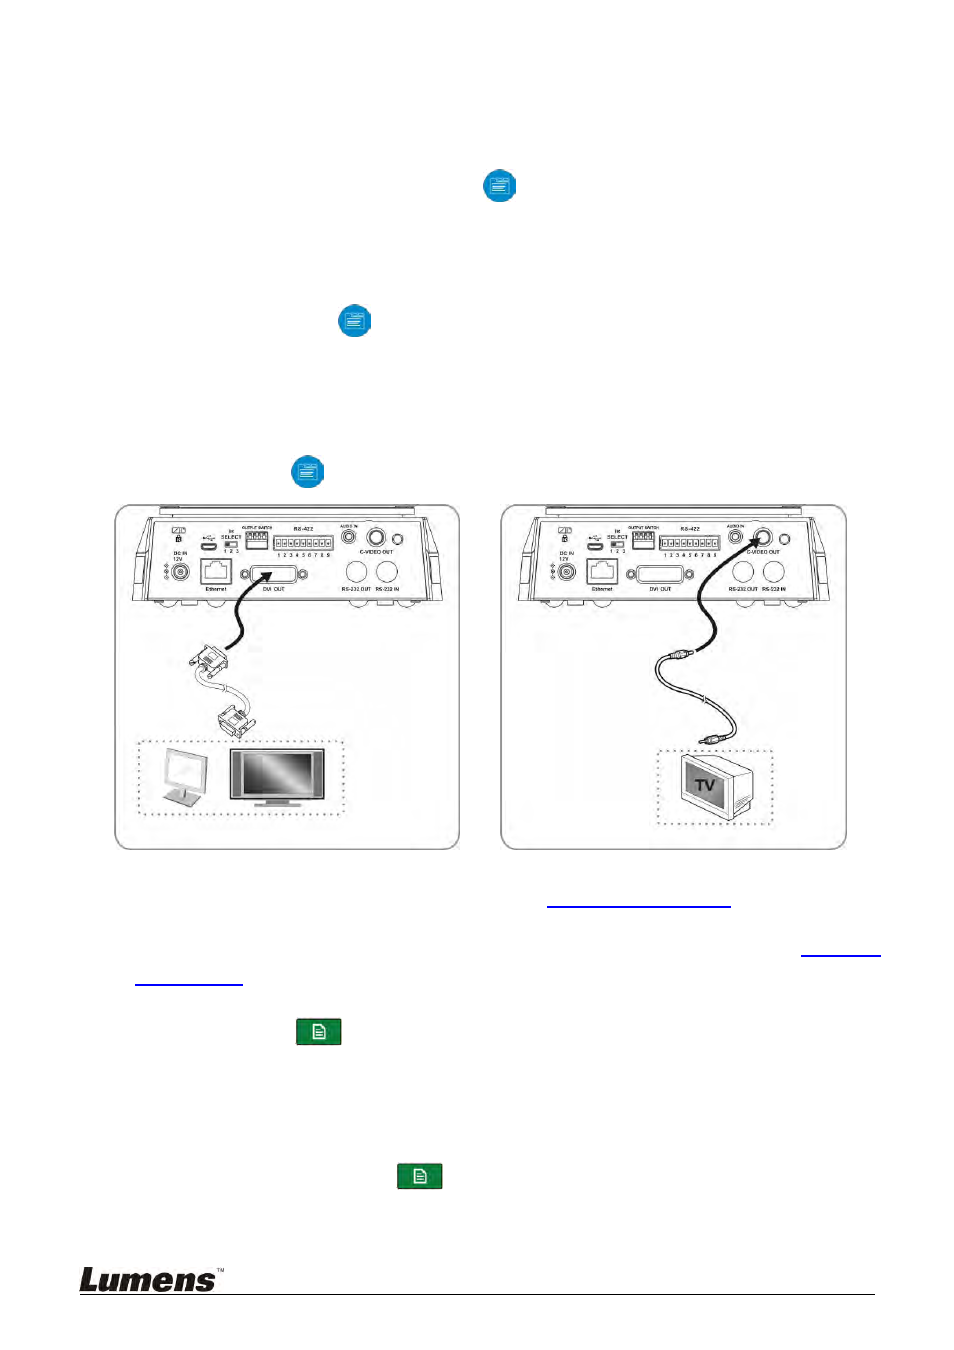
Use a C-Video or a DVI cable to connect the VC-A20P with the monitor
(please refer to the connection diagram for the connection method).
After startup, press the [MENU]
on the VC-A20P remote control to
open the OSD menu.
Scroll down to [Ethernet], and press [
] to enter.
Press [
] to enter the [DHCP] settings screen. Confirm [DHCP] is set as
[Closed].
Press [MENU]
to exit the [DHCP] settings screen.
Confirm the default [IP Address] is set as [192.168.100.150].
[Remark] If more than one VC-A20P devices are installed, sequentially modify the IP
addresses as [192.168.100.x], e.g. [192.168.100.151], [192.168.100.152],
and so forth…
After confirming the IP addresses and completing modifications, press
[MENU]
repeatedly to exit the OSD menu.
/
[Remark] For more instructions related to VC-A20P operations, please go to the
Lumens website and download the
VC-A20P User Manual
Before continuing with settings below, please ensure that the settings in
5.1 How
to Connect
have been completed.
5.2.2 Confirming
the
VS-LC101 IP Address
Press the
button on the VS-LC101 remote control to open the OSD
menu.
Scroll right to [Setting] and press [OK] to enter the settings screen.
Scroll down to [About] and press [OK] to enter the [About] page and
confirm the IP address.
Repeatedly press the
button to exit the OSD menu.
[Remark] If the IP address indicates 169.175.x.x, reconfirm the connection and the
router settings.
DVI Cable
Monitor or HDTV
C-Video Cable
TV