6 user management – Q-See QSEE H264 User Manual
Page 30
58
59
Other Settings
Commercial ISPs provide their customers with dynamic addresses (IP numbers). These
numbers can change from time to time depending upon your service provider. When they do,
you will lose the ability to remotely access your DVR from your mobile phone or other out-of-
network device. To prevent this from happening, we recommend using a Dynamic Domain
Name Service (DDNS). This will give you a domain name that can be linked to your IP address
and will automatically – and invisibly – forward remote connections to your network when the
IP address changes.
Q-See offers DDNS for free at MyQ-See.com. Create a domain name, user name and
password before proceeding. DynDNS.com also offers a similar free service. This is covered
in-depth in the Remote Monitoring Guide.
Select the box in the DDNS field to enable
DDNS. You will then enter the user name,
domain name and password you created into
the appropriate fields. You can also select the
interval in days at which the DDNS checks to
see whether your IP address has changed.
Intervals range from every 30 minutes to once
a day.
You can now access the DVR remotely by inputting that domain name into the web browser.
PICTURE 4-26
Network
Network
Substream
Substream
NETWORK
NETWORK
Default
Default
Apply
Apply
Exit
Exit
Test
Test
DDNS
DDNS Server
User Name
Password
Host Domain
DDNS Update [Hours]
UPnP
DDNS
DDNS Server
User Name
Password
Host Domain
DDNS Update [Hours]
UPnP
Other Settings
Other Settings
MyQ-See.com
[email protected]
myqseeaccountpassword
myaccount.myq-see.com
3
MyQ-See.com
[email protected]
myqseeaccountpassword
myaccount.myq-see.com
3
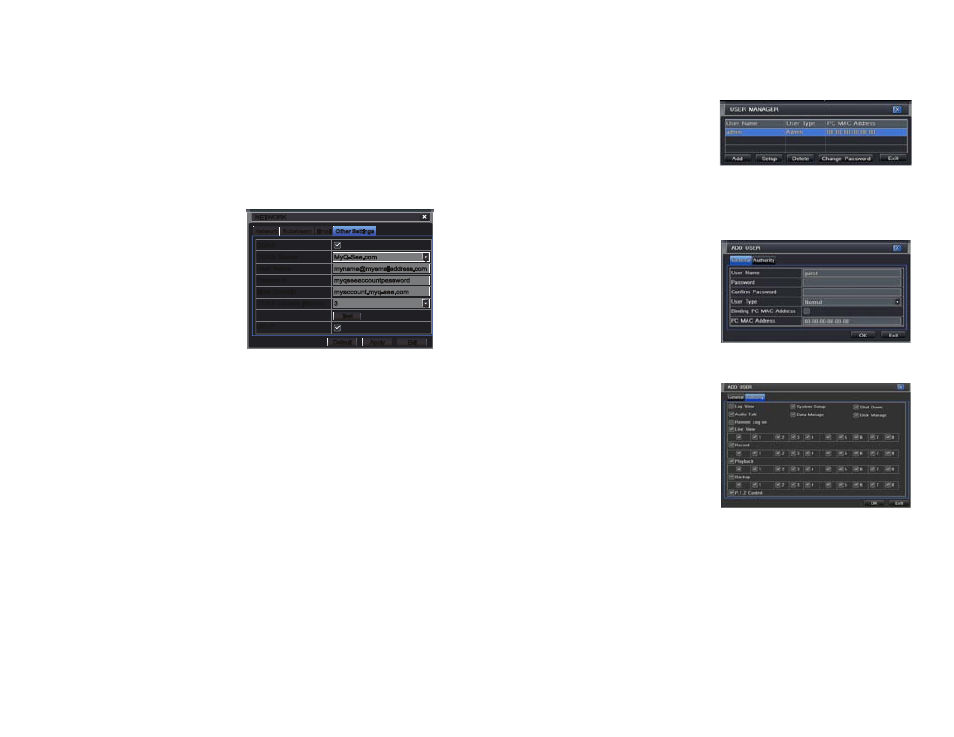
4.6 USER MANAGEMENT
You can set up accounts for each individual user and grant them control of select parts of
the surveillance system. An administrator account is already created on the DVR. Additional
accounts can be created for users but only one administrator account is allowed.
To add a user select the Add button and the ADD USER window will open. It will have two
tabs;
General and Authority
PICTURE 4-27
PICTURE 4-28
PICTURE 4-29
General Tab
Input the name, password and select the
type of user – normal or advance.
If you only want this user to be able to access
the DVR from a specific computer on the
network then select the Binding PC MAC
Address option and then enter the MAC
address of that computer.
Authority Tab
In this tab you can give this user access to all
or part of the system and its functions.
Setup button – Modify user’s name, type, binding PC Mac address and etc. The Admin
account may not be modified.
Delete button –Remove a user from the system
Change Password button – Modify a user’s password. The admin password may be
changed. The default is
123456.
To change a password, simply click on the button and enter the current password in the
pop-up window, along with the desired new password in the
New Password and Confirm
Password fields before clicking OK to save and Exit to close the window.