3 operations, 4 battery operation, Operations – Daktronics HS-200 Horn Start User Manual
Page 15: Battery operation, Figure 15 )
System Setup & Operations
9
2.3 Operations
After installation is complete, turn on the power to the unit. Set the volume controls to the
desired levels for the main/auxiliary and lane speakers by adjusting the volume control
knobs along the left side of the unit.
Press and hold the PUSH TO TALK
lever (the large
button on the side of the microphone), hold the mic a
few inches away, and speak directly into it. When not
speaking into the microphone, release the PUSH TO
TALK
lever (Figure 14).
To activate the horn start system, depress and hold the
PUSH TO TALK
lever on the side of the microphone.
While maintaining the pressure on the lever,
momentarily depress the small button on the top of the
microphone. After the start tone has sounded, release
both buttons.
After a race has been started, the RECALL LED flashes for 18 seconds. During this time, the
horn start is in the recall mode. To sound the recall signal, depress the PUSH TO TALK
lever
on the side of the microphone and the small button on top of the microphone simultaneously.
The recall signal can be muted. If the recall signal does not sound, or if it sounds when it is
not supposed to, refer to Section 4.
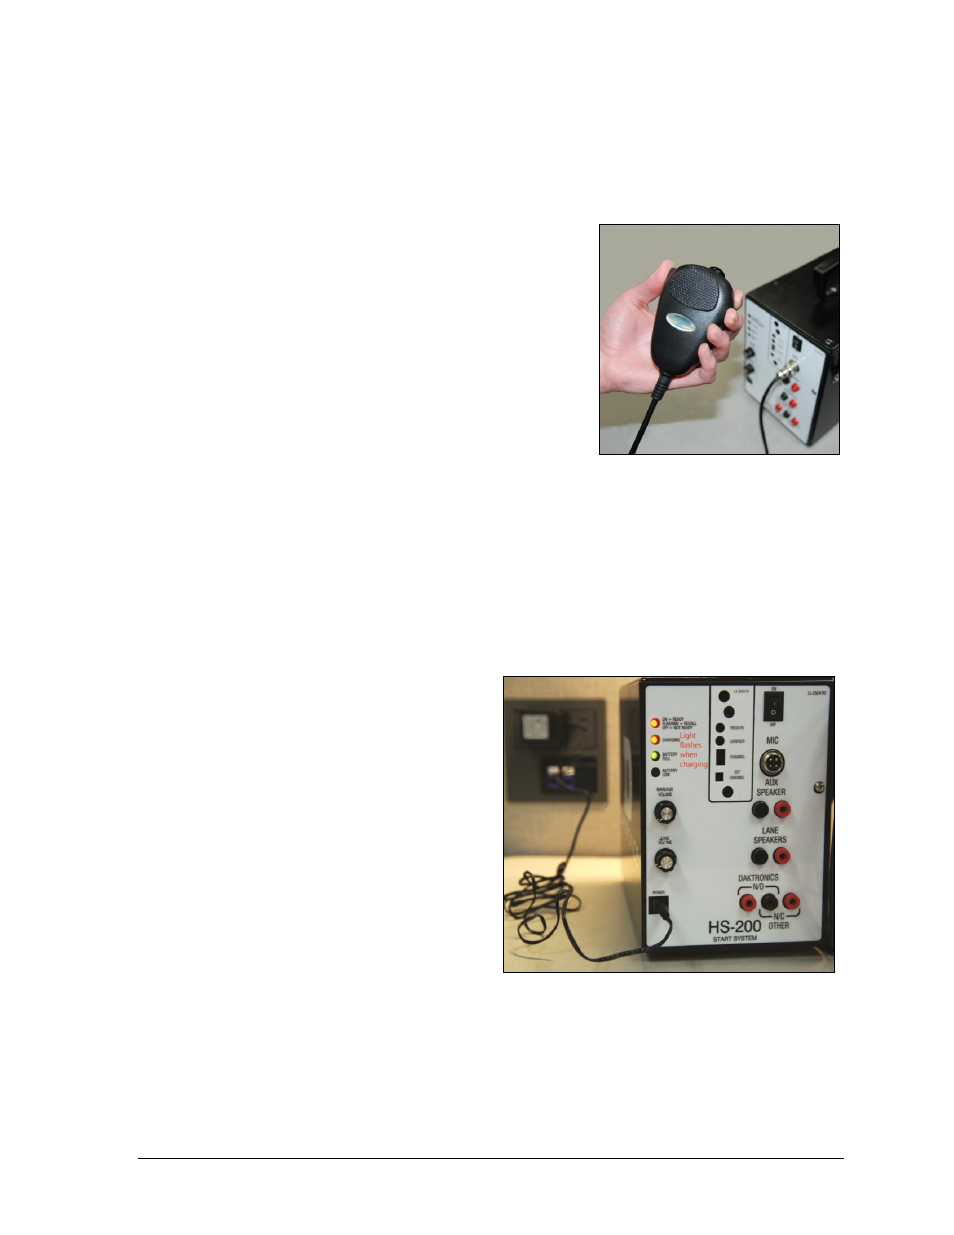
2.4 Battery Operation
With a full charge, the HS-200 battery can
provide up to 15 hours of continuous
operation. When not in use, plug the HS-
200 wallpack power supply (Daktronics
part # T-1118) into a 120 VAC outlet to
recharge the internal battery (Figure 15).
The internal circuitry monitors the
charging process, so leaving the HS-200
horn start plugged in and charging for
extended periods does not damage the
internal battery. Also, do not run the
battery dead.
The ON/OFF
switch on the HS-200
system does NOT need to be turned on to
charge the internal battery. The battery
charging circuitry will be active whenever
the HS-200 wallpack power supply is
plugged into the wall outlet.
When the HS-200 wallpack power supply is plugged in, the CHARGING LED will give the
battery-charging status. If the CHARGING LED is off (or flashing) and the BATTERY FULL
LED is on, the battery is fully charged.
Figure 14: Microphone Buttons
Figure 15: Battery Charging