Managing your brightsign network, Adding units to your brightsign network, Chapter 3 – BrightSign HD2000 Network Manager Guide User Manual
Page 19
15
•
•
•
•
•
•
Chapter 3
• • • • • •
Managing Your BrightSign Network
This chapter shows you how to add units to your BrightSign network and how to create
distribution groups, reports, and custom scripts.
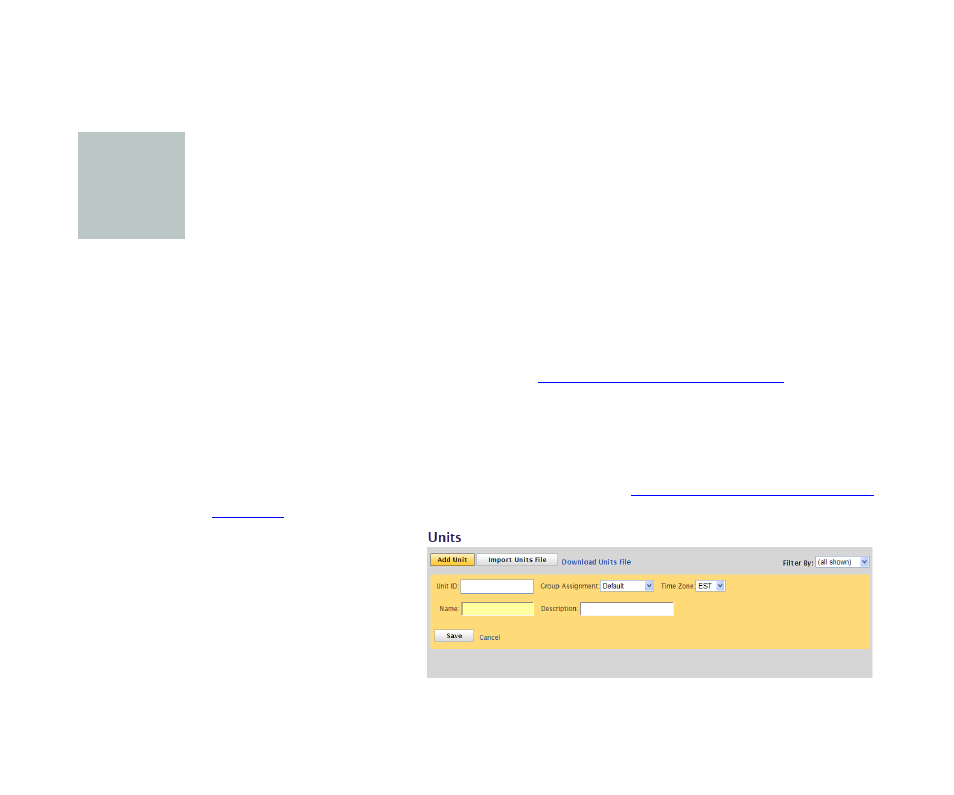
Adding units to your BrightSign network
Each unit represents a BrightSign that is connected to your network. Units enable you to
distribute presentations to and view reports about specific BrightSigns.
When you set up your BrightSign network (see
“Setting up a BrightSign network”
), the
BrightSigns you set up are automatically added as units in BrightSign Network Manager the first
time the units connect to the network. You can, however, use the Units tab to add a name and
description for each unit and to change the group and time zone you assigned when you created
the CF/SD card.
1
Sign into your BrightSign Network Manager account (see
“Signing into BrightSign Network
for details).
2
Click the Units tab.
3
Click Add Unit.
4
Enter the Unit ID.
5
Click the Group
Assignment list, select the
group to which this unit
belongs.