Ivie iFlex 2400 Series User Manual
Page 4
2
select ‘view, clear background’ from the main menu.
Placing Layout Elements
On starting up Sonata
TM
for the first time, the user sees a white desktop,
with a grid overlay. This is the layout screen where all the elements of
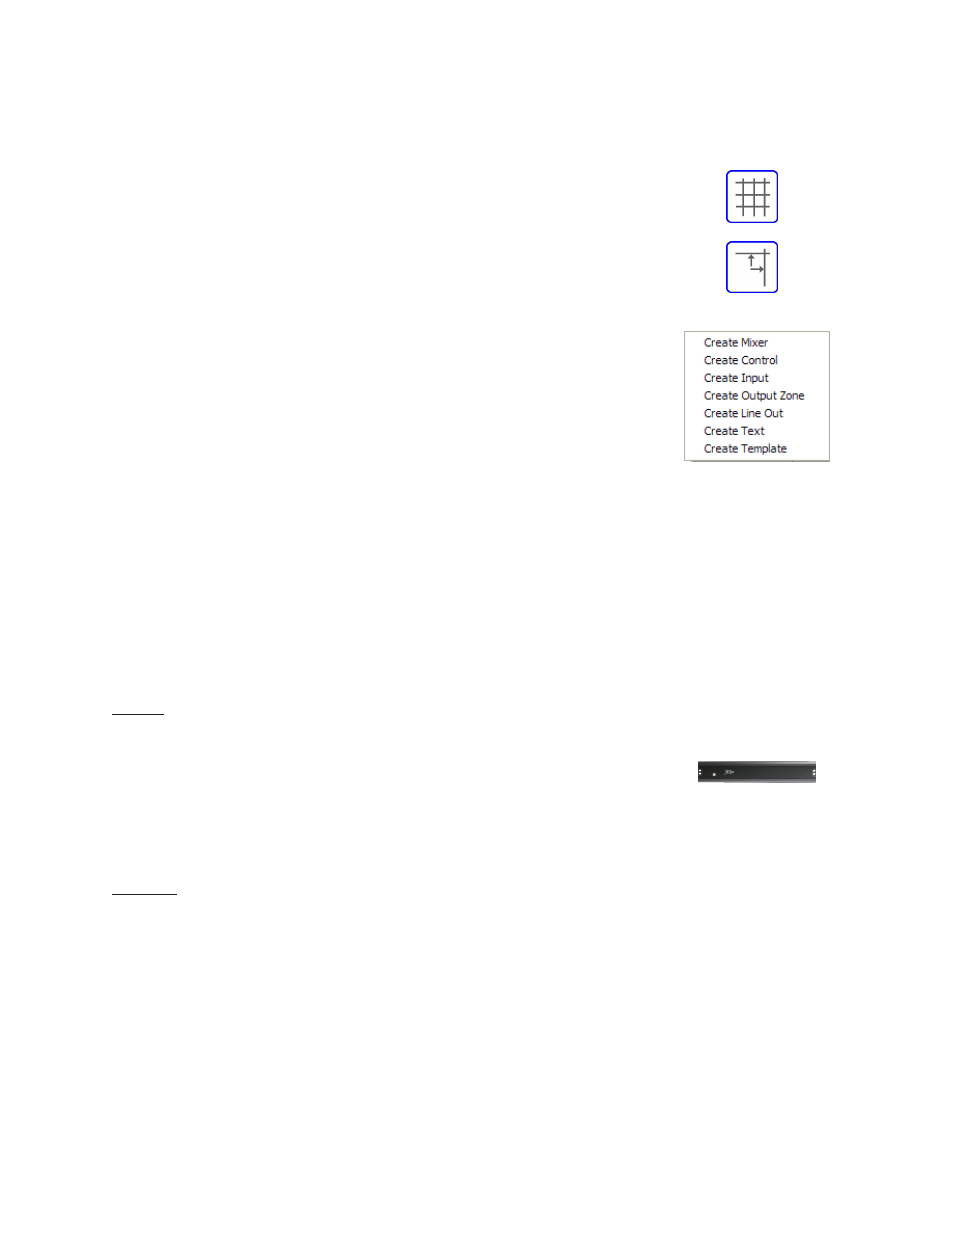
the system will be placed, connected, defined, animated, and tested. The
layout screen has element placement aids, such as the grid, and snap-to-
grid features available on the toolbar. These aids can be turned off and on
by the click of a button.
To place any element type, right-click in the grid area to view the selection
pop-up menu, and select the element to be placed. Currently, the elements
that can be placed are mixers, controls, inputs (microphone or line), output
zones, line outputs, text, or pre-defined control templates.
Some graphical elements can be copied or pasted using standard Windows
convention (ctrl-c, and ctrl-v). This applies to inputs, input/output lines,
and controls.
Most graphical elements on the screen can also be moved and resized. To
move an element, click and drag to a new location. To resize, click and
drag corner control points. By resizing and then using the copy/paste
functions, series or arrays of graphical elements can be created quickly
with a common appearance.
Mixers
To place a mixer element on the layout area, right click where the mixer
is to be placed, and select ‘Create Mixer. A mixer icon will now show up
on the layout. It is through this icon that the user accesses the screens for
modes, associations, routing, processing, triggers, and networking. The
navigation and use of these screens are covered in later sections of this
manual.
Controls
The controls dialog is accessed by right-clicking in the layout area, and
selecting ‘Create Control’. This dialog is used to place controls such as
switches, levels, and selectors onto the layout area, as well as configuring
the parameters of each control type.