Rtx220 qr - manual, 3 installation steps – CRU RTX Secure 410-3QR User Manual
Page 4

RTX220 QR - Manual
Page 4
2.1 Summary of RAID Levels
The RTX Secure 410-3QR supports RAID Levels 0, 1, 5, and 10. RAID
Level 5 is most commonly used by those seeking an optimal balance of
speed and data safety.
RAID
Level
Description
Required
No. of
Drives*
Data
Redundancy
0
Also known as striping. Data distributed
across multiple drives in the array. There is
no data protection.
2
No data
protection
1
Also known as mirroring. All data repli-
cated on two separate disks. This is a high
availability solution, but due to the 100%
duplication, only half the total disk capacity
is available for data storage.
2
1 drive
5
Also known as Block-Interleaved Distrib-
uted Parity. Data and parity information is
subdivided and distributed across all disks.
Can withstand the failure of one drive. The
total capacity of all but one of the drives is
available for data storage.
3 or 4
1 drive
10
Also known a stripe of mirrors. Data is
striped across two separate disks and mir-
rored to another disk pair.
4
1 drive**
* The RAID level becomes available as a menu option when exactly these numbers of
hard drives are installed inside of the RTX enclosure.
**If both drives in either the RAID 0 or RAID 1 set fail, then the entire RAID will fail. If
only one drive in each of the RAID 0 and RAID 1 sets fail, then the RAID is preserved.
2.2 Hot Spares (Host Standby)
Hot spares are connected as part of your RAID and are switched into
operation when a drive fails. RAID 5 will support hot spares when
configured with three hard drives (displayed as a “RAID5 3d” on the
LCD). When a drive fails, the RTX enclosure will immediately rebuild
the RAID. After that a new drive will need to be inserted in place of the
failed one. Replacement drives should preferably be the same model
and capacity as the failed one.
3 Installation Steps
3.1 Hard Drive Installation
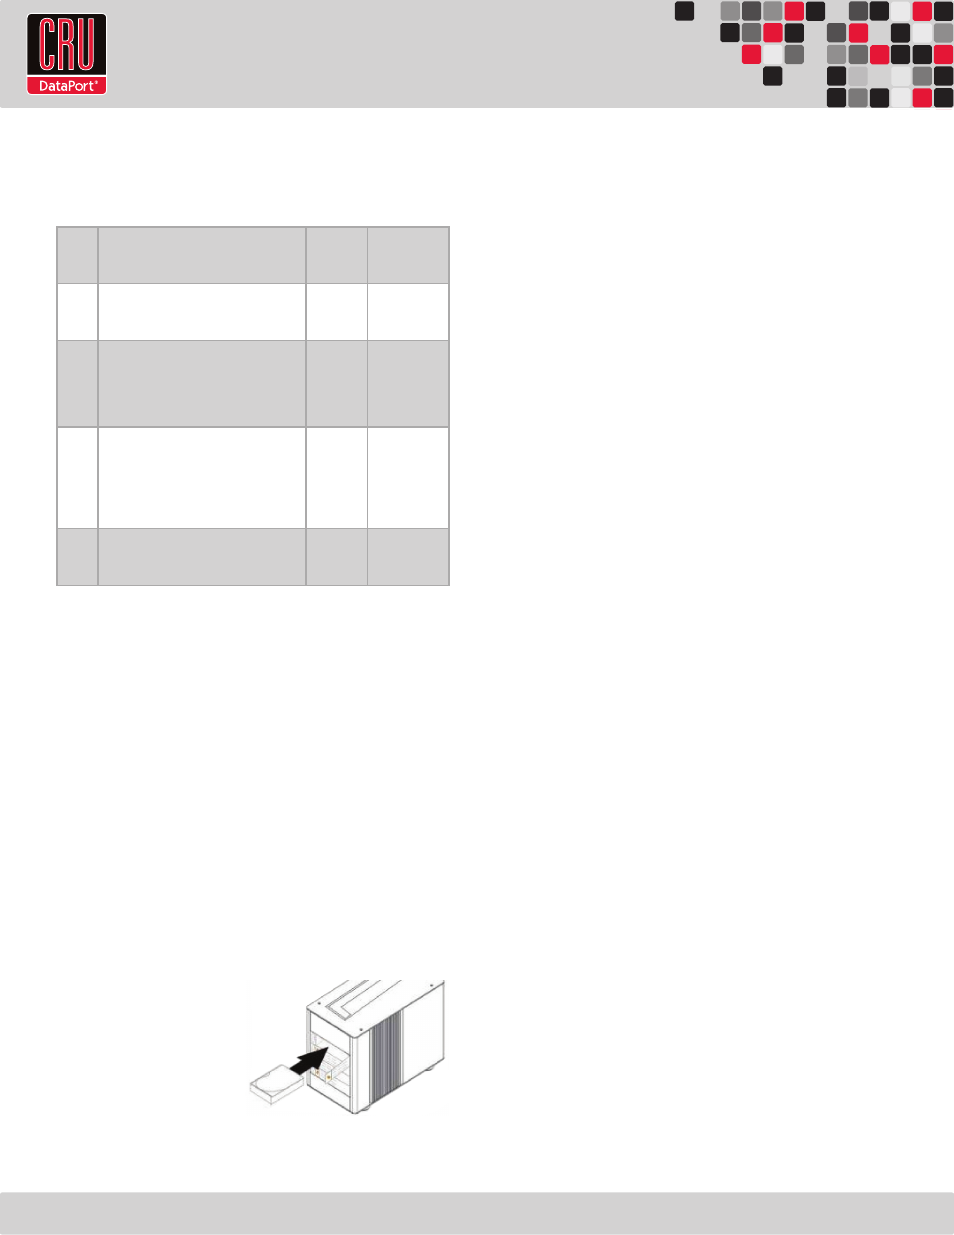
a. Pull the ejection handle on the TrayFree bay to open the bay door.
b. Insert a SATA hard drive
into the bay. Make sure it is
label-side up with the SATA
connection on the drive
inserted first toward the rear
of the enclosure.
c. Shut the bay door.
Sticker Card
Use the stickers on the provided sticker card to label each drive if you
plan to use Unique Encrypted Mode (see Section 3.2). This will prevent
the drives from getting mixed up when they are removed from the bays.
3.2 Setting the Encryption Mode
The RTX Secure has three modes that determine how it handles
Security Keys. The status of the mode is determined at power up. After
the unit has been successfully mounted by the system, the Security Key
may be removed and stored in a safe location. Changing the position of
the switches on the bottom of the RTX after the unit has successfully
been mounted will not change the mode used at power up.
Note:
Always ensure that the correct encryption mode is selected
before powering on the RTX Secure. Failure to do so may result in a
failed RAID alarm. This will not affect your data, which will become
accessible once the correct encryption mode is set.
Unique Encrypted Mode
This is the most secure mode of operation. A Security Key is required
to access data, and each bay is loaded with its own unique 256-bit
security value from the Security Key. These security values are all
stored in one Security Key. Each time a hard drive is loaded into the
RTX Secure, it must be loaded into the same bay. Flip the left switch
on the bottom panel down to “Unique” and the right switch down to
“Encrypted.”
Common Encrypted Mode
This mode allows hard drives to be located in different bays within the
unit after the array is formatted. A Security Key is required to access
data. Each bay uses the same security value from the Security Key.
Flip the left switch on the bottom panel up to “Common” and the right
switch down to “Encrypted.” The Encryption Display Common Key LED
will illuminate.
Bypass Mode
A Security Key is not required to access data. This option cannot be
used with encrypted hard drives. Flip the right switch on the bottom
panel to “Bypass.” This option disables the Common/Unique switch.
The Encryption Display Bypass LED will illuminate and the drive bay
Encryption Active LEDs will remain off.
Note:
When switching the encryption mode, the RAID controller will
still see a valid volume even when it shouldn’t. You must rebuild the
RAID whenever you change the encryption mode. Failure to do so will
not result in the loss of data, but will result in the inability to see some
or all established RAID sets.
