Installation – Glow-worm Climapro2 RF User Manual
Page 16
0020094586_01 - 08/10 - Glow-worm
- 14 -
INSTALLATION
• Using the
buttons, select the desired heating profile and
validate with the
button.
10.7.2
Setting the current date
• From the installer menu (see access to the installer menu) >
select on the screen >
settings > date
• Set the display format of the current date by pressing
and pressing
to confirm. There is a choice between
the factory setting day/month/year and year/month/day.
• Set the current date by pressing
and pressing the
button
to confirm.
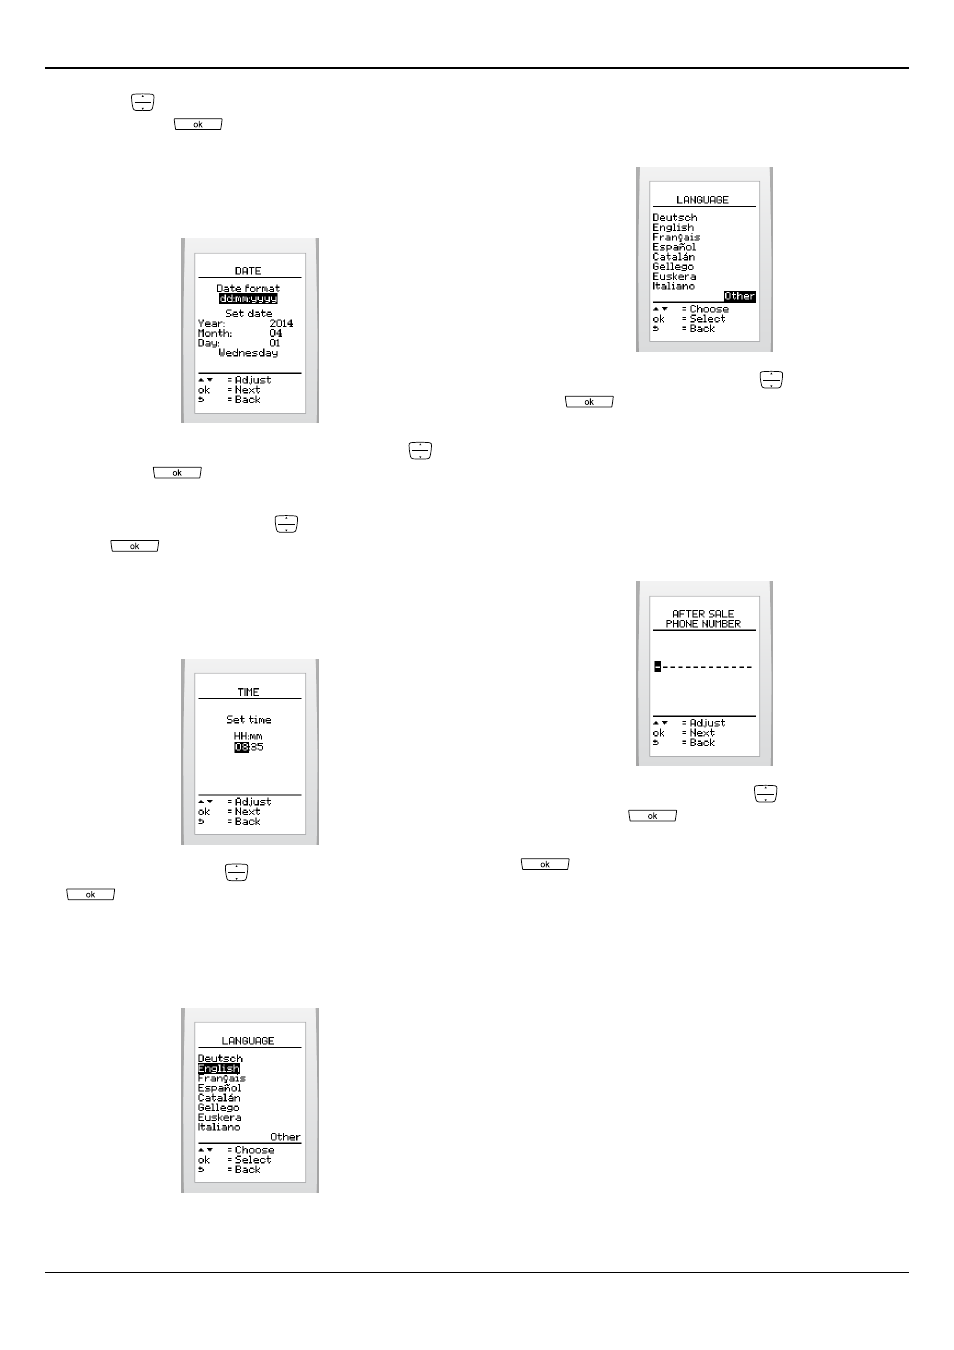
10.7.3
Setting the current time
• From the installer menu (see access to the installer menu) >
select on the screen >
settings > language
• Set the time by pressing
and pressing the button
to confirm.
10.7.4
Choose the language for the menus
• From the installer menu (see access to the installer menu) >
select on the screen >
settings > language
To display the additional languages:
• From the installer menu (see access to the installer menu) >
select on the screen >
other
• Choose the language with the button
and press the
button
to confirm.
10.7.5
Telephone After-Sales Service
This function lets you specify the telephone number that will
be displayed in after-sales service messages from the room
thermostat.
• From the installer menu (see access to the installer menu) >
select on the screen >
settings > telephone
• Display the desired number with the
buttons and
validate with the
button.
• Validate the dashes following the telephone number with the
button.
10.7.6
General information on Climapro
2
Rf
This feature allows you to display the following information:
area, software type and version.
• From the installer menu (see access to the installer menu) >
select on the screen >
settings > about