3xLOGIC VISIX Camera User Manual
Page 56
User Manual|
VISIX Network Camera
10225 Westmoor Drive, Suite 300, Westminster, CO 80021 | www.3xlogic.com | (877) 3XLOGIC
56
Steps:
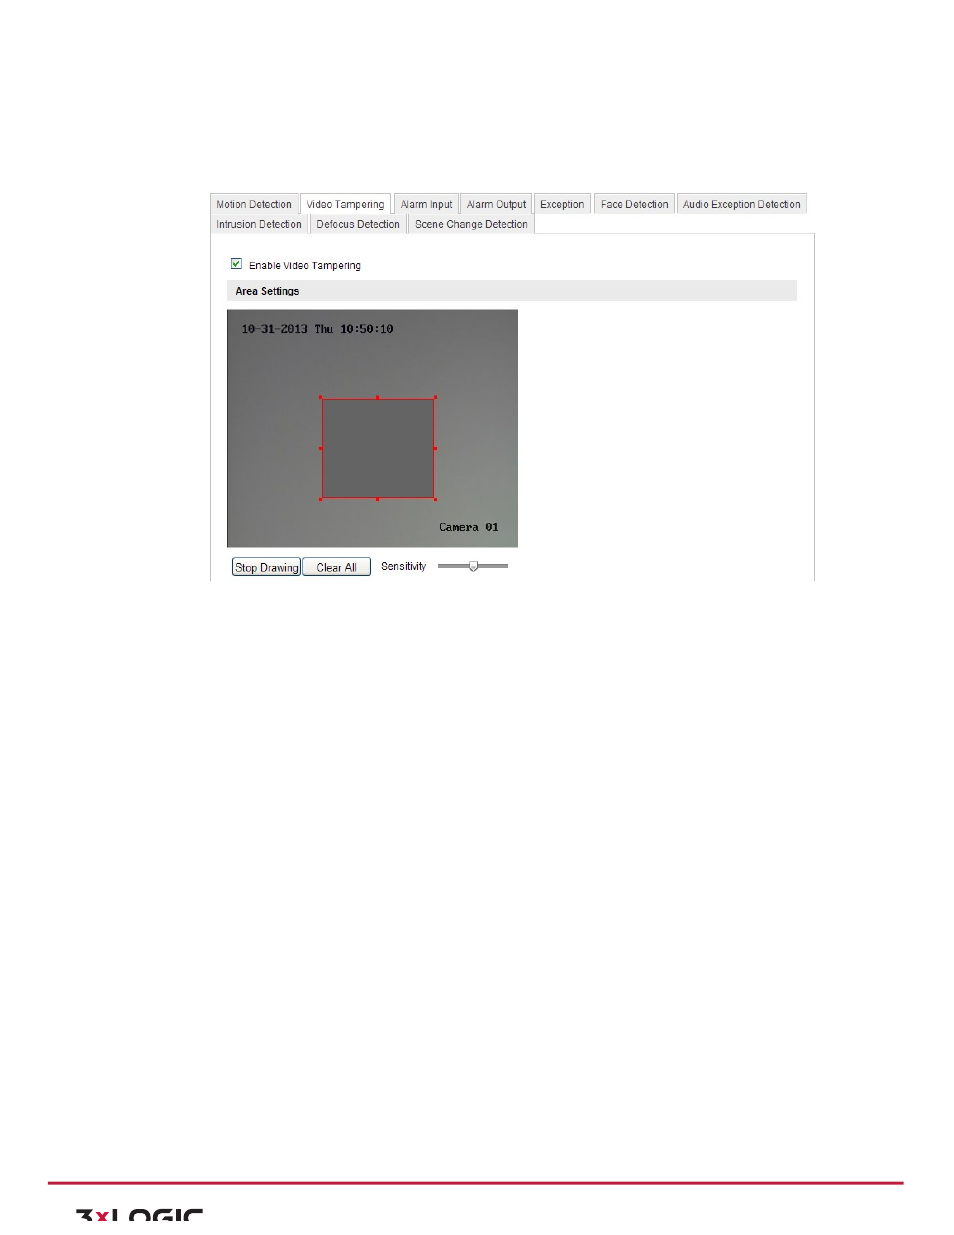
1) Enter the video tampering Settings interface:
Configuration > Advanced Configuration > Events > Video Tampering
Figure 6-‐40
Video Tampering Alarm
2) Check
Enable
Video
Tampering
checkbox
to
enable
the
video
tampering
detection.
3) Set
the
video
tampering
area;
refer
to
Task
1
Set
the
Motion
Detection
Area
in
Section
6.6.1.
4) Click
Edit
to
edit
the
arming
schedule
for
video
tampering.
The
arming
schedule
configuration
is
the same as the setting of the arming schedule for motion detection.
Refer to Task 2 Set the Arming Schedule for Motion Detection in Section 6.6.1.
5) Check the checkbox to select the linkage method taken for the video tampering. Audible warning,
notify surveillance center, send email and trigger alarm output are selectable. Please refer to Task
3 Set the Alarm Actions for Motion Detection in Section 6.6.1.
6) Click Save to save the settings.
CONFIGURING ALARM INPUT
Steps:
1) Enter the Alarm Input Settings interface:
Configuration > Advanced Configuration> Events > Alarm Input:
2) Choose the alarm input No. and the Alarm Type. The alarm type can be NO (Normally Open) and
NC (Normally Closed). Edit the name to set a name for the alarm input (optional).