Note, Operation, Hints for best performance – Bolens 140-990A User Manual
Page 24
Attention! The text in this document has been recognized automatically. To view the original document, you can use the "Original mode".
6. Attach the clevis end of the clevis screw
assembly to the top left hole on the plow mast
using a clevis pin and cotter hairpin.
7. Adjust pull rod A to 31 Уг" long.
Adjust pull rod B to 31" long.
NOTE
These two dimensions are approxi
mate. Final adjustment will have to
be made later.
11. Make your final adjustment on the pull rods A
and B so that:
Point C touches the ground
Point D is V
2
" off the ground
Point E is V
2
" off the ground
(See figure 40.)
12. Tighten the hook so chain F has no slack and
chain G has approximately Vz" travel.
13. Adjust the coulter arm so the bottom of the
coulterdisc is 1 inch off the ground.
8. The beam position is adjustable on the plow
mast. To adjust, loosen the nuts on both of
the “U” bolts. To plow hard soil, slide the bar
to the right as far as it will move. For softer
soil, move to the left. For very soft soil you
can straddle the upright on the plow mast or
even more to the left side of the plow mast.
NOTE
This adjusts the width of cut. The
harder the soil the narrower cut you
must take. Do not tighten the nuts
on the “U” bolts at this time.
9. Use the two side adjustment bolts to adjust
the beam so the landslide travels in a line
parallel to the centerline of the tractor. (See
figure 41.)
FIGURE 41.
10. Tighten the four nuts on the “U” bolts.
Operation
The land adjusting bolt sets the angle of the
share. If the plow comes out of the ground, loosen
the land adjusting bolt and pivot the top of the
share forward. This will make the plow penetrate
deeper. To reduce the depth, pivot the top of the
share backwards.
If the plow does not follow the tractor In a straight
line, adjust the side adjustment bolts.
NOTE
Loosen the'nuts of the “U” bolts to
do this.
If the right and left draft bars swing off to the side
too far making the plow run at an angle, readjust
chains G and F.
If the plowed sod does not completely turn over,
shorten rod B and lengthen rod A.
Hints for Best Performance
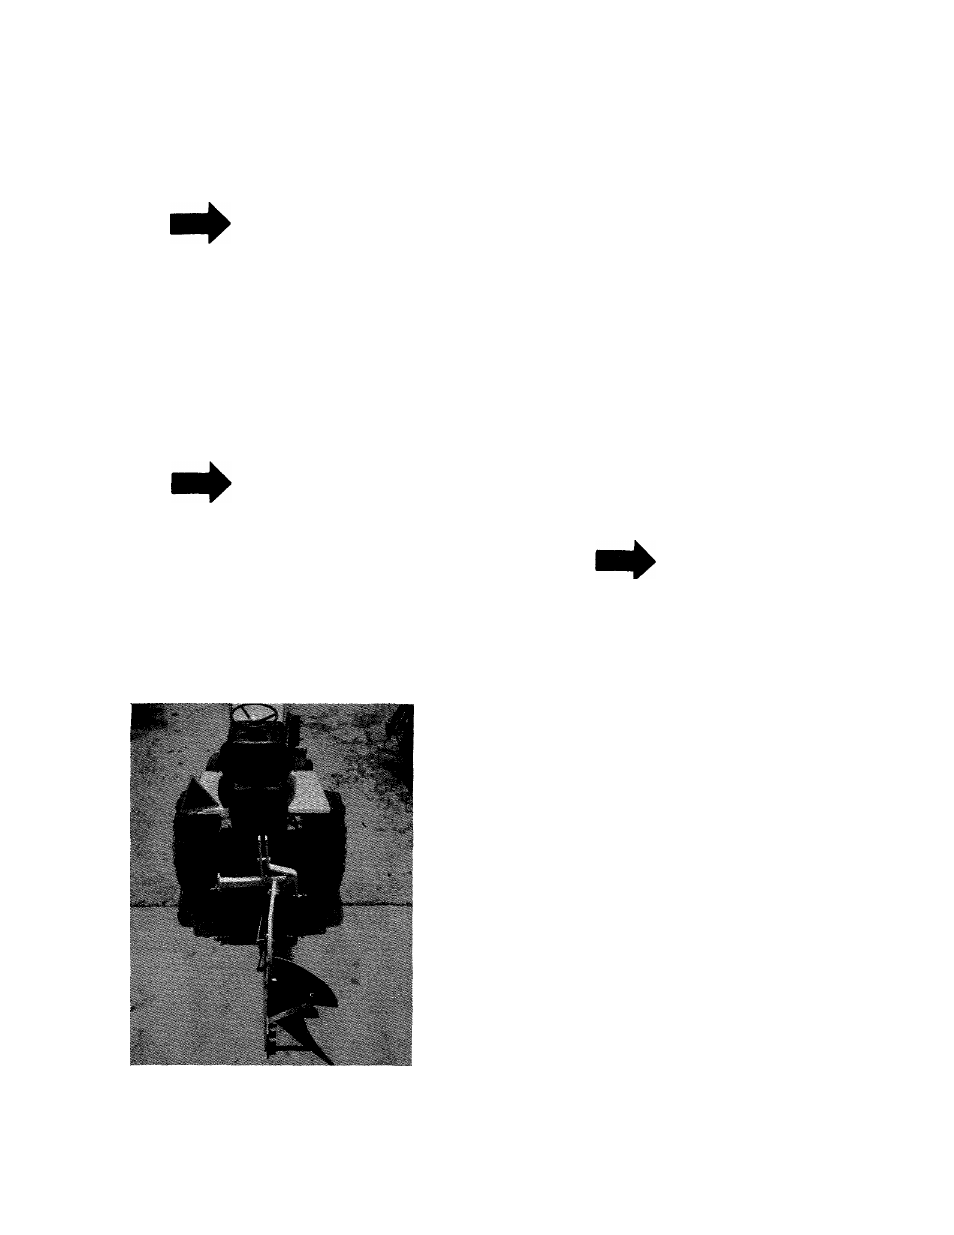
The width of cut is determined by the position of
the beam on the mast. To plow hard soil, attach
the beam close to the right side of the mast as
shown in figure 40. For softer soil move the beam
to the left.
Your first furrow up and back is referred to as a
dead furrow. It may be necessary to shorten the
clevis screw assembly slightly for these first two
rows. Always plow your field the long way. (See
figure 42.)
Always lift the plow at the end of the row to make
the turn. After you make your dead furrow, the
right wheels of the tractor run in the furrow.
Never plow wet soil. If the soil is very dry, it will be
difficult for the plow to properly lay over the soil. If
you are busting the sod for the first time, it will be
more difficult and it may be necessary to adjust
the angle and depth of the plow for the conditions.
24