Quick access men, Quick access menu, Editing a program – Lexicon MX200 User Manual
Page 39
To store a program into one of the
MX200’s 99 User program locations, select
Device > Store Program, choose the
location and program name, then click the
Save button.
You can create new programs based either
on the User or Factory programs, but you
may only store to User program locations.
As in the MX200 hardware, Factory pro-
grams cannot be over-written.
To rename a User program, select Device
> Rename. Enter a new name, select the
User program location, and press Enter.
Editing a Program
Signal Routing Options
To change MX200’s Routing, click on the
Routing button in the Input/Routing con-
trol area. A list of the MX200’s four
Routing options appears; highlight an item
in the list and click to select it. A routing
diagram appears next to the Routing but-
ton, and the routing name is shown in the
button.
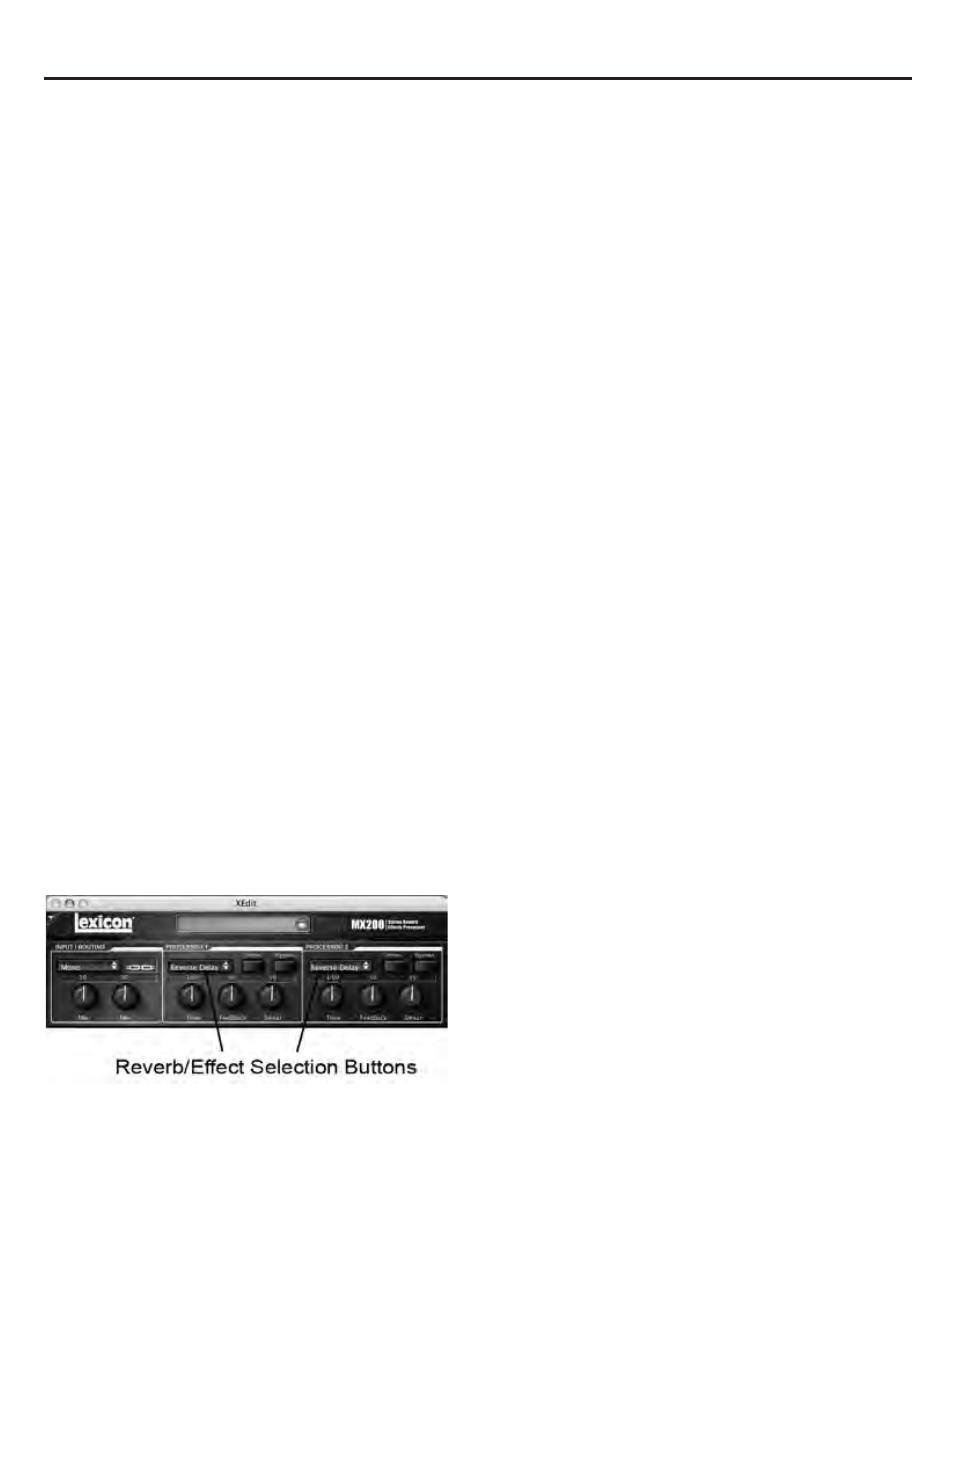
Reverb/Effect Selection Buttons
Click on a Reverb/Effect Select button to
open a list of the MX200’s reverbs and
effects. Select an item in the list to load it.
Notice that the reverb or effect name now
appears in the Reverb/Effect Select but-
ton, and the Parameter knobs in MX-Edit
change position depending on the default
values for the selected reverb or effect.
Adjusting knobs
Move the cursor to the center of a knob.
Click and hold the mouse button.
Move the mouse up (or right) to turn the
knob higher; move the mouse down (or
left) to turn the knob lower. For fine adjust-
ments, hold the Option key while moving
the mouse.
Tempo
If one of the MX200’s six delays is select-
ed, the Tempo button in that processor
becomes active, and begins to flash at the
rate displayed above the Time Range
knob. The tempo value is shown in mil-
liseconds (ms), and a quarter-note appears
next to the displayed tempo. When the
Time Range parameter is adjusted, exact
divisions of time in milliseconds relative to
the flashing Tempo rate will cause a note
value to be displayed next to the time, e.g.
16th note, dotted-8th note, etc. The Tempo
button will continue to flash at the originally
selected tempo, but the delay taps will
occur at the rate displayed in the Time
Range value.
To change the tempo value, simply place
the mouse cursor over the Tempo button,
and left-click twice to tap the tempo, just as
you would on the MX200 front panel. The
Tempo buttons on MX200 and in the
Program Editor window now flash at the
new tempo.
If something other than one of the six
delays is loaded in the processor, the
Tempo button is grayed out and inactive.
Bypass
To engage the Bypass button (and turn off
the selected effect), place the mouse cur-
sor over the Bypass button, and click to
bypass that processor. Note that the
Bypass buttons on both the MX200 front
panel and the Program Editor illuminate to
indicate that the selected processor is
bypassed.
33