Hemming and sewing on lace at one operation – SINGER 404K User Manual
Page 43
Attention! The text in this document has been recognized automatically. To view the original document, you can use the "Original mode".
When using this seam the garment must be first fitted and the edge of
the
material
trimmed,
allowing
for
about
one-eighth
inch
seam.
The
two
edges are placed together and in
serted in the Hemmer in the same
manner
as
a
single
hem.
If
the
material is bulky, the edge of the
upper
piece
of
material
may
be
placed
about
one-eighth
inch
in
from the edge of the lower piece.
(See Fig.89).
The
free
edge
of
a
hemmed
seam may be stitched flat to the
garment,
if
desired.
First
open
the work out flat, then place the
hem in the scroll of the Hemmer,
which acts as a guide, holding the
edge of the hem in position while
it is being stitched.
If the seam is stitched flat to
the
garment
one
row
of
stitching
is visible on the right side.
The hemmed seam may be used on muslin, lawn, organdie, or other
fine materials where a narrow seam is desirable.
F
ig
. 8C. M
aking
a
H
em m ed
S
eam
.
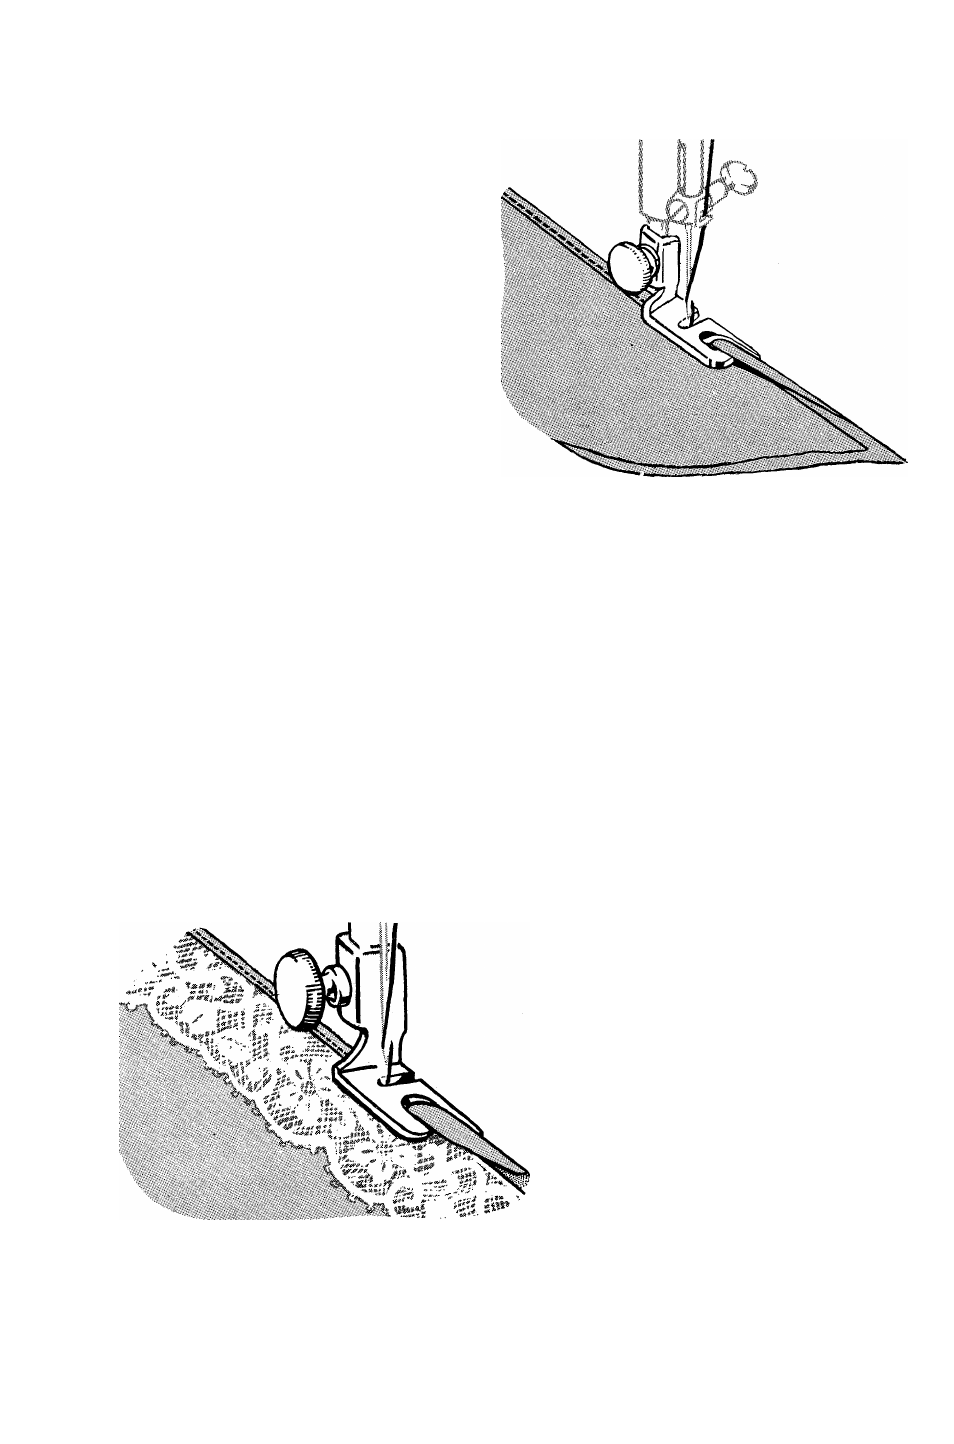
Hemming and Sewing On Lace at One Operation.
Start the hem in the usual way and, with the needle holding the hem in
position, raise the piresser bar sufficiently to allow the edge of the lace to be
slipped in under the Foot Hemmer, at the same time bringing it up through
the slot at the right of the Hemmer. (See Fig. 90). Lower the bar, turn
the hand wheel and- catch the edge of the lace with the needle. Guide
the hem with the right hand and the lace with the left. Care should be taken
not to stretch the lace as it is being fed into the Hemmer.
It
is
not
practical
to
sew
gathered lace on with the Foot
Hemmer,
as
the
fulled
lace
catches in the Hemmer slot.
A
very
attractive
way
of
applying lace so that the stitch
ing of the hem is not visible is
to start the hem in the usual
way, slipping the lace in from
the
left
as
you
would
the
second
piece
of
material
when
making a hemmed seam.
F
ig
. 90. H
em m ing
and
S
ew in g
O
n
L
ace
.
43