To regulate the length of stitch, To set stitch length – SINGER 404K User Manual
Page 21
Attention! The text in this document has been recognized automatically. To view the original document, you can use the "Original mode".
wmimirnmiimim
>:
.... ! r~>vr->\
.--x
MH
j
H
To Regulate the Length of Stitch.
When stitching fine material use a fine needle, fine thread, and a short
stitch.
Heavy
material
requires
a
coarse
needle
and
thread
and
a
longer
stitch. (See chart on page 11).
The stitch on the 15K26 machine is regu
lated by the thumb screw in the slot on the
arm (see Fig. 43). To lengthen the stitch on
this
machine,
loosen
the
thumb
screw
and
;;
move
it
downwards.
To
shorten
the
stitch
fV'
move the screw upwards. When the desired s , ,
length of stitch is obtained tighten the thumb
screw.
The
stitch
on
the
15K80
is
regulated
|
in the same way except that the thumb screw
is
moved
upwards
to
lengthen
and
down
wards to shorten.
About 18 stitches to the inch makes a
suitable seam for ordinary sewing. Sew on a
double thickness of material, measure off one
inch and count the stitches.
qn
I
F
ig
. 43. S
titch
R
egulating
S
crew
on
S
inger
15K26
and
15K80
M
achin es
.
To Regulate the Length of Stitch and Direction of Feed on
Machines 99K (New Style) and 185K.
(See Fig. 44).
r
I
JJJ
/
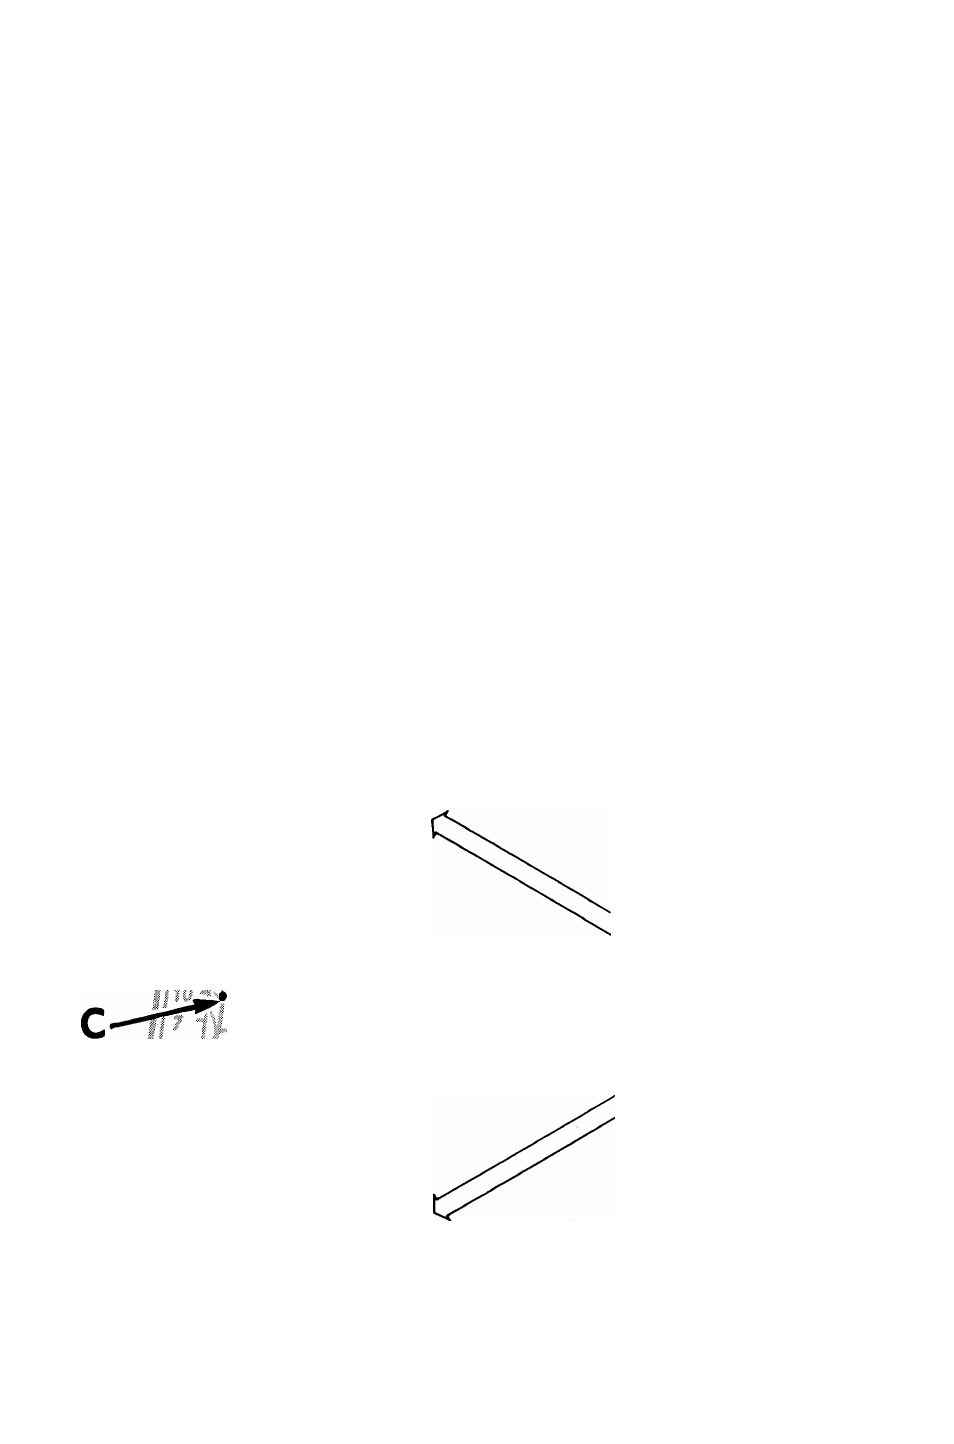
C
Numerals on the indi
cator
plate
represent
the
approximate
number
of
stitches per inch.
The “red dot” C indi
cates the stitch setting.
To set stitch length —
#
Turn thumb nut to the
left.
#
Move lever until “red
dot”
C
is
at
desired
stitch setting.
#
Turn thumb nut to the
right
until
it
rests
against indicator plate.
Once
thumb
nut
is
against
indicator
plate,
reverse stitching
is ac
complished
by
raising
lever to its highest posi
tion.
F
ig
. 44.
21