Buttons – SINGER 6136 User Manual
Page 36
Attention! The text in this document has been recognized automatically. To view the original document, you can use the "Original mode".
buttons
• i^aUem (»roup Soloctor' /
• Nuufjto Position. :«L:
• Stitch VVicHh: To suit hutloo
• Stitch l.yngttr. 0
• Snap-in f eed Cover
• Cjonorni fhirpose f ool
■■
s
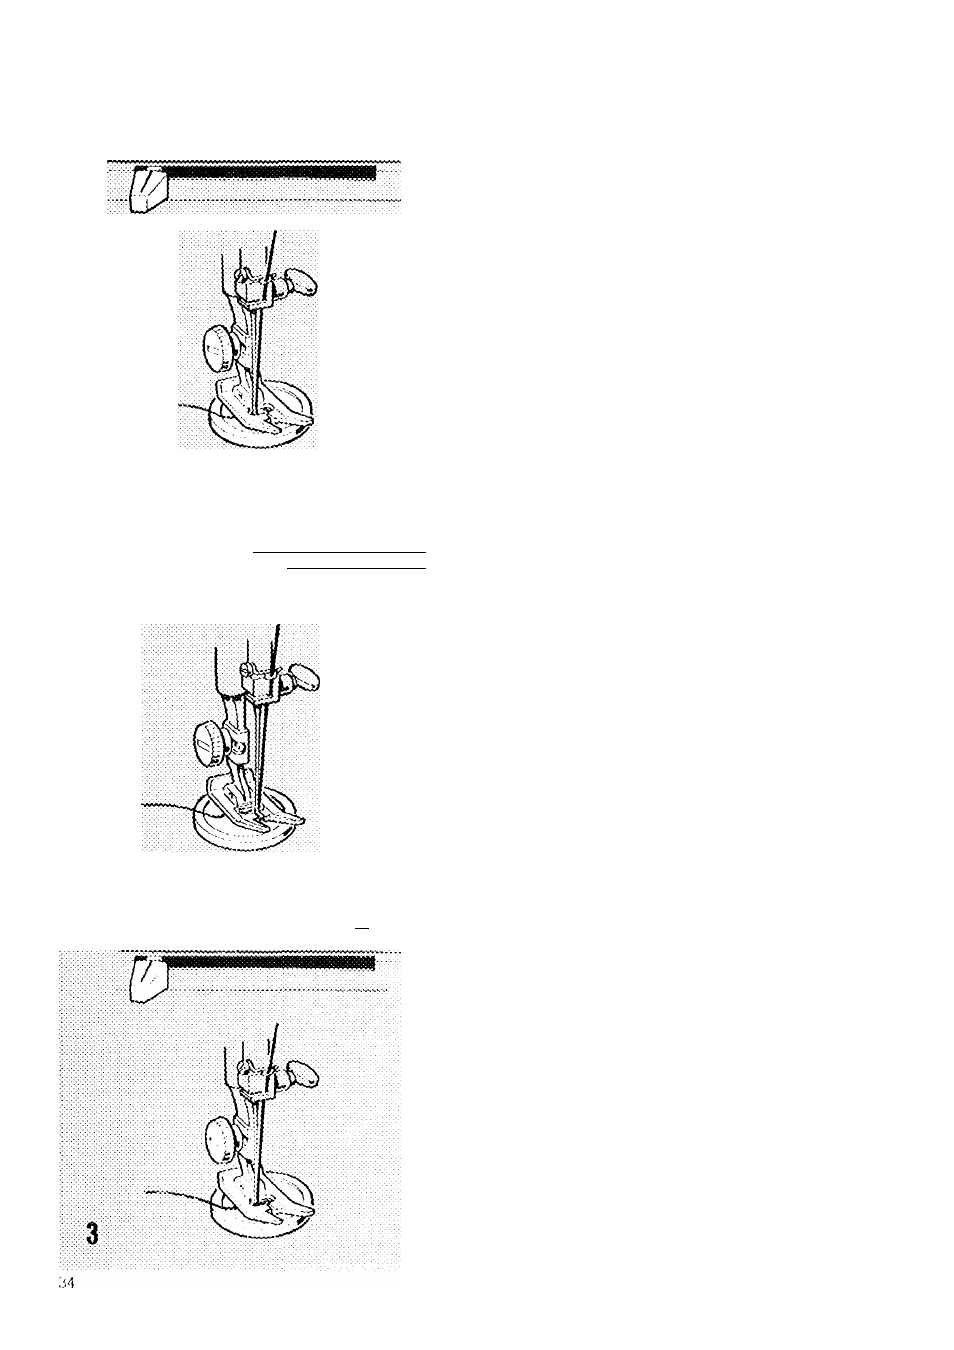
ATTACHING A BUTTON
f'iat buttons can be sown on by machine using
the zig-zag stitch.
r f-'
«лйГ
-Mi
-«bi. •*cir’
• Attach siiap-in feed cover to cjonoral pur
pose fieedle plate.
1. Sot stitch width soloctor at
• Sot needle position at toft
• Place button positioned on fabric under
foot atui lower noodle into centre of loft
tiolo.
• Lower pressor foot.
• Tui'ii hand wfioel iowa/d you until tfie ne
edle rises out of button hole and is just
above the pressor foot.
2.
Sot stitch wicllfi selector to a medium width
7.ig-zag setting.
•
Continue turning hand wheel until the
needle is above right hole, adjust stitch
widtii, as necessary, until needle enters
tfie centre of the right tiolo.
• Take six or more zig-zag stitches and
finish with the needle on the left.
3. Move stitch width selector to i and take a
few stitches to fasten threads.
•
• (Hill thread ends through to back of gar
ment knot close to fabric and snip off
loose ends of tfuead.