Plain stretch seams, Lingerie seams, I i i i – SINGER 8019 User Manual
Page 34: L [xi *1
Attention! The text in this document has been recognized automatically. To view the original document, you can use the "Original mode".
Plain Stretch Seams
• Pattern Group: gil (Green)
• Stitch Width:
[T]
I I I i
• Needle Position:
L [XI *1
• Stitch Length |p (Green/Blue)
• Special Purpose Presser Foot
• Zig-Zag Needle Plate
When you use the straight stretch stitch for 2.
stress seams or to seam knit stretch, and
elasticized fabric, stretch and strength are
built into the seam as it is being sewn.
Be sure
to insert a bail-point (yellow band) needle,
Catalog 2045, in the m achine if you are stitch
ing a synthetic knit fabric.
1. Make a test with a sample of your fabric so
that you can adjust thread tension and 3.
stitch balance correctly (see page 24).
Stitch and guide the fabric as you do for
plain seams stitched with the regular
straight stitch, letting the machine make
the back-and-forth stitches that give
stretch to the seam. If the fabric has an
unusual amount of elasticity, it should be
guided and supported as instructed on
page
31.
After stitching, press seam as when using
the regular straight stitch.
Lingerie Seams
• Pattern Group
• stitch Width:
: II
Yellow
• Needle Position:
^
• Stitch Length: To suit fabric
• Zig-Zag Presser Foot
• Zig-Zag Needle Plate
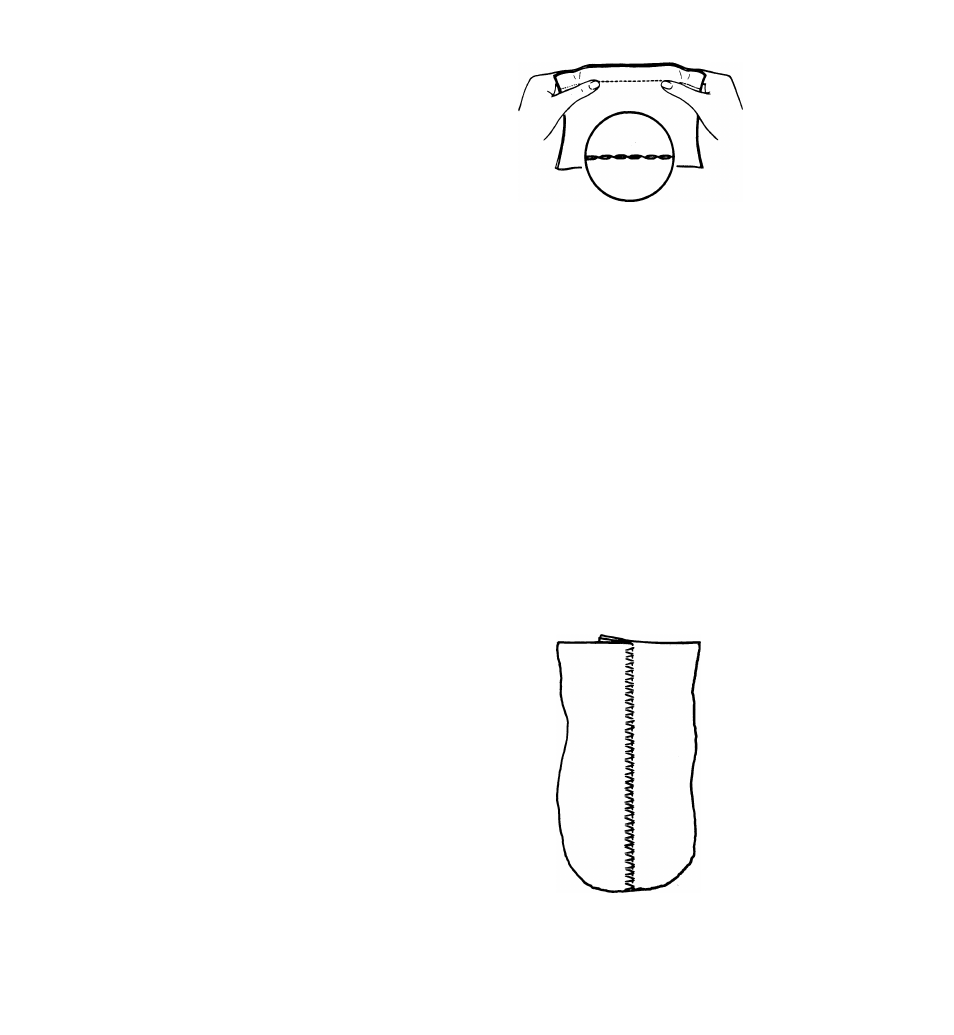
To make a lingerie seam both durable and
flexible, use a zig-zag stitch. This treatment is
particularly suitable for bias seams.
1. Straight-stitch the seam (with stitch width
selector at i ) on the wrong side.
2. Press both seam allowances In the same
direction.
3. From the right side, top-stitch with zig-zag
pattern, letting the needle alternately
enter the seam line and seam thickness.
32