Setting needle position – SINGER W571 User Manual
Page 16
Attention! The text in this document has been recognized automatically. To view the original document, you can use the "Original mode".
ri
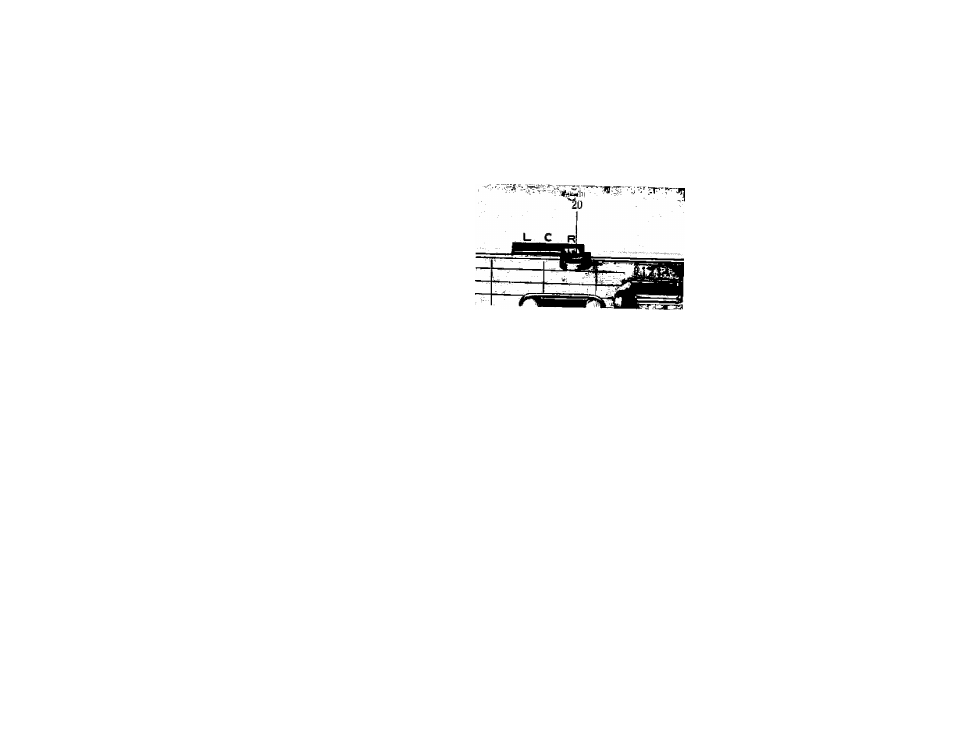
SETTING NEEDLE POSITION
The needle bar should be at its highest point when adjusting position to avoid tearing
the fabric or bending the needle.
Select needle position by moving needle position lever
(20, Fig. 22).
L indicates the left needle position, "C" the center,
and "R" the right.
In the left position you sew ;
Straight
Stitching
(using
straight
stitch
needle
plate
and foot)
Buttonholes and Sewing-on Buttons.
When using straight stitch needle plate and foot, BE
needle position is set at ”L".
15
Fig. 22
The Right position is for:
All of Decorative Stitch Designs and Blind Stitch Hems
Decor.live stitch designs can be sewn at any position, but for best results use "R" position.
- 401A (116 pages)
- Simple 3116 (94 pages)
- 1507 (88 pages)
- 1507WC (88 pages)
- 112W140 (32 pages)
- 147-2 (30 pages)
- 114-33 (43 pages)
- 119-3 (23 pages)
- 14K1 (10 pages)
- 147-104 (34 pages)
- 116-1 (20 pages)
- 115-2 (38 pages)
- 14U286 (40 pages)
- 14U286B (21 pages)
- 114-4 (29 pages)
- 142W25 (10 pages)
- 147-81 (28 pages)
- 118 (16 pages)
- 136W105 (22 pages)
- 114-41 (20 pages)
- 147-4 (28 pages)
- 105-3 (30 pages)
- 1027 (36 pages)
- 147-26 (37 pages)
- 12W208 (25 pages)
- 128-4 (25 pages)
- 109-320 (14 pages)
- CP17 (47 pages)
- 147-6 (56 pages)
- 132B26 (9 pages)
- 114-2 (36 pages)
- 1371A3 (86 pages)
- 14CG754 (53 pages)
- 147-50 (39 pages)
- 14T967DC (3 pages)
- 109-520 (13 pages)
- 14SH654 ULTRALOCK (48 pages)
- 147-86 (30 pages)
- 105-20 (23 pages)
- W303 (13 pages)
- 147-38 (53 pages)
- 114-22 (45 pages)
- 1375A1 (33 pages)
- 107-2 (31 pages)
- 1200A (4 pages)