Adjusting stitch length, Preparation, 3ut1*c?j>10le ^alciwg – SINGER W ET 10 User Manual
Page 33
Attention! The text in this document has been recognized automatically. To view the original document, you can use the "Original mode".
3UT1*C?J>10LE ^AlCiWG
Tcp t»«on comrd
Stitch setectcsr
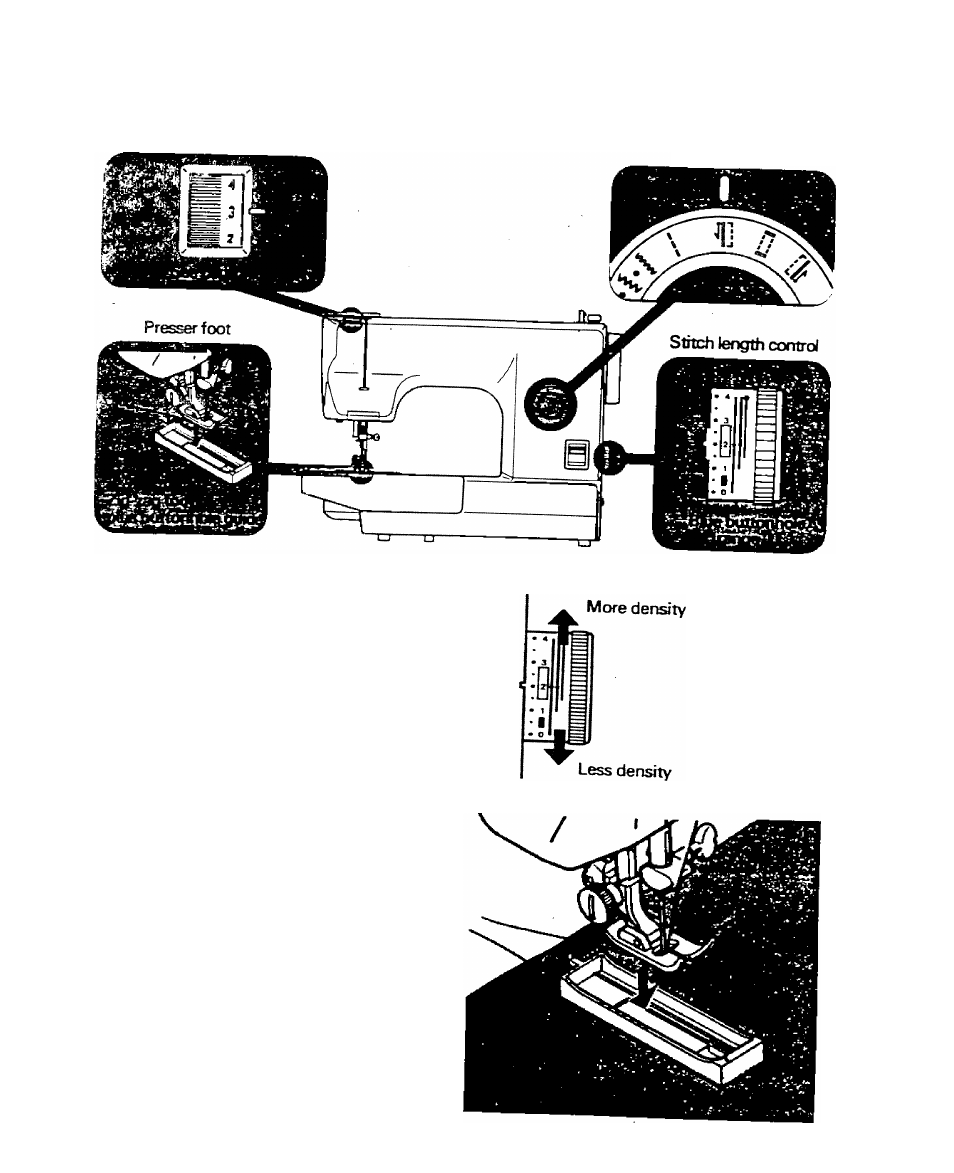
** ADJUSTING STITCH LENGTH
Depending upon your fabric or your own
preference in buttonholes, you may alter the
buttonhole stitch density within the blue
buttonhole range on the stitch length control.
^
turn the control towards
2. For less density, turn the control towards
O .
PREPARATION
Carefully mark the buttonhole length on your
garment. Mount the buttonhole guide onto
the presser foot so that rear edge of presser
foot is at the rear end of the guide as shown
right. Place the fabric with the buttonhole
marked under the buttonhole guide. Slide the
guide forward so that the needle pierces the
fabric at the beginning of the buttonhole.
You have been provided with a standard
buttonhole guide for making buttonholes.
Reproduction of the identical size button
holes is facilitated with the aid of the
graduations on the guide. Graduations act as
reference mark.
(D
31