Tips for cutting compound miters, Cutting crown moldings, Tips for cutting crown molding lying flat – Sears 113.23522 User Manual
Page 21: Basic saw operations (continued)
Attention! The text in this document has been recognized automatically. To view the original document, you can use the "Original mode".
Basic Saw Operations (Continued)
Tips for Cutting Compound Miters
Model 113.235220 & 113.235240 Oniy:
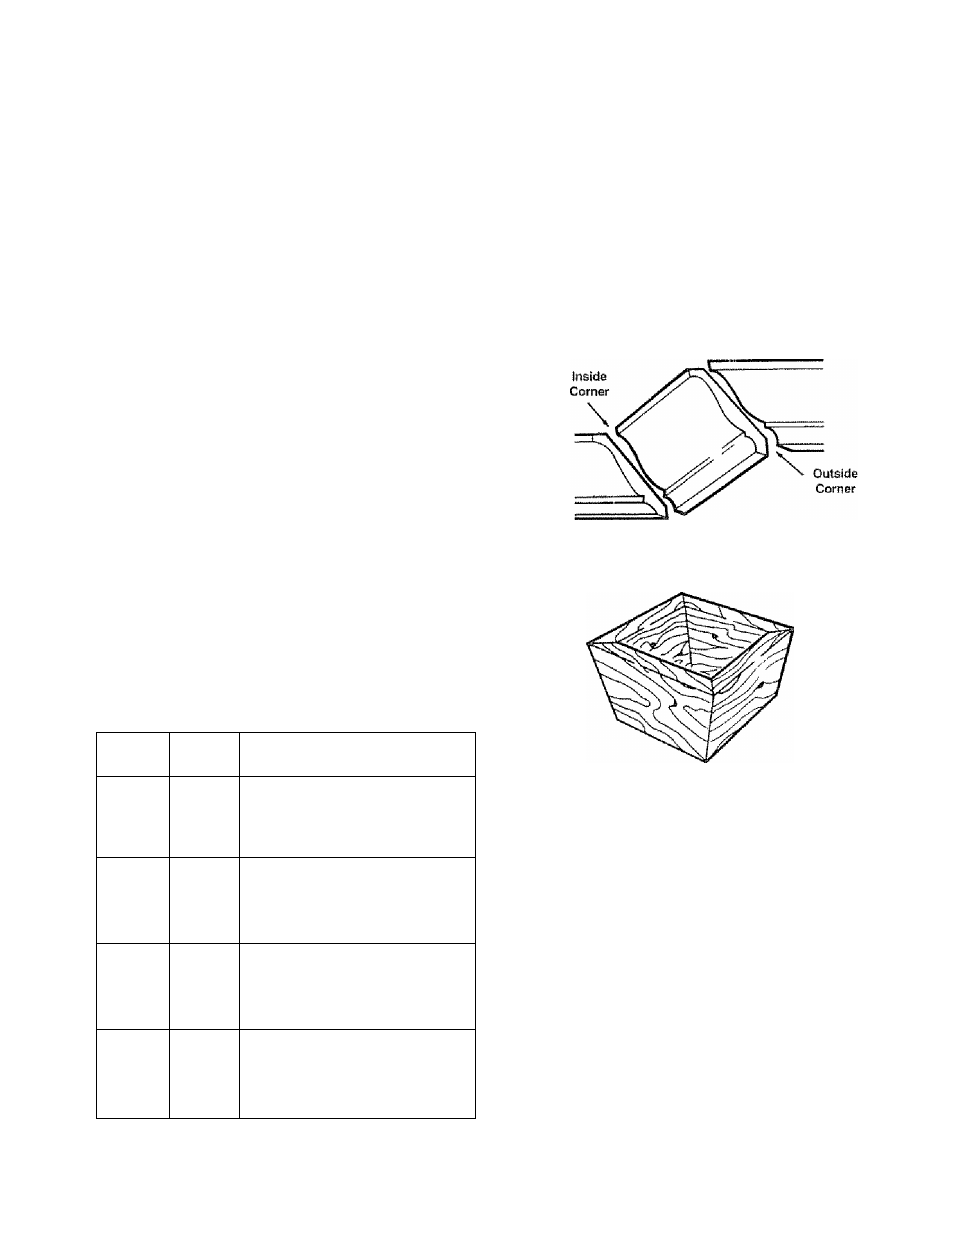
A compound miter is a cut requiring both a miter setting
and bevel setting A compound miter is used for making
frames or boxes that have sloping sides and are wide
at one end and narrow at the opposite end Compound
miters are “tricky" to make because the miter setting
and bevel setting are directly related to each other.
Every time the miter setting is changed the bevel set
ting must also be adjusted; likewise every adjustment to
bevel requires a corresponding adjustment to miter
Because it may take several tries to obtain the desired
angle it as advisable to make test cuts in a scrap piece
of materia!.
Cutting Crown Moldings
Plan Ahead so that you are not tempted to reach
across saw blade to steady newly severed workpiece
Two Methods to Cut Crown Moldings
1, Workpiece standing up, usually cut inverted from
ceiling mounted orientation. Fixturing; Accessory
mounted crown molding jigs which locate workpiece
See recommended accessories (Table clamp Is
helpful) Hand fs on fence when the cuts are made
All cuts are made at 0“ bevel setting (see illustra
tion).
Alternate fixturing: Auxiliary fence as shown on page
19 plus table clamps.
2. Workpiece lying flat for compound cut (see chart),
Model 113.235220 & 113.235240 Only:
Miter and Bevel Settings for Standard
Crown Molding Lying Fiat on Miter Saw
Table.
SETTING
MITER
1 1 M H
TYPE OF CUT
33,8“
31 6”
1« IMCinC r'ACMCD
LLls 1 olUClf I
i
N
v
SILJEI vvL/tiNiZn
1, Position top molding against
Right
fence
2 L.eft sicie is finished pjscs.
33 8“
31 6“
RIGHT SIDE, INSIDE CORNER
1 Position bottom of molding
Left
against fence
2 Left side is finished piece
31 6°
left
side
,
outside
corner
1 Position bottom of molding
Left
against fence
2 Right side is finished piece-
33 8“
31 6“
RIGHT SIDE, OUTSIDE CORNER
1 Position top of molding
Right
against fence.
2 Right side is finished piece
NOTE: On all above cuts lay molding with broad back
surface flat on table
PRETESTING COMPOUND SETTINGS ON SCRAP
MATERIAL IS EXTREMELY IMPORTANT!
Tips For Cutting Crown Molding Lying Flat
Model 113.235220 & 113.235240 Only:
A compound miter saw is excellent for cutting crown
molding. Crown molding is difficult to cut because in
order to fit correctly it must be precisely mitered.
All Standard (U S) crown molding has a top rear angle
(fits next to ceiling) of 52° and a bottom rear angle (fits
against wall) of 38“.
NOTE: Above angles assume that the constructed wall
corner is exactly 90“ in typical construction, this is not
always the case. Measure wail and make necessary
adjustments to angles
21