Kodak EKTAGRAPHIC 470 User Manual
Page 9
Attention! The text in this document has been recognized automatically. To view the original document, you can use the "Original mode".
plug of a KODAK AudioViewer/Pro-
jector Remote Control 210/260.
The remote-control outlet on Model
470 and Model 570AF accepts the plug
of the KODAK AudioViewer/Projec-
tor Remote Control 410/460. (The
functions of these accessory items are
described on page 18.)
Headphone outlet (EAR): Head
phones with a 1/4-inch plug (or adapt
er) can be used. (Audio is reproduced
monaurally.) Medium- to high-imped
ance headphones (150-2000 ohms) are
recommended. The internal loud
speaker and the external loudspeaker
jack are bypassed when the head
phone outlet is used. When using
headphones, adjust tone and volume
level as desired.
Microphone jack: This jack (on
Models 270, 470, and 570AF) accepts
the plug of the handheld microphone
supplied with the AudioViewer/
Projector.
The small remote tape-control jack
(located next to the microphone jack
on Models 270, 470, and 570AF) also
accepts the plug of a KODAK Audio-
Viewer Tape Deck Remote Control
(an accessory item described on page
18) for manual remote control of tape
stop/ start during recording and
playback.
External-loudspeaker outlet
(SPK): An external loudspeaker hav
ing a nominal impedance of 8 to 16
ohms can be connected to this outlet
with a 1/4-inch phone plug.
An external loudspeaker should be
considered when the audience is large
enough to require the connection of
an external slide projector (or dis
solve control and two slide projectors)
to the external-projector interconnect
outlet for projection on an external
screen.
The internal omnidirectional loud
speaker is automatically disconnected
when an external loudspeaker is con
nected to the external-loudspeaker
outlet.
CAUTION: Do not connect
headphones to the external-
loudspeaker outlet!
OTHER WAYS
TO SHOW SLIDES
1. Editing Without a Lock Ring on
the Tray: Remove the lock ring
from the tray. Place the tray on the
AudioViewer/Projector and press
the slide-forward button or slide-
reverse button to raise the slide for
easy removal. Replace the lock
ring before removing the tray.
2. Projecting Without a Tray: Sim
ply insert a slide into the gate
(with the image correctly-reading
from left to right and then turned
upside down). To remove the slide,
press the slide-select button
(SELECT).
3. Random Display: Holding the
slide-select button down (with
power on) allows the tray to be
manually rotated to any slide for
viewing.
4. With a KODAK EC Stack
Loader: Up to 40 2 x 2-inch (50 x
50 mm) cardboard or thin-plastic
mounted slides can be shown with
out a tray.
SHUTDOWN
1. At the end of the program, press
the stop/eject button to stop the
tape; press the rewind button to
rewind it. When the rewind button
snaps back out after rewinding,
press the stop/eject button to open
the cassette well.
2. Remove the cassette, close the cas
sette well door, and place the cas
sette in its protective plastic case.
3. Close the front-projection door;
move the image-magnifying lever
to the normal (up) position and set
the projection-lamp switch to low.
4. With power on, hold down the
slide-select button and manually
rotate the tray so that slide num
ber "0” is at the gate index. Re
lease the slide-select button and
remove the tray.
5. Turn the AudioViewer/Projector
off. If it is to be moved, press the
elevation latches and lower the
machine to retract the elevation
legs. Then unplug the power cord.
6. Open the rear-storage door and
coil the power cord into it.
7. To store the tray in the Audio
Viewer/Projector, orient the bot
tom metal plate of the tray away
from the machine and insert the
tray into the storage compartment.
(It will not go in backwards.)
8. Close the storage door and relock
both latches.
9. Finally, protect the built-in screen
from damage with a suitable cover.
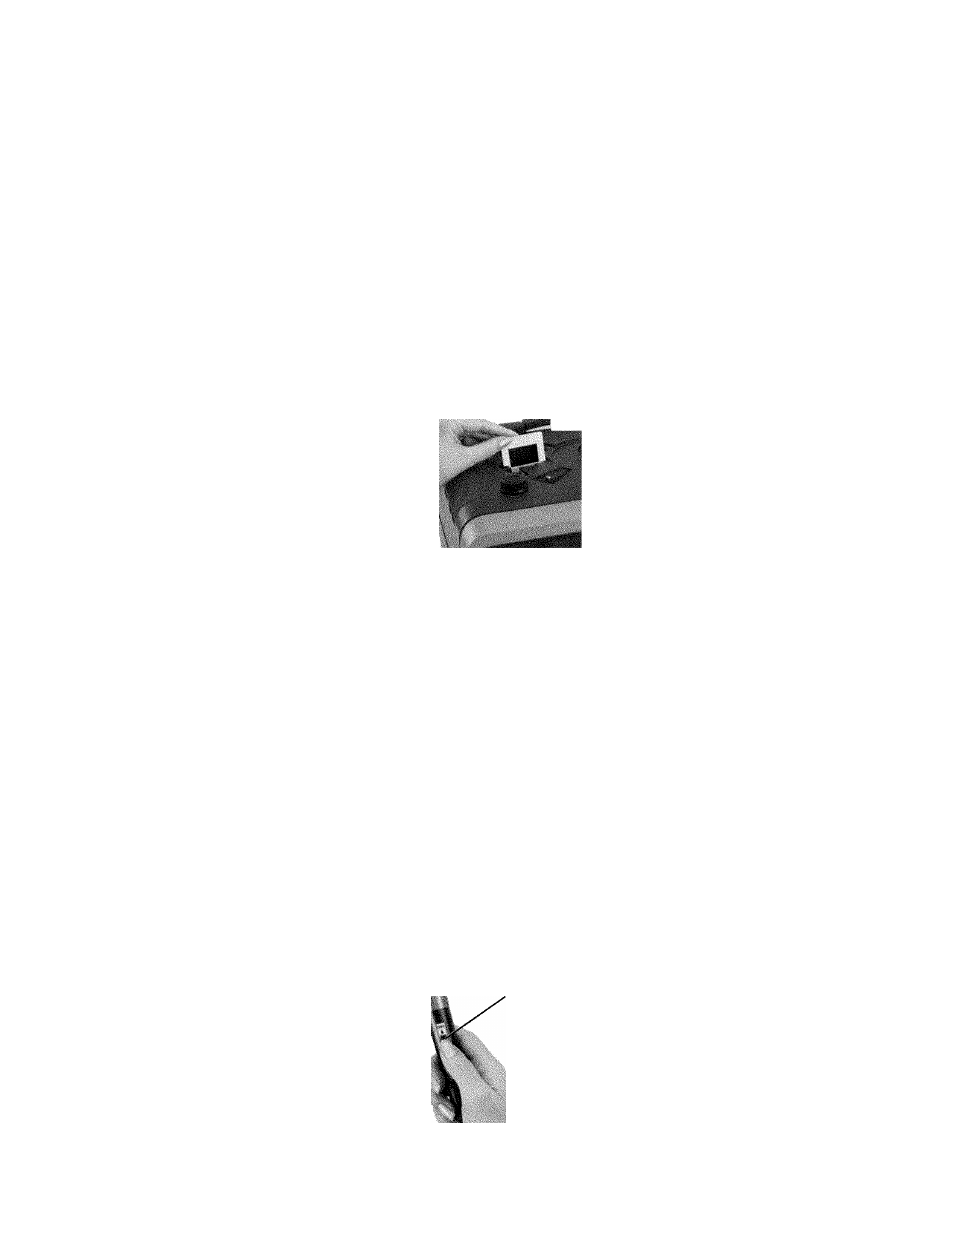
Omnidirectional handheld micro
phone: This microphone (provided
with Models 270, 470, and 570AF) is
used for recording narration and
sound effects. (For more details about
recording audio, refer to "Recording
the Program on the Tape,” on page 9.)
The tape deck motor switch located
on the handle of the microphone al
lows stopping and restarting the tape
during recording and playback.
TAPE DECK
MOTOR SWITCH