Kodak EKTAGRAPHIC 470 User Manual
Page 8
Attention! The text in this document has been recognized automatically. To view the original document, you can use the "Original mode".
on the external slide projector.
Align and focus the image. Then
reset the tray at the beginning of
the program.
5. Play the program-cassette tape in
the AudioViewer/Projector. As the
cassette tape plays, the external
slide projector will advance in syn
chronization with the 1000 Hz
slide-advance pulses recorded on
the control track of the program
cassette tape.
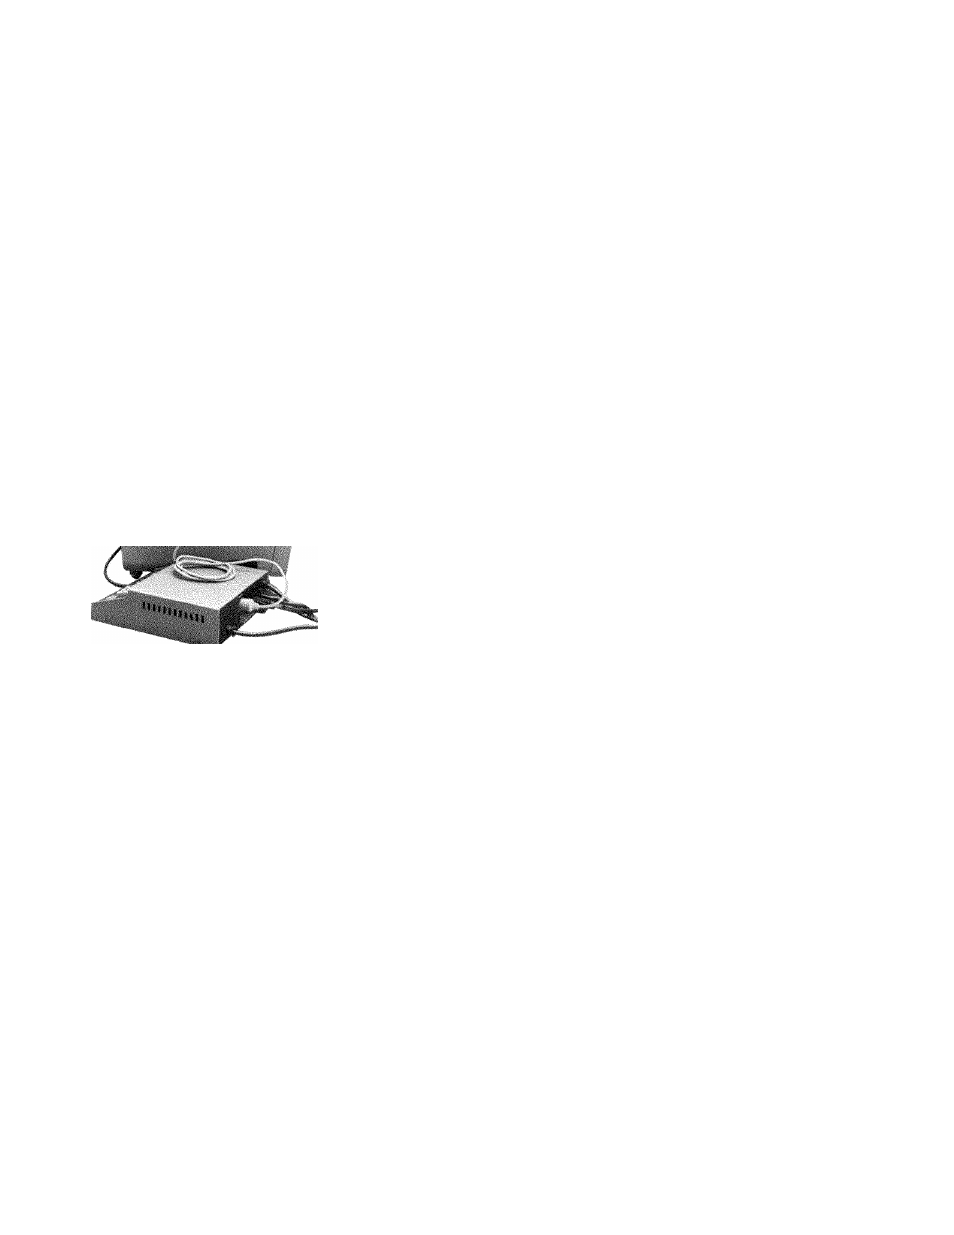
Using a KODAK EKTAGRAPHIC
Programmable Dissolve Control
(and two Slide Projectors) with the
External-Projector Interconnect
Outlet
NOTE: Refer to the "User’s
Operating Instructions” packed
with your Programmable Dis
solve Control for details on dis
solve control operation.
lì
To advance two slide projectors in
the dissolve mode, connect the acces
sory AudioViewer EC Interconnect
Cord to the REMOTE receptacle
located on the back panel of the
KODAK EKTAGRAPHIC Program
mable Dissolve Control, Model 2. The
Programmable Dissolve Control will
advance at a 1-second rate each time
it receives a slide-advance pulse from
the AudioViewer/Projector.
Be sure to connect and operate the
equipment before a scheduled show
ing. A thorough rehearsal is good
audiovisual practice.
Remote tape-control jack: This
jack (provided on Models 270, 470,
and 570AF), accepts the smaller of the
two microphone plugs supplied on the
AudioViewer/Projector. This jack
also accepts the plug of a KODAK
AudioViewer Tape Deck Remote Con
trol (an accessory item described on
page 18).
Cassette-Tape Controls and
Visual Indicators
Tape-recording button: To put the
AudioViewer/Projector into the re
cording mode (using Model 270, 470,
or 570AF), simultaneously press this
button (RECORD) and the tape play
button (PLAY).
For details on recording a sound-
slide program, refer to page 9, "Re
cording the Program on the Tape.”
Tape-forward button: This button
(FORWARD) advances the tape rapid
ly onto the top take-up reel of the
cassette.
Tape-rewind button: Press this but
ton (REWIND) to rewind the tape
rapidly onto the bottom supply reel of
the cassette.
Tape-play button: Press PLAY to
play the tape. The normal playing
speed is the same as for most cassette
machines intended for home use—
1 7/8 inches per second. When this
button is pressed simultaneously with
the record button, recording models
of the AudioViewer/Projector (Mod
els 270, 470, and 570AF) are put into
the recording mode.
Tape stop/eject button: With any
tape-control button depressed, press
ing this button once stops the built-in
tape machine. Pressing it twice un
latches the cassette-well cover so the
cassette can be inserted or removed.
(With no tape-control buttons de
pressed, the first actuation of the tape
stop/eject button unlatches the cas
sette-well cover.)
Tape pause/restart button: Press
ing this button (PAUSE/RESTART)
in the recording mode (Models 470
and 570AF only) records a 150 Hz
program-pause (tape-stop) signal on
the tape. (The tape does not stop as
the signal is being recorded, howev
er.)
Tapes stopped in the playback mode
by recorded program-pause signals
(using Models 470 and 570AF) can
also be restarted with this button.
This button can also be used during
tape playback to stop and restart the
tape at any point in the program.
Models 220 and 270 will ignore (run
by) recorded 150 Hz tape-stop signals
because these AudioViewer/Projec-
tors are not provided with pause/res
tart circuitry. However, you can stop
the tape manually. To stop and restart
the tape at the points in the program
indicated in the script, simply press
the tape stop/eject button to stop the
tape; press the tape play button
(PLAY) to restart the tape when de
sired.
The cassette tape deck in the Model
270 can also be stopped and restarted
with a KODAK AudioViewer Tape
Deck Remote Control. See page 18 for
a description of this accessory item.)
Tape pause/restart light (Models
470 and 570AF): This light brightens
when:
• The tape is stopped by a recorded
150 Hz program-pause signal, dur
ing program playback.
• The tape pause/restart button is
pressed to stop the tape in the play
back mode.
• The tape deck motor switch (located
on the handle of the microphone
supplied with Models 270, 470, and
570AF) is moved to the OFF posi
tion, or the tape deck motor switch
on the accessory AudioViewer Tape
Deck Remote Control is placed at
the OFF position. The tape pause/
restart light goes off when the tape
is restarted.
Tone: This control decreases high-
frequency (treble) response as it is
moved down from the top position.
Adjust it for best sound. It is inopera
tive during recording.
Volume control: Moving this con
trol up increases sound level during
program playback. Moving the con
trol down decreases volume.
This control does not affect record
ing level.
Signal-recording light: This green
light (on Models 270, 470, and 570AF)
stays on (brightens) when the Audio
Viewer/Projector is being used to re
cord 1000 Hz slide-advance pulses and
150 Hz program-pause signals. (Re
cording of slide-advance pulses and
program-pause signals is normally ac
complished when the AudioViewer/
Projector is in the recording mode
with the microphone disconnected. Re
fer to page 10, "How to Record the
Slide-Advance Pulses,” and "How to
Record the Program-Pause Signals.”
Any previous slide-advance pulses
or program-pause signals recorded on
the control tracks of the program
cassette tape will be erased if the tape
is running while the signal-recording
light is on.
Audio-recording light: This red
light (on Models 270, 470, and 570AF)
"flickers” when sound is being record
ed with the microphone.
Sound already recorded on the tape
will be erased if the tape is running
while the audio-recording light is on.
(For details on recording audio, refer
to "Recording the Program on the
Tape” on page 9.)
Cassette Tape Outlets, Jacks,
and Microphone
Remote-control outlet: This outlet
on Models 220 and 270 accepts t'he