Kodak EKTAGRAPHIC 470 User Manual
Page 13
Attention! The text in this document has been recognized automatically. To view the original document, you can use the "Original mode".
Recording the Audio
1. Turn power on and insert a
blank cassette.
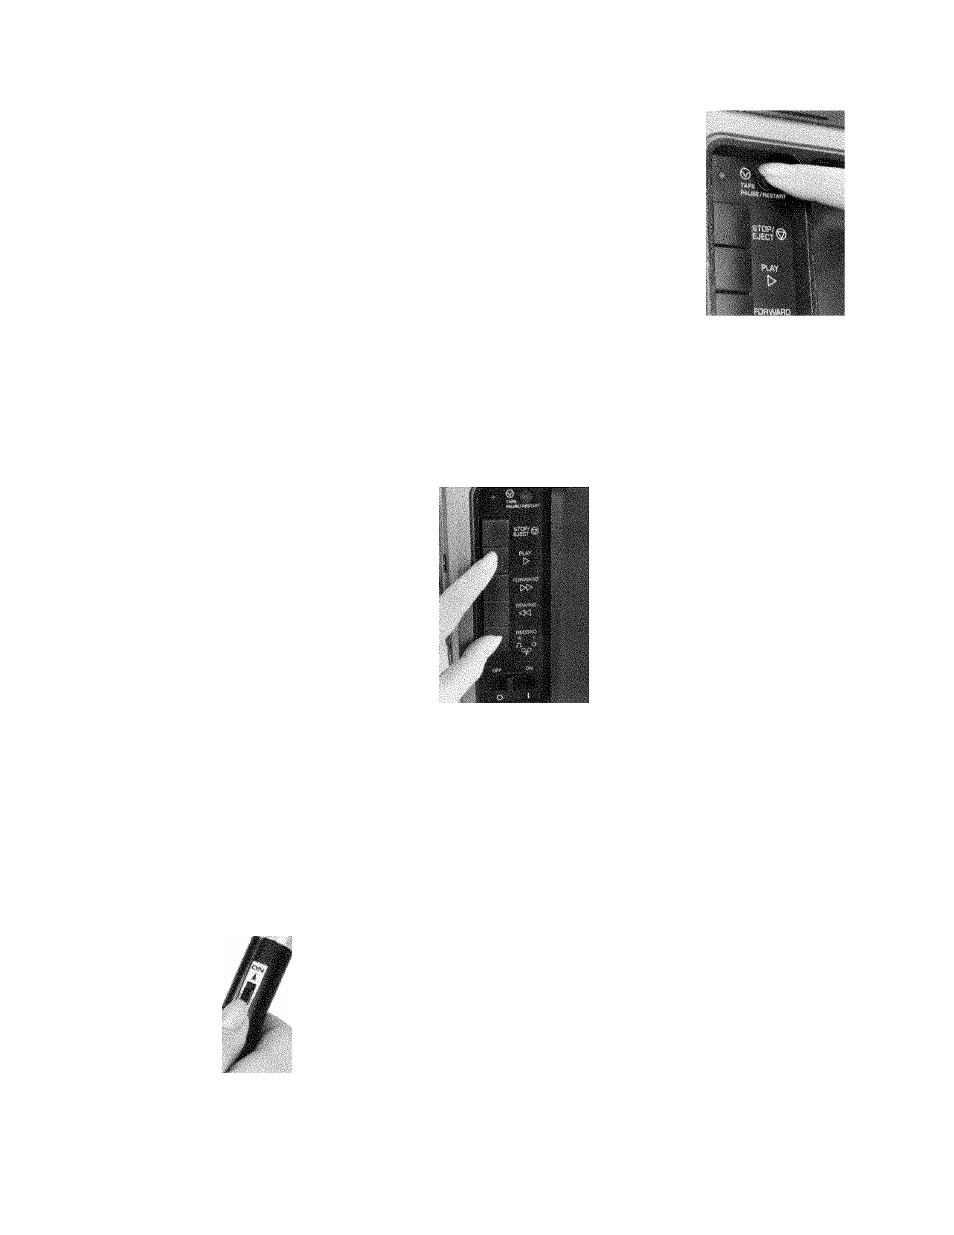
a. Play the program tape for about
8 to 10 seconds to get past the
unrecordable tape leader. Then
stop the tape with the tape stop/
eject button.
b. Insert the plugs of the micro
phone into the microphone jack
and the remote tape-control
jack. The plugs will go in only
one way.
c. Move the tape-deck-motor
switch located on the handle of
the microphone to the OFF posi
tion so the tape doesn’t start
prematurely when you are
ready to begin recording.
2. Record the script.
NOTE: Record in a room
in which you will not be
disturbed!
Put a sign on the door to make
sure you won’t be interrupted
during the recording session.
Disconnect the telephone and
close the windows. (The Audio-
Viewer/Projector microphone
will pick up most noises in the
environment.) Also try to record
the entire script in one session
so the recording sounds consis
tent.
a. To put the Audio’Viewer/Projec-
tor in the recording mode, press
the tape play and tape record
buttons simultaneously. (The
tape will start recording when
you move the switch on the
microphone handle back to the
ON position.)
The tape-deck motor switch prevents the tape
from running when the switch is at the OFF posi
tion.
10
b. When you are ready to record,
move the switch on the micro
phone back to ON, pause briefly
to let the tape reach proper
speed, and then narrate the
script into the microphone in a
normal speaking voice.
c. The red audio recording light
will flicker, indicating that your
voice is being recorded. The
built-in AGO (automatic gain
control) will keep the recording
level at an acceptable level.
For Models 470 and 570AF:
Recording a 150 Hz program-pause
signal immediately before the begin
ning of the program so the tape al
ways conveniently stops at the begin
ning of the program in the playback
mode will be helpful to you and other
program presenters. To do this:
1. Put the machine into the recording
mode by pressing the tape play and
tape record buttons simultaneously.
2. Let the tape run for several
seconds from the beginning.
3. Press the tape pause/restart button
for about 1/2 second to record the
program-pause signal.
4. Allow the tape to play for two
more seconds and then stop it by
moving the switch on the handle of
the microphone to the OFF posi
tion. You can then start recording
the script.
Evaluating the Soundtrack and
Correcting Any Errors
Rewind and listen to the tape. Is the
sound level adequate—and consis
tent? Are there distracting back
ground noises? Is each word clearly
enunciated and correctly pro
nounced? Does the narration sound
like it was patched together from sev
eral recording sessions or does it flow
smoothly at the same playback level
from beginning to end? If you discov
er errors in your recording or if you
wish to make changes to it, change the
script first. Then:
1. Play the tape to any pause in
sound before the required record
ing change.
2. Record the new section, making
sure to avoid erasing good audio.
3. Stop, rewind, and listen to the cor
rected section.
How to Record the Slide-Advance
Pulses
IMPORTANT: To prevent
erasing the audio from the
tape while the AudioViewer/
Projector is being used to
record slide-advance pulses
(and program-pause signals
with Model 470 and Model
570AF), disconnect the
microphone.
When the microphone is discon
nected, slide-advance pulses and pro
gram-pause signals can be erased and