I ' 7 – Kodak EKTAGRAPHIC 470 User Manual
Page 16
Attention! The text in this document has been recognized automatically. To view the original document, you can use the "Original mode".
Tray Advance Unreliably?
Compact cassette slide-advance sig
nals and program-pause signals con
forming with spacing, frequency, du
ration, and level characteristics listed
under "Specifications” on page 17 will
operate the AudioViewer/Projector
dependably. Signals not conforming
to these specifications may result in
undependable operation. For example,
slide-advance signals of the correct
frequency (1000 Hz) but of the wrong
duration (other than 0.07 sec.) may
result in erratic slide-tray advance.
(Tapes made in conformance with
ANSI Standard PH7.4-1975 will oper
ate this machine dependably.)
Tapes recorded with earlier models
of the EKTAGRAPHIC AudioViewer
or EKTAGRAPHIC AudioViewer/
Projector will operate an
EKTAGRAPHIC AudioViewer/
Projector, Models 220, 270, 470, or
570AF dependably, and vice versa.
OWNER’S
MAINTENANCE
Cleaning the Built-In Tape Deck
If possible, clean the built-in tape
deck after every program. Cleaning
the tape deck takes only a few min
utes and helps prevent buildup of
oxide from tapes and loss of sound
fidelity.
1. Unplug the power cord!
2. Press the tape stop/eject button to
open the cassette well. Then par
tially close the cassette well door
to position the heads of the tape
deck for more convenient access
for cleaning.
3. Press and hold in the tape play
button to keep the tape heads
forward.
4. Rub the capstan, tape-guide path,
and metallic heads with a cotton
swab moistened with head-clean
ing solution or isopropyl alcohol.
Do not touch the heads with any
metallic object. A head-cleaning
cassette (available at radio-supply
stores) can be used occasionally,
but a swab dipped in isopropyl
alcohol is preferred.
i
1%
J
I
i ' 7
-WMi
^,
Head-Cleaning Cassette
Cleaning the Built-In Viewing
Screen
Use a soft, damp cloth to clean the
built-in viewing screen. Do not use
lens-cleaning solutions or tissues con
taining silicone.
The optics and mirrors inside the
AudioViewer/Projector should be
cleaned only by a qualified techni
cian, such as those at a Kodak Ser
vice Center (addresses on back cover).
Partial disassembly of the Audio
Viewer/Projector is required for this
Adjusting the Position of the Image
on the Built-In Viewing Screen
All KODAK EKTAGRAPHIC Audio-
Viewer/Projectors have been designed
to let the owner maintain, and make
minor adjustments to, the machine as
necessary.
The front mirrors have to be read
justed when the image on the built-in
screen is not in perfect alignment.
Adjustments are made with the
screws located on the front-projection
door. Be sure the image-magnifying
lever is located in its "up” position,
for normal (unmagnified) viewing
of images; then close the front-
projection door.
Vertical Image Alignment
1. Insert a slide into the gate of the
Audio Viewer/Proj ector.
2. Turn the lower left screw to center
the image vertically. (The front-
projection door may need to be
opened slightly to reveal the
screw.)
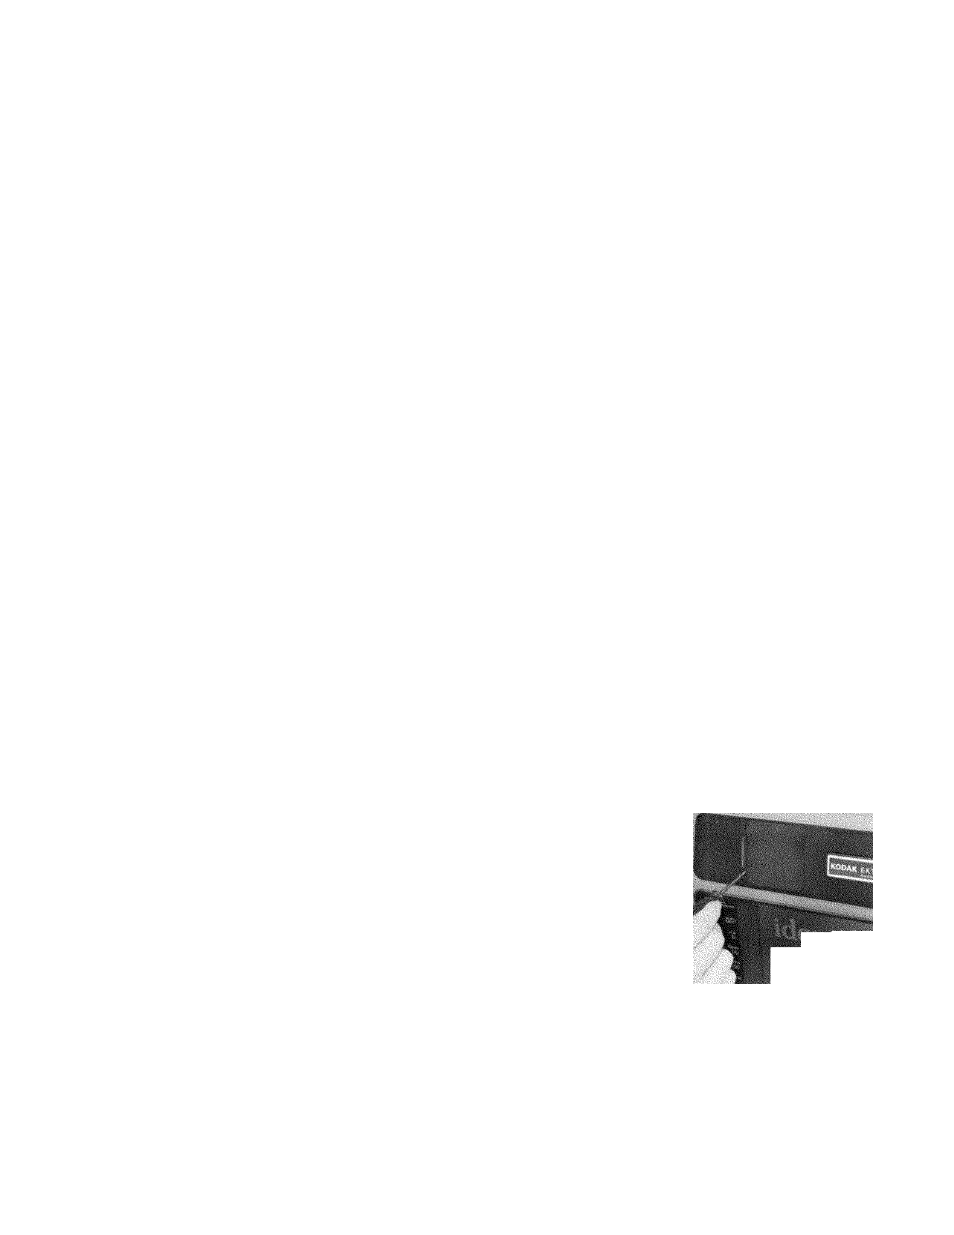
Clean the tape deck often to prevent buildup of
oxide on the heads and loss of sound fidelity.
Horizontal Image Alignment
1. Insert a slide into the gate of the
AudioViewer/Projector.
2. Turn the upper right screw on the
front-projection door to center the
image from side-to-side.
13