Install the cockpit interior, pilot & canopy – Top Flite TOPA0955 User Manual
Page 25
25
o
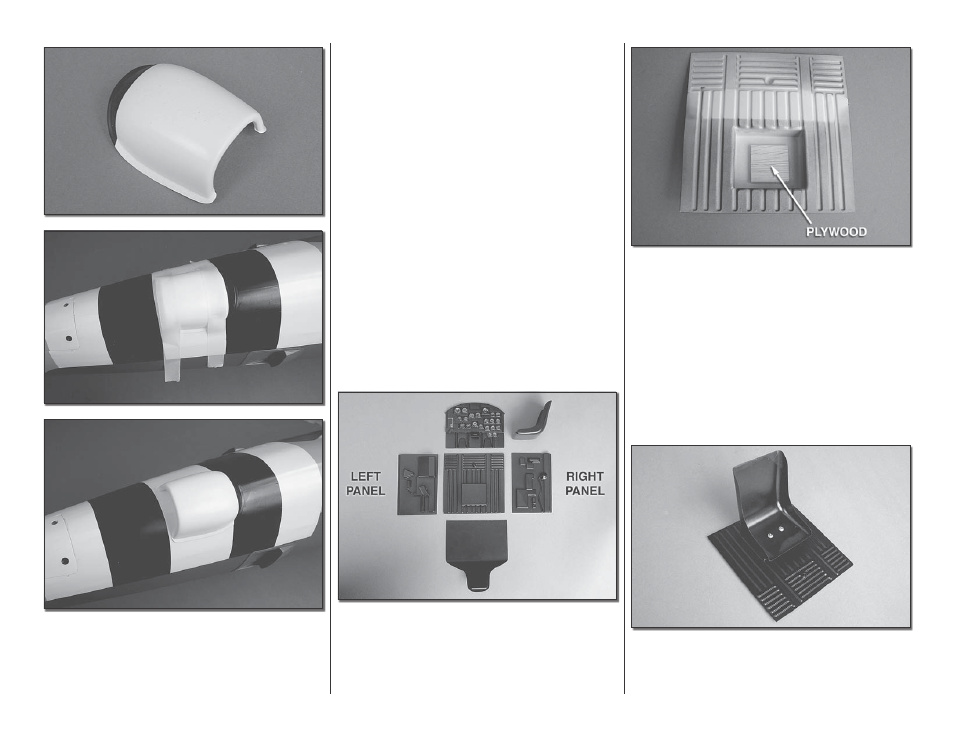
3 . Mark the location for the bottom scoop . This is
in the center of the fuselage and should be aligned
with the black and white stripes . This scoop does
not have a lot of gluing area, making it difficult to
cut enough covering away to make a difference . It is
suggested that you glue this directly to the covering
with 6-minute epoxy . In our testing this held very well .
Mix a small amount of epoxy and tape the scoop in
place . Clean up any glue residue with alcohol .
INSTALL THE COCKPIT INTERIOR,
PILOT AND CANOPY
o
1 . The cockpit is made up of the floor, two side
panels, instrument panel, back/head rest and the
seat . The components are pre-painted but scale
minded modelers may wish to add additional detail
and color to their cockpit . Now is a good time to make
these additions .
o
2 . If you will be installing a pilot he will be glued
to the seat . To be sure the weight of the pilot coupled
with stresses in flight does not cause the seat to
come loose, it is recommended that you glue a 1"
[25mm] square piece of plywood (not included) under
the riser on the floor . This will allow you to glue and
screw the seat in place .
o
3 . Test fit the interior to the fuselage . Install the
back/head rest first followed by the floor, instrument
panel and side panels . Trim as needed to get a
good fit .
o
4 . Epoxy the seat in place . When the glue has
cured, drill two 1/16" [1 .6mm] holes through the seat
and into the plywood . Screw the seat in place with #2
x 3/8" [10mm] screws and #2 flat washers .