Top Flite TOPA0210 User Manual
Page 9
❏ 7. Remove the assembly from the plan.
❏ 8. Final sand the fin assembly. Shape the LE of the
fin and the top of the dorsal fin to the shape shown
on the plan.
❏ 9. Draw a centerline on the TE of the fin in the
same manner as was done for the stab.
Install the hinges
❏ 1. Mark the location of the hinge slots on the
elevator halves, stab, fin and rudder where shown on
the plan.
We have simplified the task of cutting hinge slots
with the introduction of the Great Planes Slot
Machine
™
. This simple electric tool cuts a perfect
width slot for use with CA hinges.
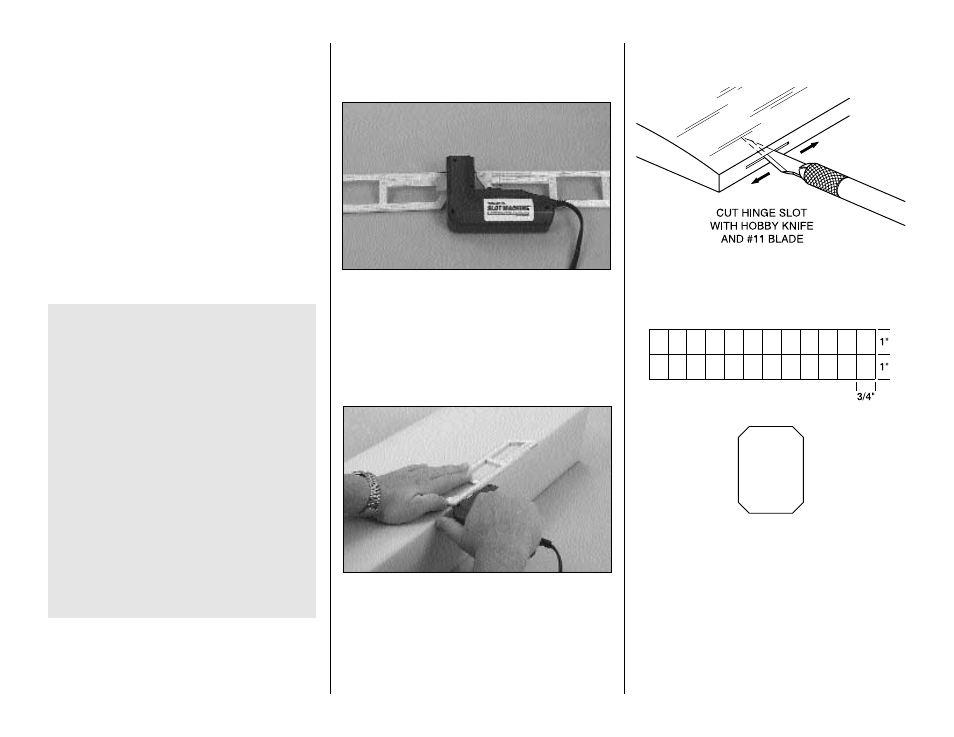
To cut the hinge slot place the blades onto the wood
where you want the slot. Lightly press the teeth into
the wood. When you are satisfied with the location
press the button on the handle and the blades will
cut easily into the balsa wood.
If you choose not to purchase a Slot Machine you
can make the slots following these instructions.
❏ 2. Cut the hinge slots in the elevators, stab, fin and
rudder along the centerlines you marked earlier with
a #11 blade.
❏ 3. Using the sketch above, cut nine hinges from
the CA hinge strip supplied with the kit. Snip the
corners off so they go into the slots easier. You may
cut all nineteen hinges that will be used for the
airplane or just cut them as you need them.
❏ 4. Test fit the hinges into the slots. If the hinges do
not slide into the slots easily, work your knife blade
back and forth in the slot a few times to provide more
clearance (it is really the back edge of the blade that
does the work here in widening the slot).
IMPORTANT NOTES ABOUT CA HINGES
This kit is supplied with a CA hinge material
consisting of a 3-layer lamination of Mylar and
polyester. It is specially made for hinging model
airplane control surfaces. When properly installed,
this type of CA hinge provides the best combination
of strength, durability and easy installation. We trust
all of our Gold Edition warbirds to these hinges, but
it is essential to install them correctly. Carefully
follow the hinging instructions in this manual for the
best result.
The most common mistake made by modelers when
installing CA hinges is making the hinge slots too
tight restricting the flow of CA to the back of the
hinges; or not using enough glue to fully secure the
hinge over its entire surface area. This results in
hinges that are only tack glued into the hinge slots.
The techniques for cutting the hinge slots and gluing
in CA hinges (near the end of the manual) have been
developed to ensure thorough and secure gluing.
9