Re-establishing proper booster/horn interfaces – Sonics 2055-Press User Manual
Page 21
• • • • • • • • • • • • • • • • • • • • • • • • • • • • • • • • • • • • • • • • • • • • • • • • • • • • • • • • • • • • • • • • • • • • • • • • • • • • • • • • • • • • • • • • • • • • • • • • • • • • • • • • • • • •
I N S T R U C T I O N M A N U A L • M O D E L 2 0 5 0 / 2 0 5 5
20
RE-ESTABLISHING PROPER BOOSTER / HORN
INTERFACES
To re-establish proper interfaces, follow these instructions:
1. Using open-ended wrenches, separate the booster from the horn. Clean
each item and then examine interfaces for irregularities (scoring).
2. If irregularities are present, remove the stud.
3. Tape a sheet of 400 grit emery cloth to a smooth, flat surface. (Do not use
coarser than 400 grit.)
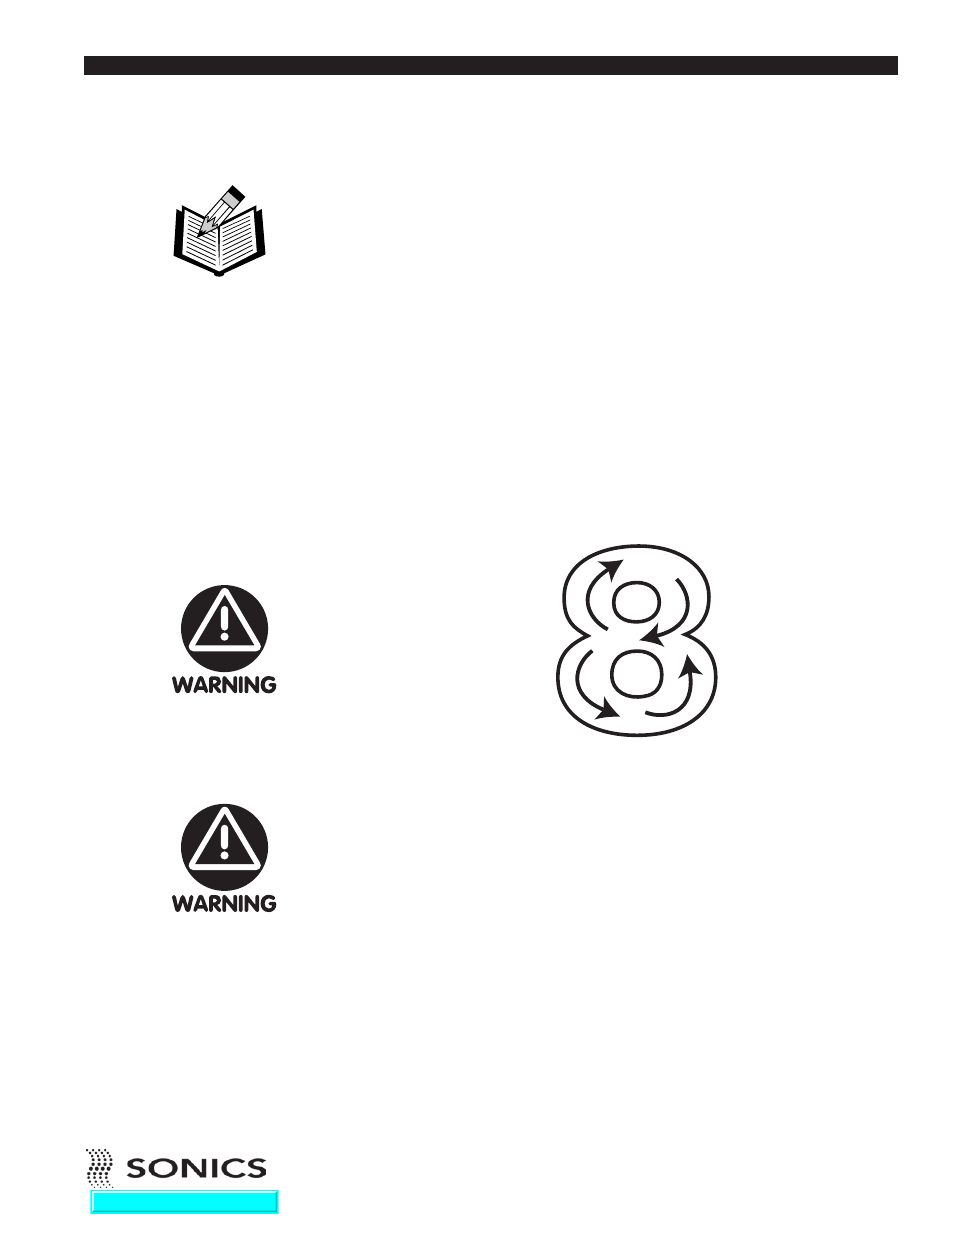
4. Grasp the lower portion of the booster or horn and move it across the
emery cloth. To ensure proper lapping, a) hold the part straight, b) apply
light downward pressure, and c) move in one direction only in a figure 8
pattern.
Repeat the figure 8 pattern once more.
5. Then, rotate the booster or horn 1/3 of a turn in a clockwise direction and
then repeat step 4.
6. Repeat step 5.
7. Using wire brush, clean stud, then replace securely. Tighten new stud to
the recommended torque specifications on page 15.
NOTE: Contact between
the booster and horn
should be parallel. When
encountering symptoms
such as loud noises or
tuning difficulties, examine
the booster / horn
interfaces for parallelism,
corrosion, galling or foreign
deposits. Also check the
integrity and tightness of
the stud.
DO NOT use anything
coarser than 400 grit
emery cloth.
Machining of booster / horn
may alter the ability to tune
the component to the
system. System inoperation
may occur.
Go To Top Of Document