OmniSistem Q Scan User Manual
Page 25
Sound Graphics Editor Continued
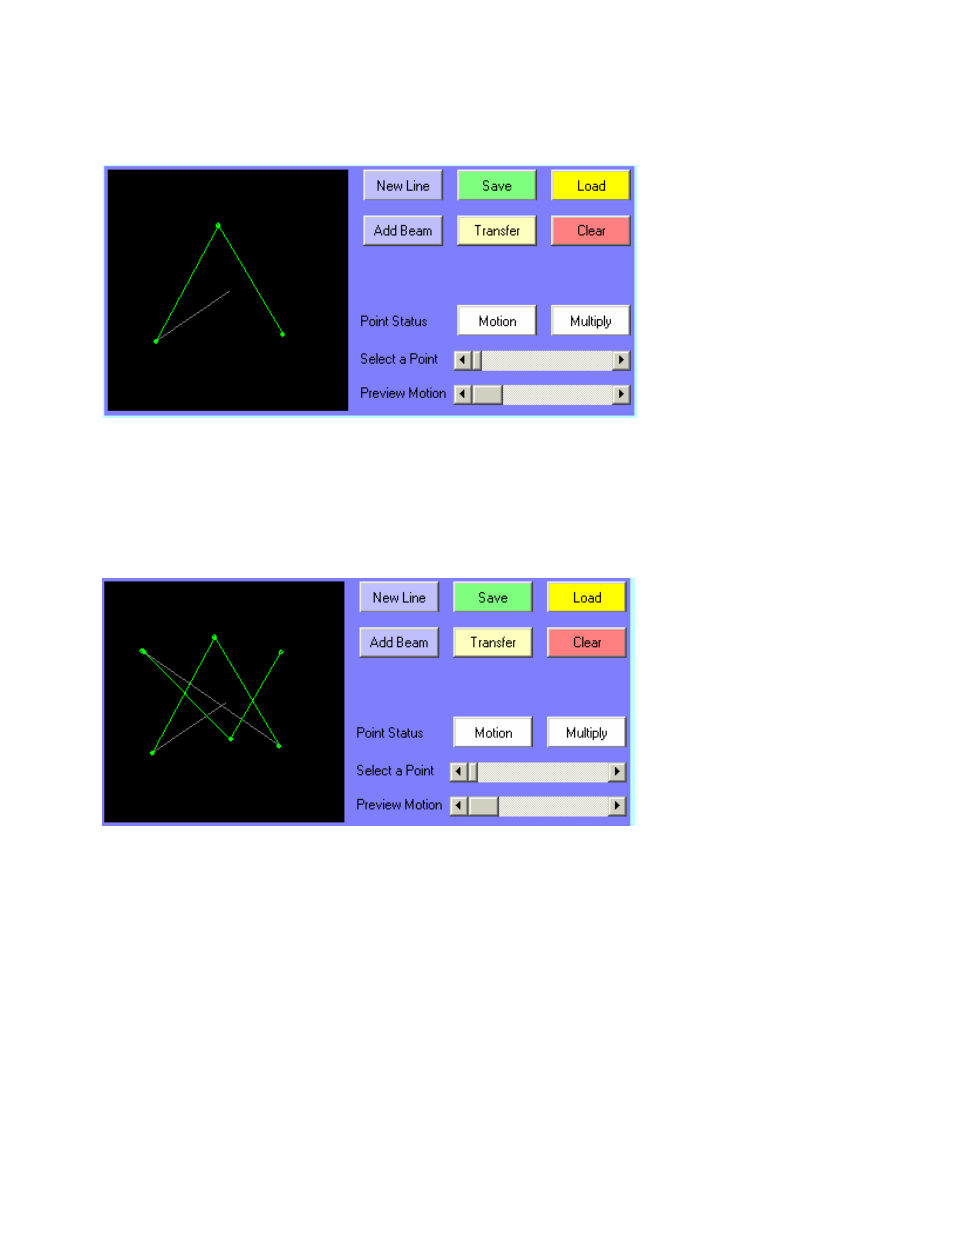
The Graphic always starts in the center with the laser beam off. This is seen as a dull gray line to the first
visible point.
A green line represents a visible line in the final display.
Now click New Line button again. Click 3 more times inside the edit window. Note that a new line has been
drawn with a dull gray line connecting the first and second.
Again, the dull gray line represents the travel path from the end of one line to the beginning of the next with
the laser off.
Next, click the small right arrow on the SELECT A POINT fader. Notice that the selected point in the edit
window is marked with a small circle.
Each point is numbered and the point number and it's x,y coordinate appear in the helper window above.
You may also have noticed that 3 new buttons are enabled. Move Select a Point fader until point #1 is
selected.
Then click the Move Button. When the mouse is put back inside the edit window, the marked point will attach
itself to the mouse pointer.
Now move the point to a new location and mouse click again to anchor that point.