Establishing switch access, Introduction, Establishing a console connection with the p460 – Avaya P460 User Manual
Page 55: Chapter 7, Figure 7.1, M460ml-spv supervisor module serial console port
Avaya P460
Installation and Maintenance Guide
41
Chapter 7
Establishing Switch Access
Introduction
This chapter describes how to access the Avaya P460 CLI from the following
devices:
•
A terminal to the serial port on the Supervisor Module
•
A workstation running a Telnet session connected via an I/O module (Inband)
•
A workstation running a Telnet session connected to the Console Fast Ethernet
port on a Supervisor module (outband)
•
A remote terminal/workstation attached via a modem (PPP connection) to the
Supervisor Console Serial port. (Sideband)
Establishing a Console Connection with the P460
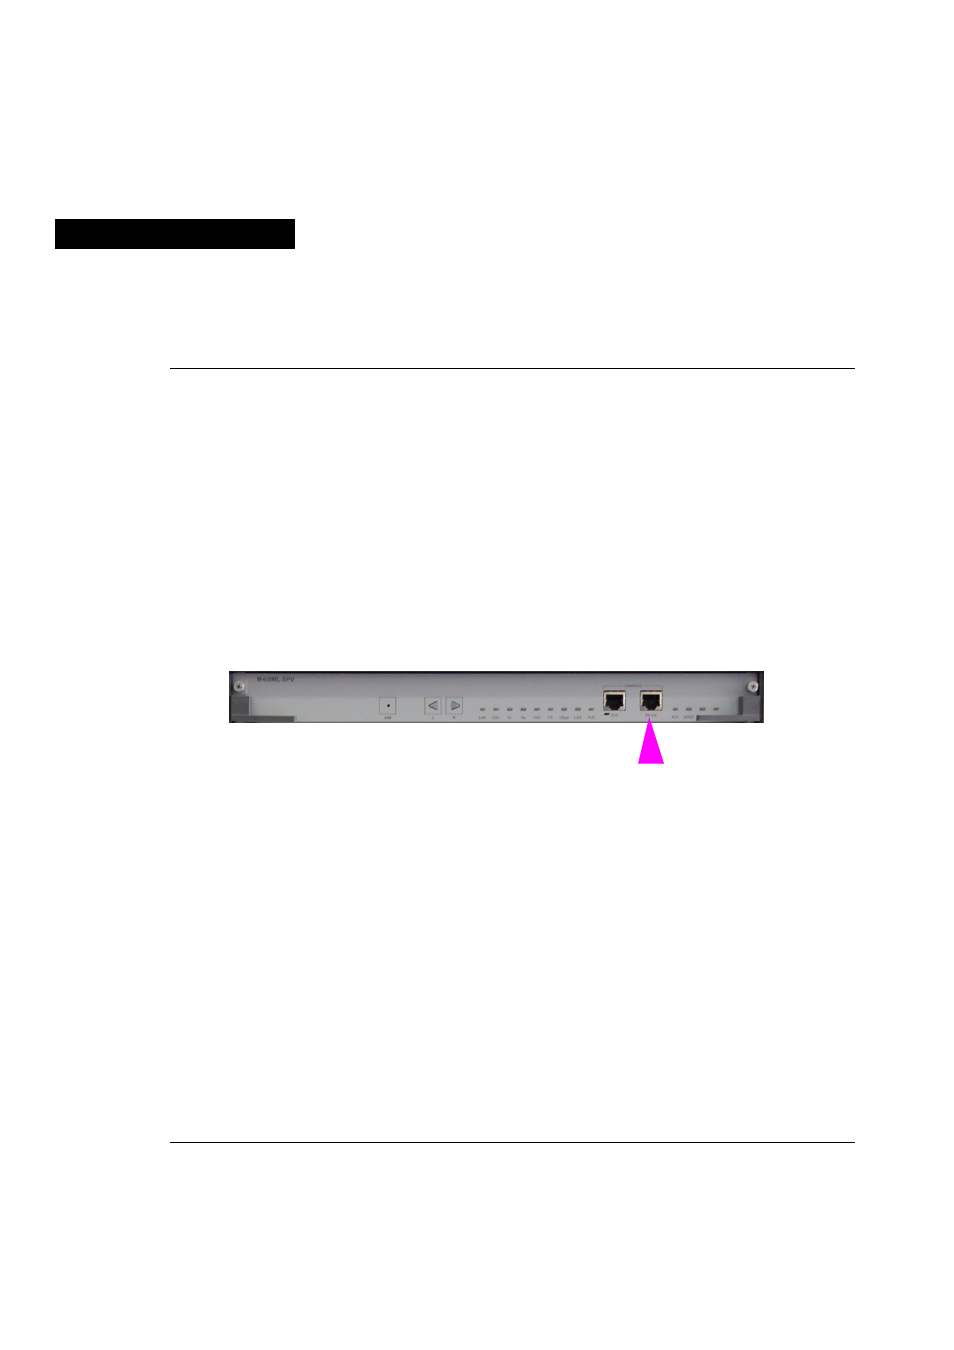
Figure 7.1
M460ML-SPV Supervisor Module Serial Console Port
Perform the following steps to connect a terminal to the P460 Serial Console port for
configuration of switch parameters:
1
Use the serial cable supplied to attach the RJ-45 console connector to the
Console port of the active M460ML-SPV module. Connect the DB-9 connector to
the serial (COM) port on your PC/terminal.
L The active Supervisor module is indicated by the ACT and OPR LEDs being lit.
2
Ensure that the serial port settings on the terminal are:
— 9600 baud
— 8 bits
— 1 stop bit
— no parity.
X If you reset or powered up the switch after connecting and configuring the
terminal, Welcome to P460 appears followed by the Login Name prompt.
L If the login prompt does not appear, press a key on the terminal.
3
Enter the default login: root.
X The Password prompt appears
4
Enter the user level password: root.