I/o module installation procedure, Figure 3.11 i/o module component location – Avaya P460 User Manual
Page 31
Chapter 3
Avaya P460 Chassis and Module Installation
Avaya P460
Installation and Maintenance Guide
17
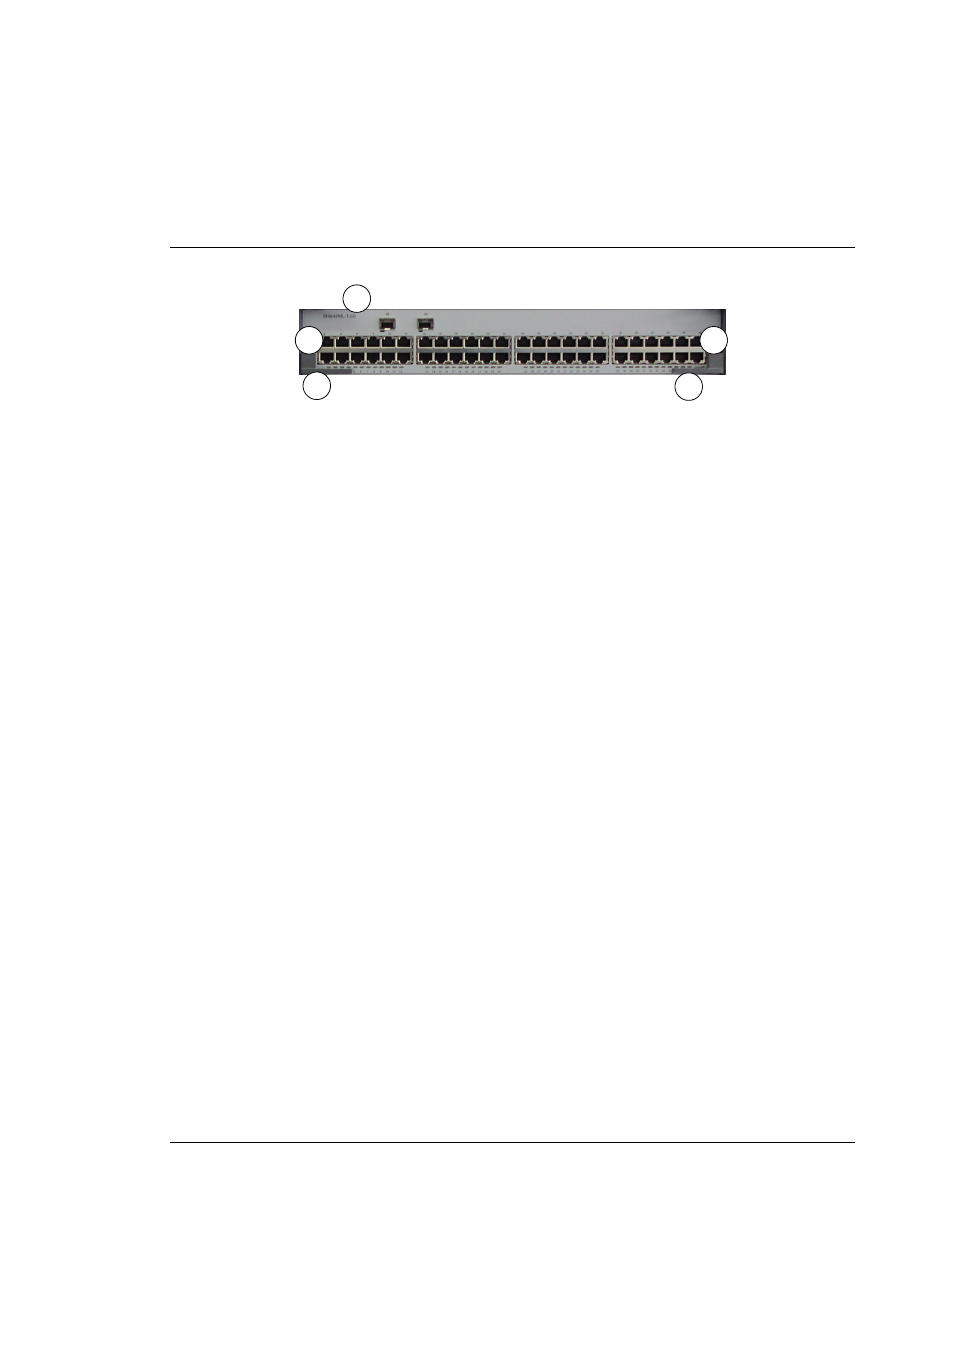
Figure 3.11
I/O Module Component Location
Key
1
Module label
2
Securing screws
3
Locking handles
I/O Module Installation Procedure
To install an I/O module:
1
Remove the blanking plate by unscrewing the captive screws and gently pulling
the plate towards you.
2
Open the locking handles at the edge of the front panel. See Figure 3.12.
3
Position the module as shown in Figure 3.12.
4
Gently slide the module in.
L Ensure the hooks on the locking handle are aligned with the matching holes on
the chassis.
5
Close the locking handles.
X The module slides back and connects to the backplane.
6
Gently tighten the screws.
L For module-specific information, refer to the Installation Guide shipped with
the module.
2
3
1
2
3