Checking/deleting received fax documents – Canon ImageCLASS MF8050Cn User Manual
Page 102
6-18
U
sing the F
ax F
unc
tions
2
Select
] or [
], and
then press [OK].
Menu
Printer Settings
Timer Settings
Adjustment/Cleaning
System Settings
When the system manager ID and system manager PIN are
specifi ed
Use the numeric keys to enter the ID and number, and then press
[
] (ID).
Sys. Manager ID/PIN
Login: Press ID
Logout: Press ID
Manager ID: 0123456
PIN: *******
3
Select
] or
[
], and then press [OK].
System Settings
Device Information
Dept. ID Management
Network Settings
Communications Setti
4
Select
] or [
],
and then press [OK].
If
and then press [OK].
Communication Settings
Fax Settings
Memory Lock Settings
Select Country/Region
5
Select
] or [
], and then press [OK].
Memory Lock Settings
Off
On
Fax documents saved in the memory are printed.
6
Press [
] (Menu) to close the menu screen.
Checking/Deleting Received Fax Documents
You can check detailed information about fax documents
saved in memory. You can also delete unnecessary documents.
NOTE - - - - - - - - - - - - - - - - - - - - - - - - - - - - - - - - - - - - - - -
Stored documents in memory
You can specify the destination to forward the documents.
"Forwarding Received Fax Documents in Memory to Other
Destinations (Manual Forwarding)" (
You can print stored documents.
"Printing Received Fax Documents" (
- - - - - - - - - - - - - - - - - - - - - - - - - - - - - - - - - - - - - - - - - - - - -
OK
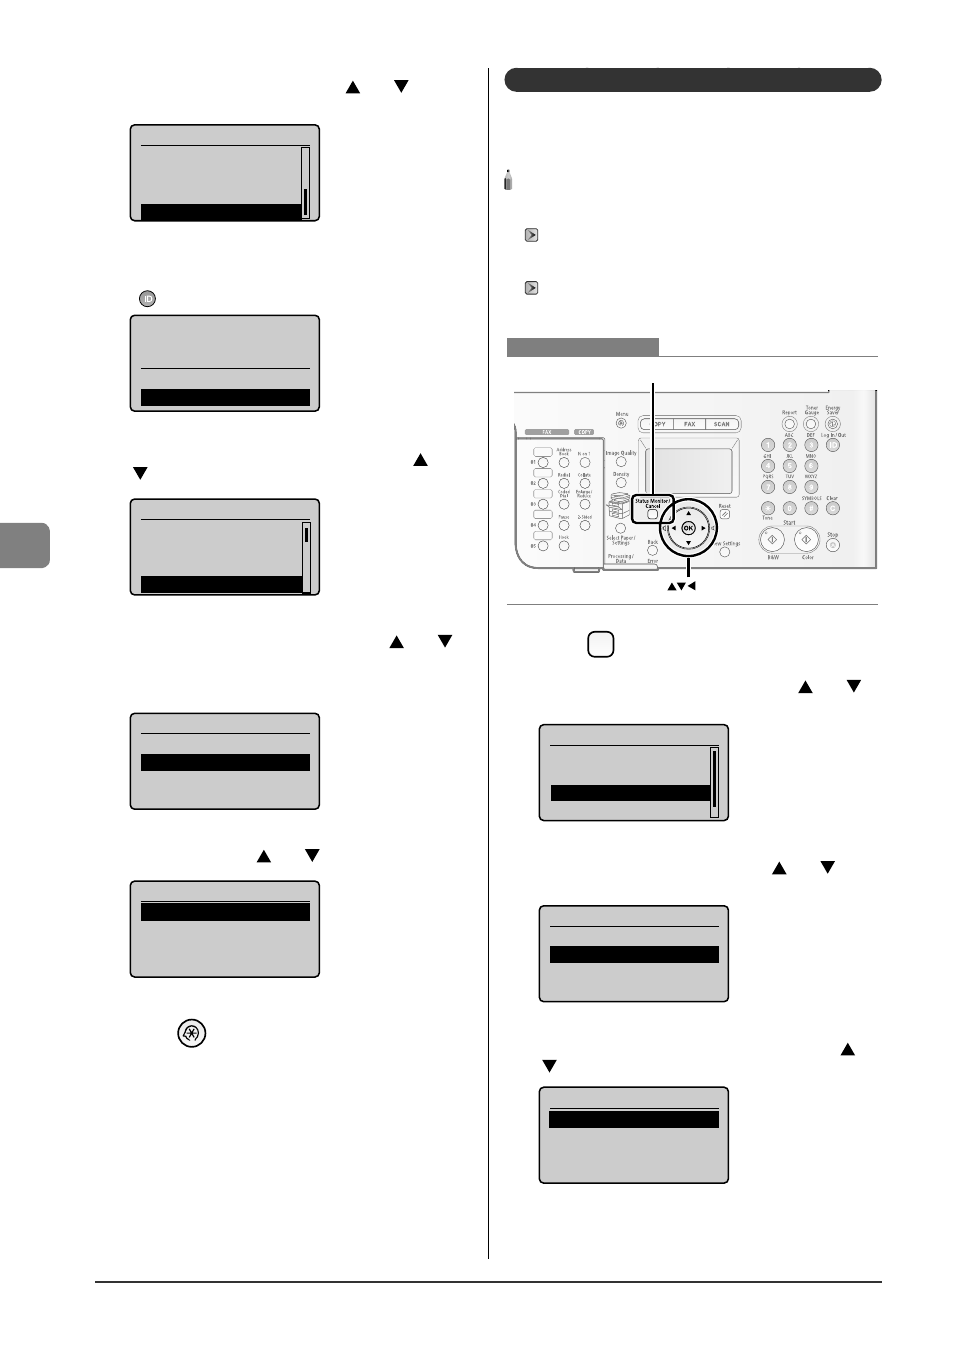
Status Monitor/Cancel
Keys to be used for this operation
1
Press [
] (Status Monitor/Cancel).
2
Select
] or [
],
and then press [OK].
Status Monitor/Cancel
Device Status
Copy Job Status
Fax Job Status/Histo
Print Job Status/Hi...
3
Select
] or [
], and
then press [OK].
Fax Job Status/History
Send Job Status
Receive Job Status
Job History
Forwarding Error Sta...
4
Select a job to be checked or deleted with [
] or
[
], and then press [OK].
Fax Receive Job Status
12:52AM Receiving
12:54AM Waiting:RX