Great Planes Reactor Bipe 3D EP ARF - GPMA1580 User Manual
Page 13
13
the plywood support plate. Apply a generous bead of epoxy
to the carbon tube and plywood support plate.
❏
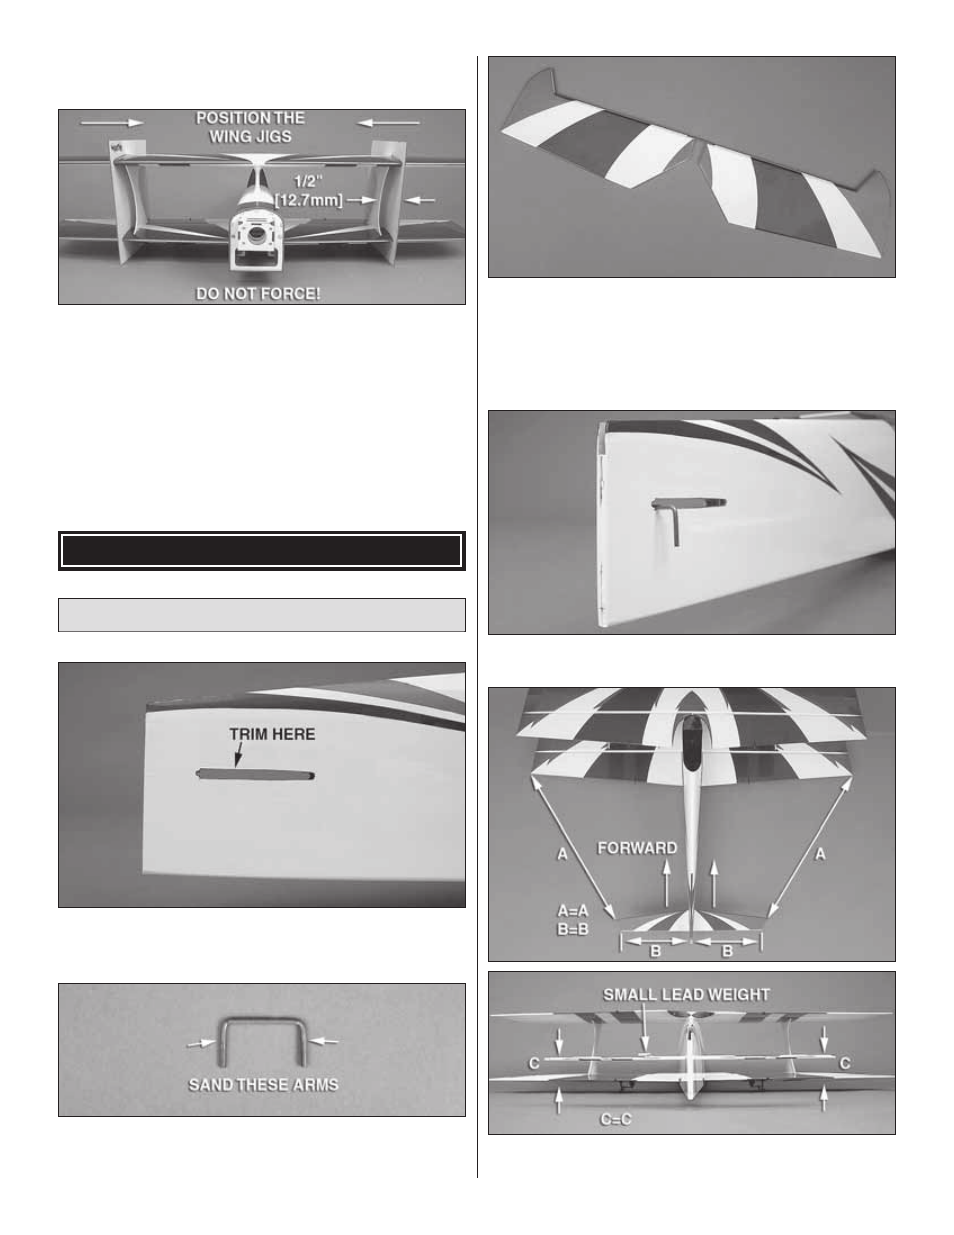
18. Slide the two wing alignment jigs onto the wings
as shown. Do not force the jigs to slide closer than 1/2"
[12.7mm] from the interplane struts. Check the alignment of
the top wing by viewing from the top down – match the LEs
of the top and bottom wings.
❏
19. Set the plane aside and allow the epoxy to cure.
BUILD THE FUSELAGE
Install the Horizontal & Vertical Tail
❏
1. Trim the covering from the opening in the fuselage
where the horizontal stabilizer will install. Re-tack the
covering using a sealing iron.
❏
2. Locate the “U” shaped elevator joiner wire and the
two elevator halves. Using 220-grit sandpaper, roughen up
the arms of the joiner wire.
❏
3. Lay the elevator assembly on a fl at work surface and
check to see that it lies fl at. If not, remove the elevator joiner
wire and bend it a small amount. Reinstall the joiner wire and
check it again. Caution: Do not attempt to bend the joiner wire
while it is installed in the elevator halves. This can damage the
wood and cause the elevator to come apart in fl ight.
❏
4. Insert the elevator joiner wire into the stab slot and
position it at the rear of the slot.
❏
5. With the airplane on a level surface, test fi t the horizontal
stab to the fuselage and position it so that it is as far forward