Great Planes Gee Bee Profile 40 Kit - GPMA0485 User Manual
Page 19
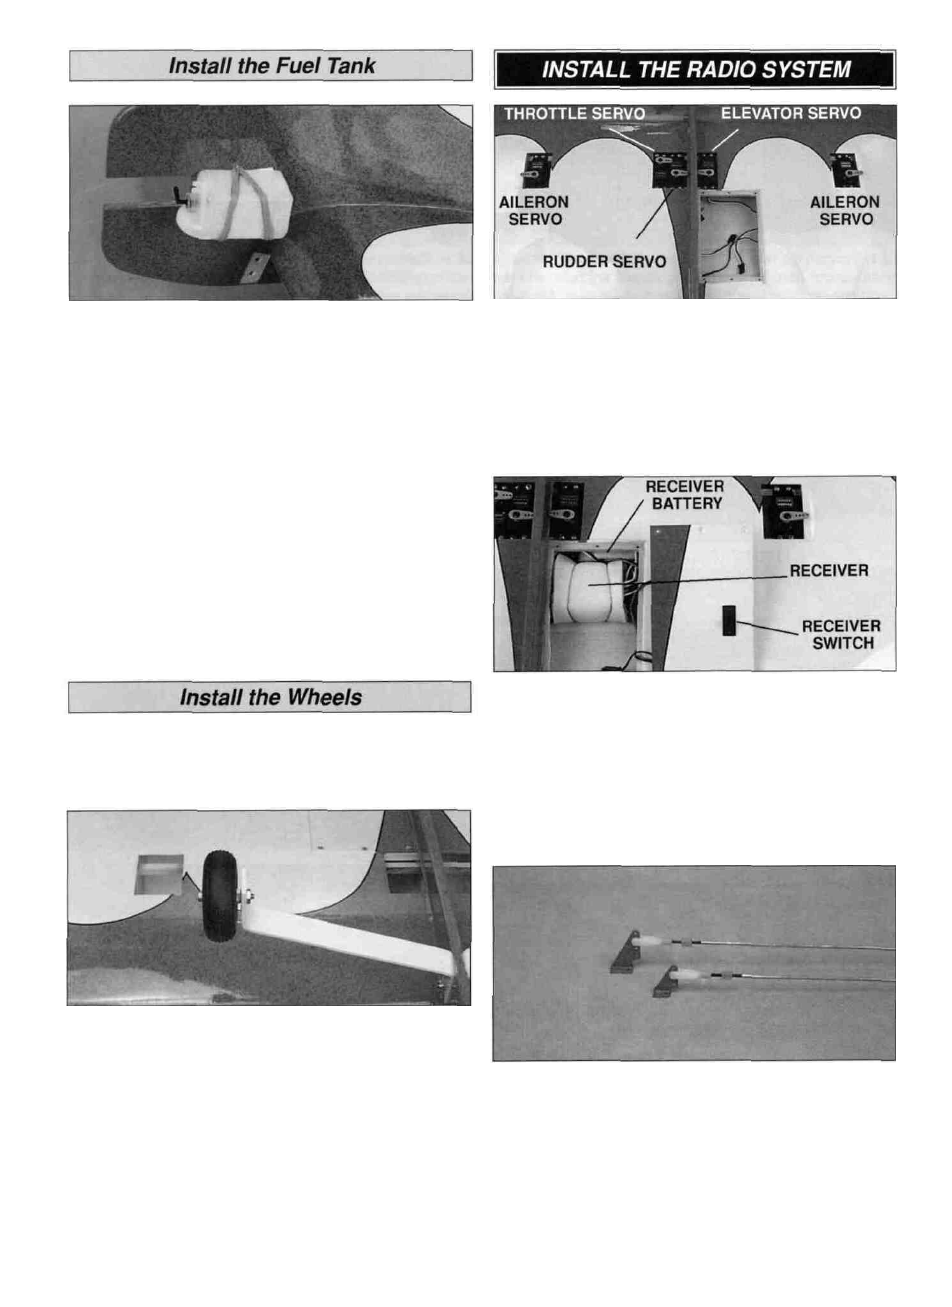
D 1. Assemble your 6 oz. fuel tank per the manufacturer's
instructions. Open the three "closed loop" eyelets slightly to
make hooks. Locate the position of the three hooks and
thread them into the left side of the fuselage. Place a piece
of 1/4" foam between the fuselage side and the tank. We
recommend you use 3 rubber bands to secure the tank to
the aircraft.
D 1. Install the elevator, rudder, throttle and two aileron
servos in the wing. Space the rudder, elevator and throttle
servos so that their servo arms do not interfere with each
other or the fuselage side. NOTE: The servo arms in the
picture have been painted for clarity.
D 2. Reinstall the engine. Connect fuel tubes to the fuel
pick-up fitting and the pressure fitting, on the fuel tank.
D 3. Connect the fuel pick-up tube to the carburetor.
Connect the pressure tube to the muffler.
D 1. Install a 1" tail wheel (not included) on the tailwheel
wire. Secure the tail wheel with a 3/32" wheel collar and
4-40 x 1/8" set screw.
D 2. Wrap the receiver battery in foam padding and insert
it in the front of the radio compartment. Plug the servos into
the receiver. Wrap the receiver in foam padding and place it
behind the battery at the front of the radio compartment.
Install the receiver switch in the hatch cover and plug the
receiver battery into the receiver switch.
D 2. Reinstall the landing gear to the fuse using 6-32 x 3/4"
cap head bolts and lock nuts. Insert a 8-32 x 1-1/4" socket
cap head bolt through each 2-1/2" wheel (not included).
Screw an 8-32 nut onto each bolt. Do not tighten the nuts
completely. The wheels must rotate freely. Insert the cap
head bolt through the landing gear, apply thread lock to the
bolt threads and secure the bolt to the landing gear with a
second 8-32 nut.
D 3. Slide a silicone retainer over the threaded end of
two 36" threaded pushrods. Thread a nylon clevis 14
turns onto each pushrod. Connect the clevises to one large
and one small nylon control horn. NOTE: The control
horns in the picture have been painted for clarity.
19