Great Planes Gee Bee Profile 40 Kit - GPMA0485 User Manual
Page 12
D 9. Remove the wing from the building board and turn it
over. Sand the sub-leading edge so that it's flush with the
tops of all ribs. Place the wing back on the trailing edge fixture.
D 10. Glue the second 1/16" x 3" x 36" leading edge sheet
to the ribs, beveled sub-leading edge and spar.
D 6. Temporarily position the servos on the servo rails.
From a 1/16" x 3" x 30" balsa sheet, cut sheeting to fit over
the center section and aileron bays. Use the plan to
determine the hatch location.
D 11. Glue the second 1/16" x 7/8" x 36" balsa trailing
edge sheet to the ribs and trailing edge.
D 7. From the 1/16" x 1/4" x 30" balsa sticks, cut and glue
the cap strips to the top of the wing ribs.
D 12. Cut, fit and glue the 1/16" x 3" balsa wing center
sheeting and 1/16" x 1/4" balsa cap strips to the wing ribs.
D 8. Trim the 1/16" x 3-3/8" x 5" plywood hatch cover to fit
the hatch frame as shown. Mark the location for the six
hatch screws. Place the hatch in position and drill a 1/16"
pilot hole through the hatch and hatch frame at each mark.
Countersink the six screw holes in the hatch. Test fit the
hatch to the wing using six #2 x 3/8" flat head screws.
Remove the hatch when you are satisfied with the fit. Apply
a couple of drops of thin CA to each screw hole in the hatch
frame to harden the balsa.
D 13. Sand the top and bottom leading edge sheeting until
it is flush with the front face of the sub-leading edge. Glue
the 1/4" x 1" x 36" balsa leading edge to the sub-leading
edge. You used this piece as a trailing edge fixture earlier
in the wing construction.
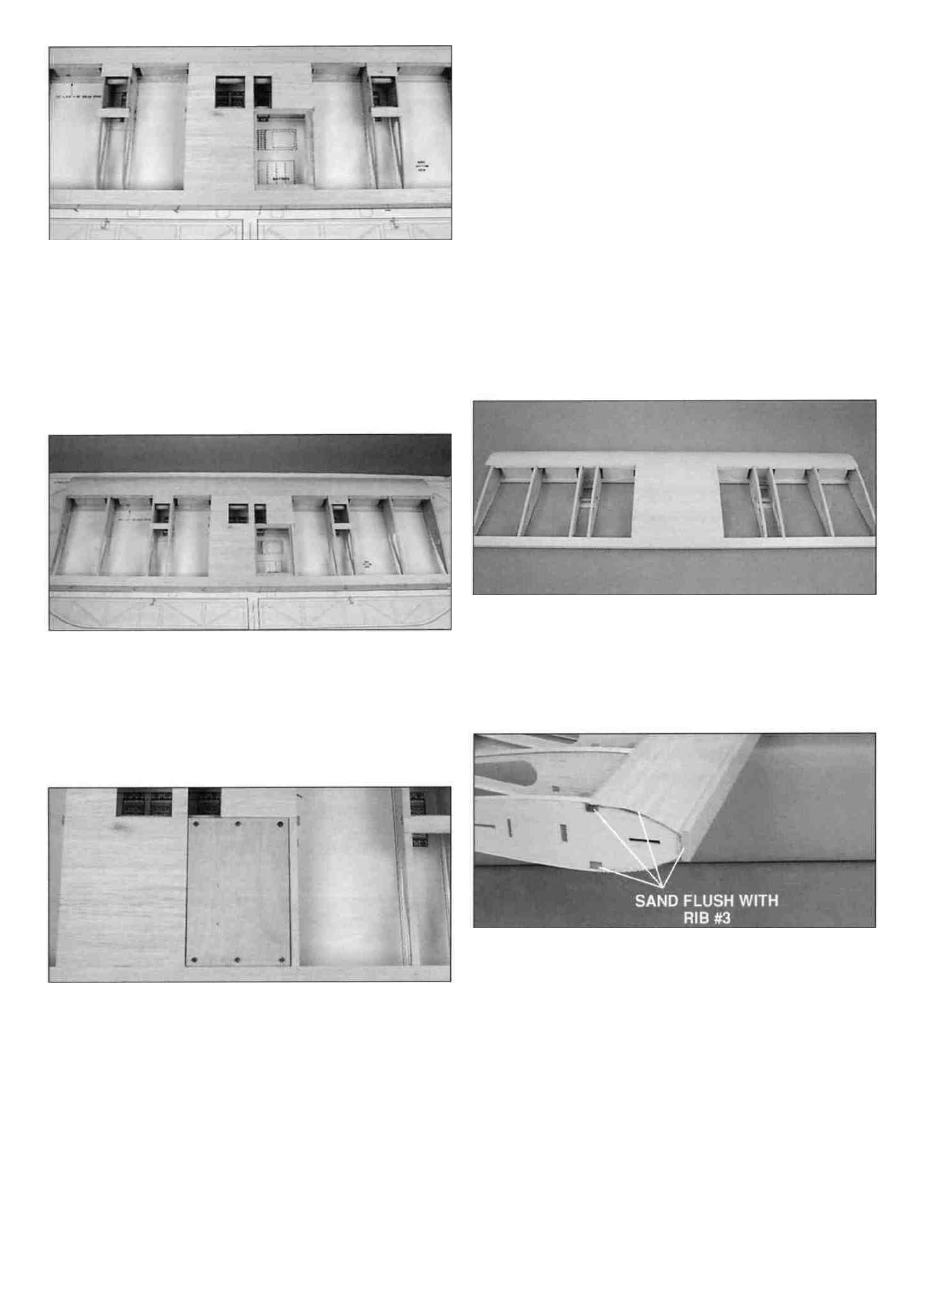
D 14. Trim and sand the LE to the shape as shown on
the plan.
12