Adjustments and flight techniques – Futaba 9VHP User Manual
Page 10
ADJUSTMENTS AND FLIGHT TECHNIQUES
(a) H 1 Type
Use this mixing mode with normal linkage.
4) Set the servos for AIL, PIT, and ELV opera-
tion by using the reversing function for each
servo.
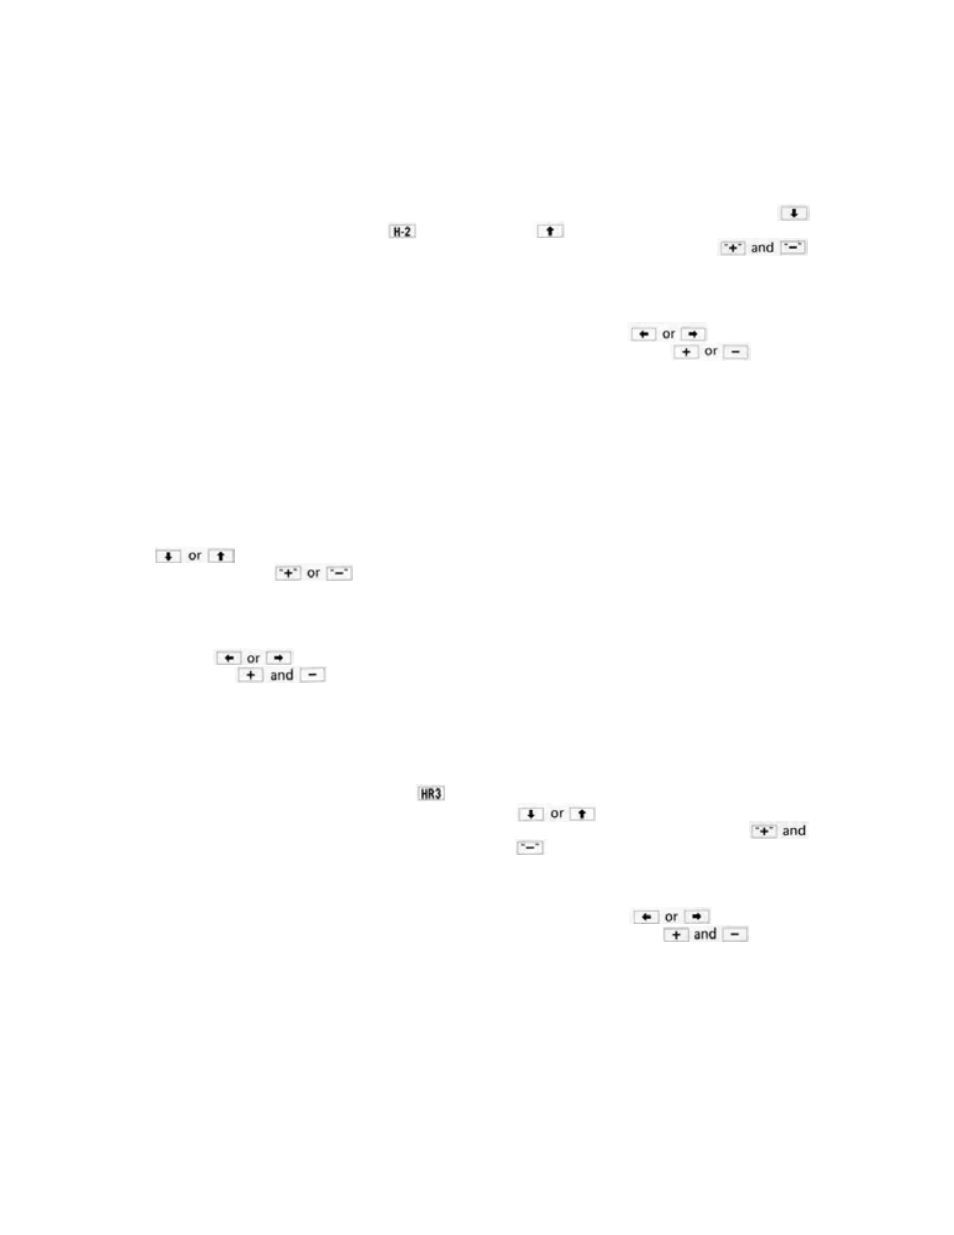
(b) H-2 Type, Fig. 1
5) Move the cursor to the rate line with the
1) Select the H-2 Mode by pressing the
pro-
gram key.
2) The swash plate has a pawl position every 90°.
Use the two 180° positions.
3) AIL and PIT are mixed to provide both aile-
ron and collective pitch functions.
When the aileron stick is moved, both the AIL
and PIT servos move in opposite directions to
tilt the plate left and right.
When a collective pitch input is given (T/C
stick), both servos move in the same direction
to lift the plate up and down vertically.
Use a normal mechanical linkage for the eleva-
tor.
4) Set the servos for aileron and pitch operation
by using the reversing function of each servo.
5) Move the cursor to the RATE line with the
key and set the direction of
operation with the
program keys.
6) Adjust the throw of each servo (AIL and PIT)
using the ATV function (See page
) so that
the travel is the same.
7) Move the cursor to the AIL or PIT position
with the
cursor key and set the
rate with the
program keys.
8) Since each servo is performing two functions,
use caution not to set the aileron and pitch
rates so that excess throw is required of the
servo mechanics.
(c) HR3
Type, Fig. 2
1) Select the HR3 Mode by pressing the
or
cursor key and set the direction of
operation of the servos with the
program keys.
6) Use the ATV function to set the throw of
each servo so that all are equal.
7) Move the cursor to the AIL, ELV, or PIT
position with the cursor
key
and
program
set the rates with the
key.
8) Because each servo performs two or three
operations, be sure that the rates set are not
excessive for the servo mechanics.
(d) H N 3 Type, F i g .
1) Select the HN3 Mode by pressing the HN3
program key of the SWASH MODE screen.
2) Use a swash plate with a pawl position every
120°.
3) Use three servos, linked directly to the swash
plate to perform the AIL. ELV, and PIT
operations.
All three servos operate to tilt the swash plate
left and right.
The elevator and pitch servos operate to
tilt
the plate fore and aft. The aileron servo re-
mains stationary.
All three servos operate in unison to move the
swash plate up and down.
4) Set the servos for AIL, ELV, AND PIT by
using the servo reversing function.
5) Move the cursor to the Rate line with the
program key.
2) Use a swash plate with a pawl position every
120°.
3) Use three servos linked directly to the swash
plate, to perform the AIL, ELV, and PIT
operations.
When the aileron and pitch servos are operat-
ed, the swash plate is tilted left and right. The
elevator servo remains stationary.
All three servos move to tilt the swash plate
fore and aft.
All servos operate simultaneously to move the
plate up and down.
cursor key and set the direction
of operation of the servos with the
program keys.
6) Use the ATV function to set the throw of
each servo so that all are equal.
7) Move the cursor to the AIL, ELV, AND PIT
positions with the cursor
key and
program
set the rates with the
keys.
8) Because each servo performs two or three
operations, be sure that the rates set are not
excessive for the servo mechanics.
[36]