Carl Goldberg GBGA1085 User Manual
Page 5
5
1.
Holding the wing joiner with the angle cut fac-
ing up, insert them into the joiner pockets in
both wing halves. The joiner should fit easily
in the pockets and the wing halves should
meet in the middle, with the wing dihedral form-
ing a broad "V".
2.
Working on a protected surface, and with a
paper towel handy for cleaning fingers,
THOROUGHLY mix 1-2 large (soup) spoons
each from bottle A and bottle B of Epoxy. (Use
equal amount of each part and mix with a stick
in a plastic or paper cup, or on a sheet of
waxed paper.)
Spread epoxy on the joiner on all sides.
Put additional epoxy in the joiner pockets and
in the dowel hole and spread a thin layer of
epoxy along one side of the entire center joint
area. Immediately proceed to the next step.
3.
Working rapidly, so that the epoxy does not
set before you are finished, slide the laminat-
ed wing joiner into one wing pocket.
Place additional tape at several locations
across the center seam of the wing, so that
the halves stay firmly together while the epoxy
sets.
Place a book under the raised wing to help
support it.
AILERON SERVO INSTALLATION
The following pictures may not exactly match the hard-
ware you are using. Always check the radio manufac-
turer's instructions when installing radio equipment.
1.
Collect the following items:
(1) Wing
(2) Servos with rubber grommets installed
(8) Servo Mounting Screw (supplied with radio)
(2) servo extensions (Might be needed with some
servos)
2.
Plug the
servo extension wire into the servo if
required.
IMPORTANT! To ensure that any connections located
inside the wing will not come loose, when the wires are
pulled, and during flying, always tape them securely
together with electrical tape.
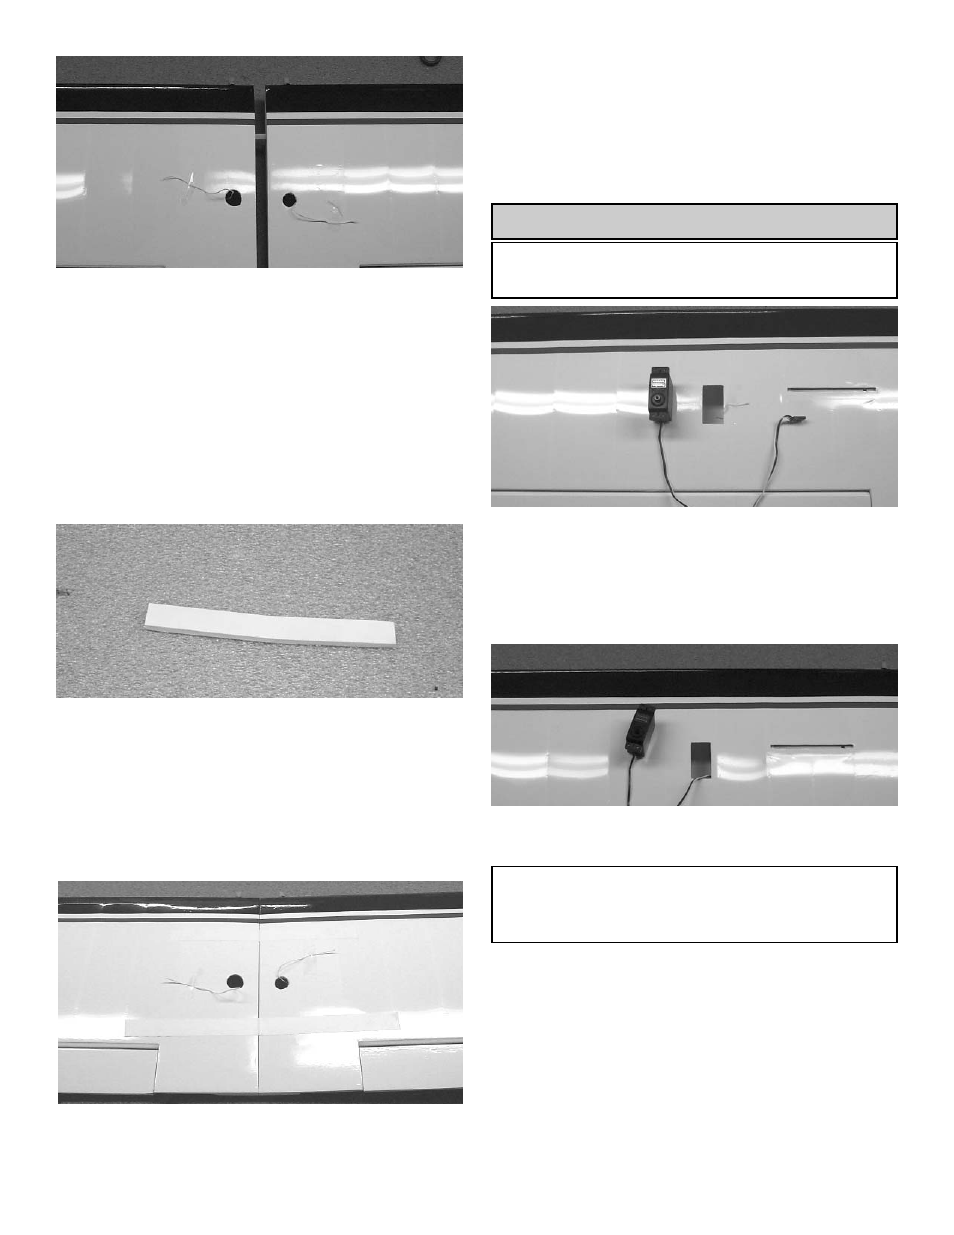
4.
With masking tape, tape the wing halves
together at the trailing edge and close to the
leading edge, as shown. This will help keep
the wing from twisting.