Carl Goldberg GBGA1087 User Manual
Page 10
10
10.
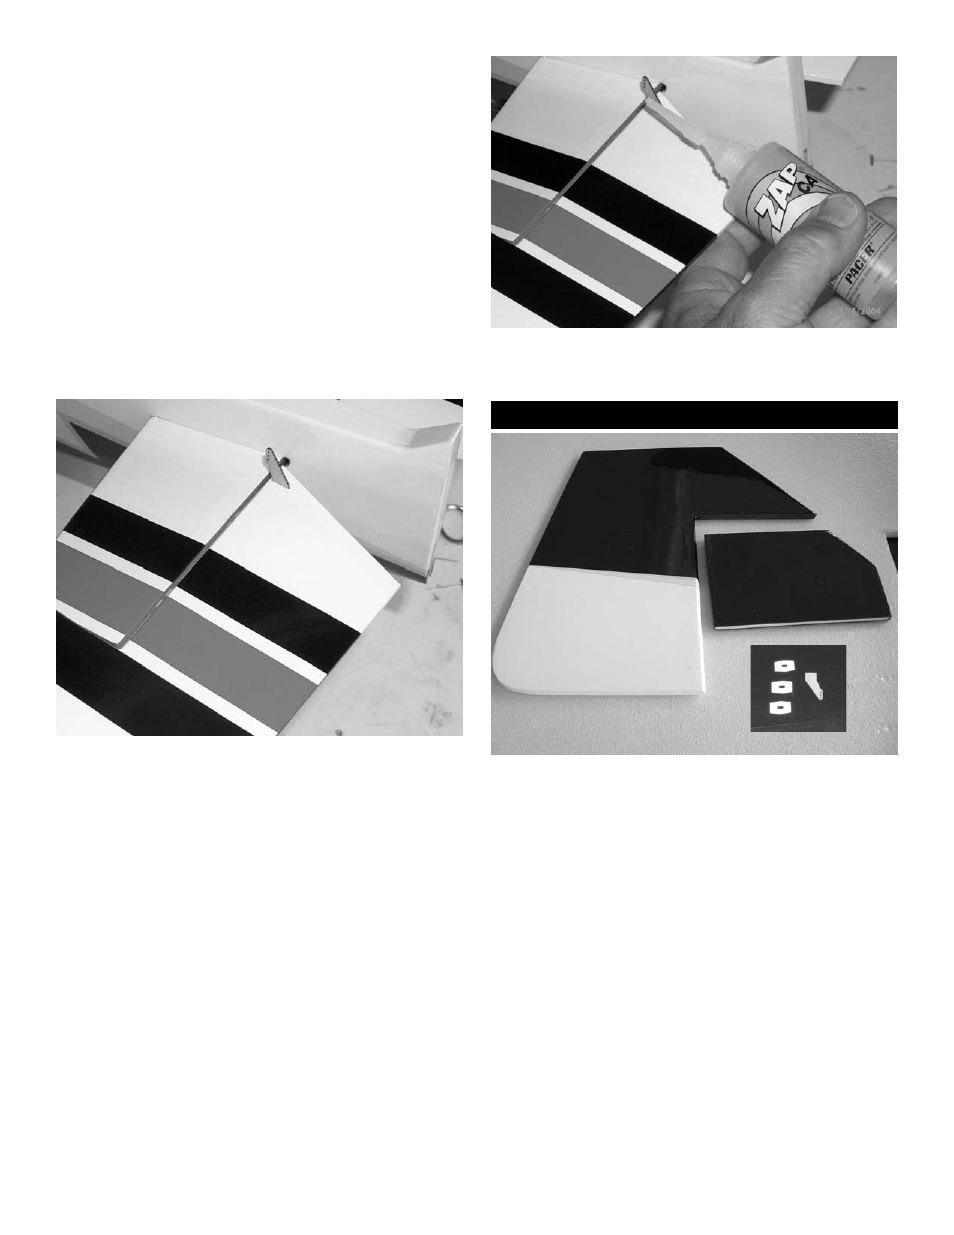
Remove the pin and push elevator tight
against the stab. Deflect the elevator to its full
travel in the down position. Apply one drop of
thin CA on each hinge.
Turn the plane over and put one drop of CA on
each hinge from the bottom side.
Go back and put one drop of CA on each hinge
top and bottom again.
11.
Repeat for the other elevator. Before gluing in
place make sure that both elevators are even
when installed on the joiner wire. If necessary
bend joiner wire till both elevators are level
with one another.
Fin And Rudder Installation
12.
Locate the slot for the elevator control horn on
the right elevator half. The slot is pre-cut in the
wood but covered over by the covering.
Remove the covering with an x-acto knife or
razor blade.
Install the control horn making sure the holes
for the pushrod are aligned over the hinge
line. The control horn should extend past the
top surface of the elevator 1/32”.
13.
Glue in place using thin CA. Glue on top and
bottom.
1.
Locate the following parts.
(1) fin
(1) rudder
(3) CA hinges
(1) laser cut control horn