Carl Goldberg GPMA0960 Gentle Lady User Manual
Page 13
13
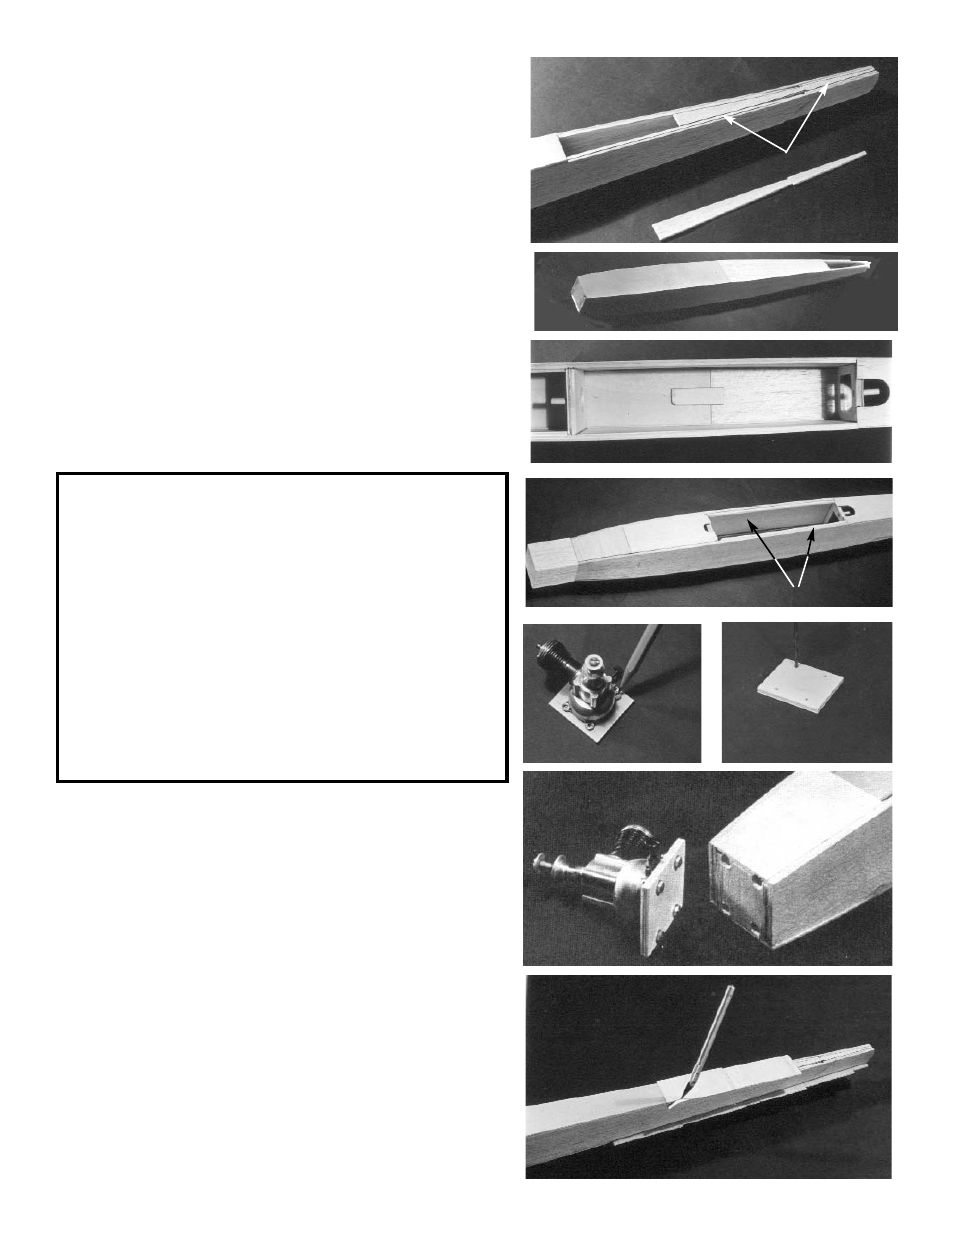
Glue main fuse top, and top rear doubler/stab platform in
place, and let fuse dry thoroughly. Note: Stab platform
fits between the fuse sides.
10.
Remove fuse from work surface, and glue 1/16” ply
bottom and main balsa bottom in place. If necessary,
spread sides in the hatch area to match the width of the
1/16” ply bottom.
From plan, locate the correct position for 1/8” ply tow hook
doubler, and glue securely in place inside fuse.
11.
From 1/8” square balsa cut two wing rails, and glue to
fuse sides as shown on plan. Note: front end of rails is
tapered.
Temporarily tack-cement hatch in place (it must be
removed later!)
Glue nose block to fuse front (unless, of course, you
intend to mount an engine there! In that case see next
step).
NOSE-MOUNTED ENGINE OPTION
12.
Remove tank and rotate it 90 degrees so you can side-
mount engine. Side-mounting helps to keep gunk off
model.
Center engine on 1/8” ply mount. Mark and drill 3/32”
holes for engine mounting screws.
Install engine on mount using screws, washers and nuts as
shown on the plan. Press mounted engine in position to
impress nut locations into former 1. Make recesses in
former 1 for nut clearance.
Gently sand fuse front to remove rough spots. Securely
glue engine mount to fuse front. Let dry.
Remove engine for easier sanding of fuse.
13.
From 1/16”x3”x18” balsa, cut rear top and bottom sheet-
ing
(grain running across fuse). Glue sheeting in place.
Rear
dooubler/stab
platform
Wing rest rails
This step for
nose mounted engine
installation only.