Fuselage construction (18 steps), Fuselage side construction – Carl Goldberg GPMA0960 Gentle Lady User Manual
Page 10
10
FUSELAGE CONSTRUCTION (18 Steps)
1.
Collect all of the items you will need to construct the FUSELAGE. They include:
(1) D/C Sheet 6008 Front Bottom/Triplers PT.#3457
( 1/16”x2-7/16”x15-3/16” ply)
(1) D/C Sheet 6009 (1/8”plyx2”x17”) PT#3458
Doublers/Servo rails
(1) D/C Sheet 6005 (1/16”x3”X24”) PT#3454
Main fuse top/Middle fuse bottom
(2) D/C Sheet 6004 (5/64”x2-7/8”x18”) PT#3453
Fuselage doubler
(2) D/C 6003 (5/64”x2-7/8”x36”) PT#3452
Fuselage Side 2 front and 2 rear
(1) D/C Sheet 6007 (1/8”x2-1/4”x14”) PT#3456
Formers/Hatch
(1) Balsa sheet/Fuse top (1/16”x3”x24”) PT#4686
(1) Firewall (1/8”x1-7/16”x1-9/16”ply) PT#4685
(1) Nose Block PT#4704
(4) Fuse longeron (1/8”SQ. x36”) PT#4705
(2) Dowel (3/16”x3/4”) PT#1746
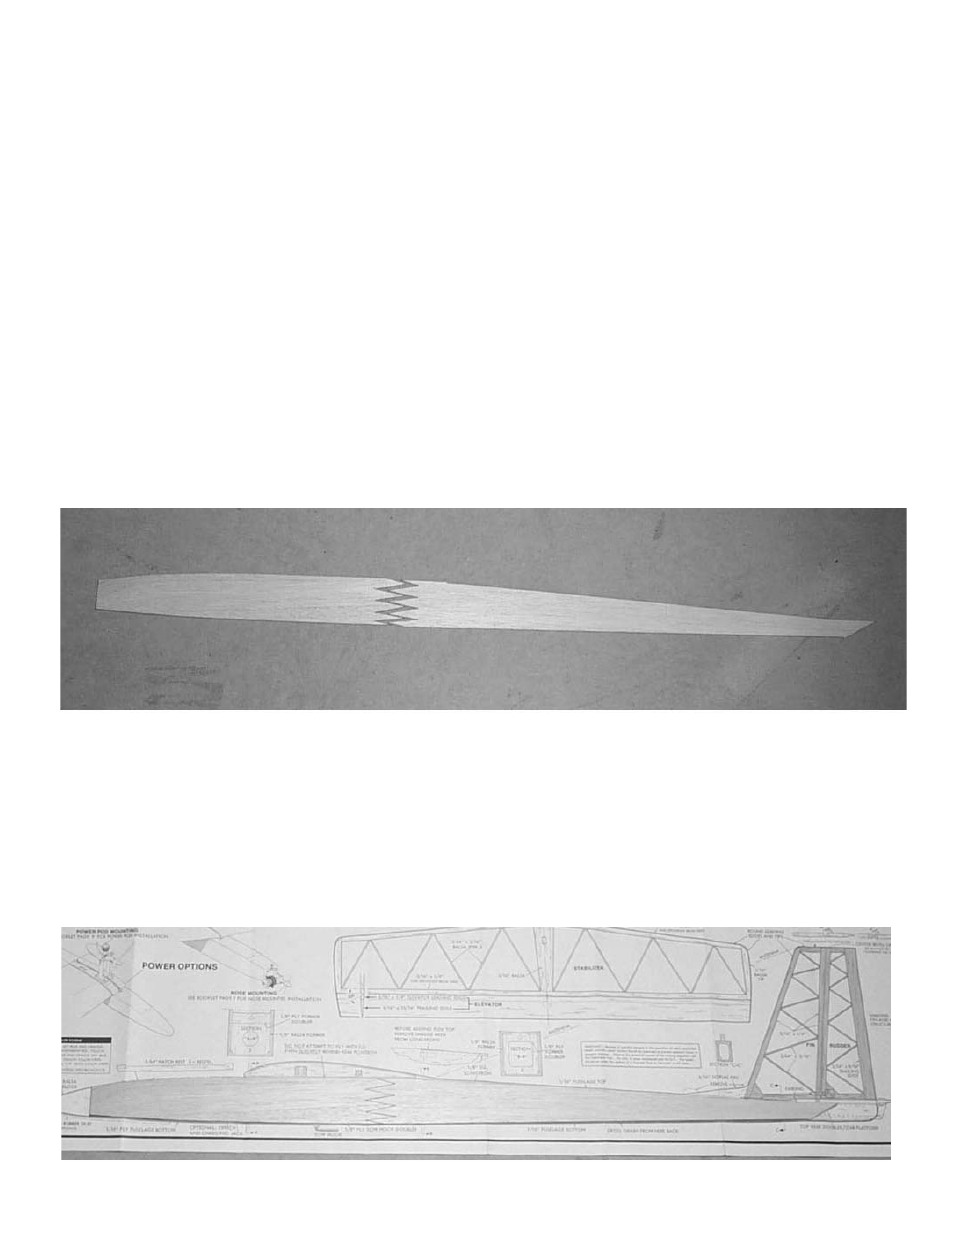
Fuselage side construction
2.
Locate the front and rear half of each fuselage side. They will need to be glued together at the finger joint
to form a complete side.
Trial fit the front and rear half of the fuselag sides.
3.
Lay out a piece of wax paper over the plans long enough to cover the fuselage sideview.
Use the plans as a guide to make sure the fuselage sides are straight. When everything is aligned properly glue with
thin CA glue. You don’t have to take the sides apart, the thin CA will “wick” right into the joint.
After the glue has cured, use a sanding block and make sure the joint is smooth.