Wing assembly – Carl Goldberg GBGA1069 User Manual
Page 4
1.
!
Collect the following parts:
(1) Left wing
(1) Right wing
(1) Left aileron
(1) Right aileron
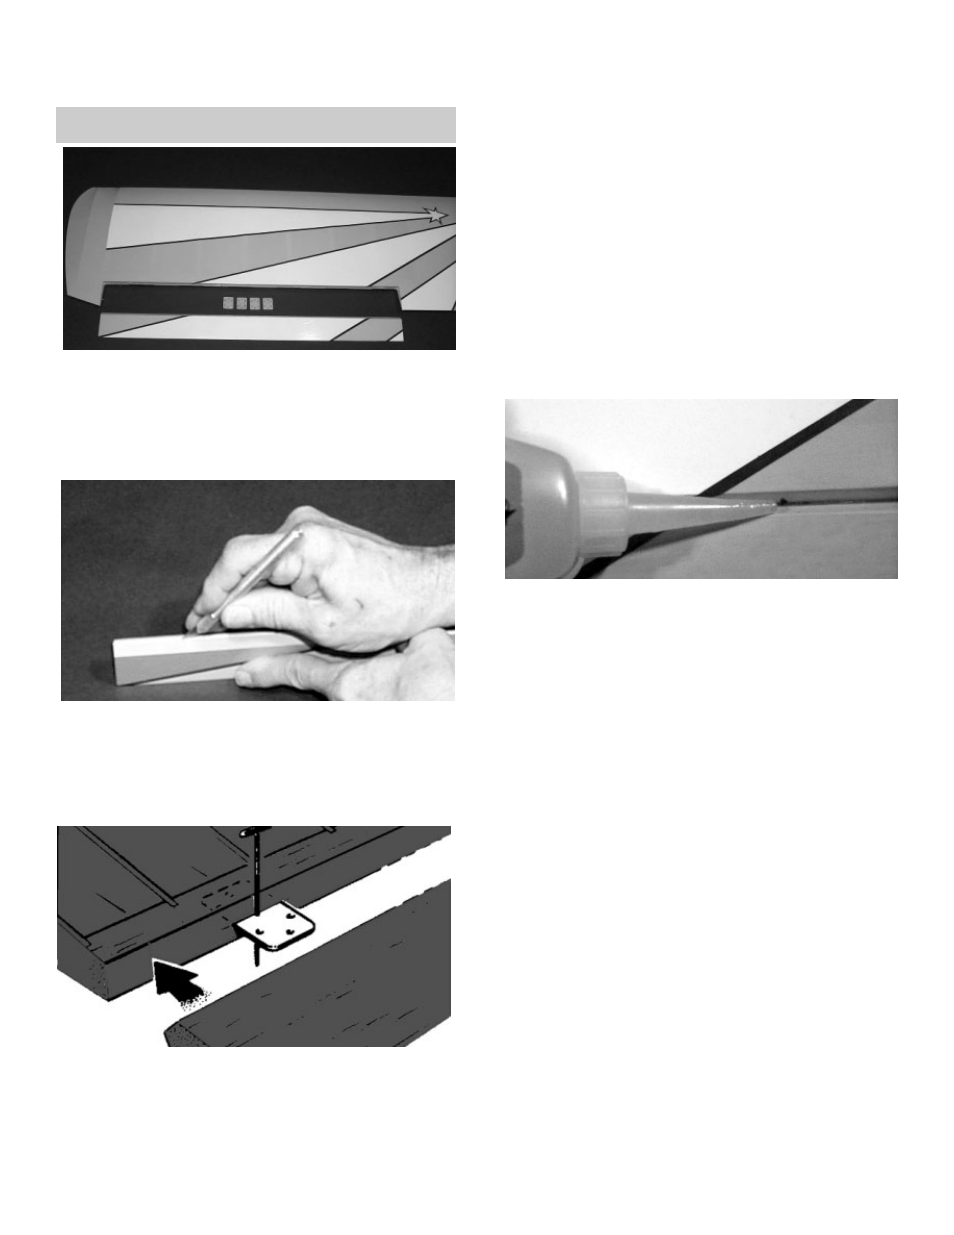
(8) Jet hinge
2.
!
Locate the pre-cut aileron hinge slots in both
wing halves. Using a hobby knife (#11 blade),
slide the blade into each slot to make sure it
is cleanly cut.
!
Repeat this process with the ailerons, mak-
ing sure all hinge slots are clean.
3.
!
Place a straight pin into the center of each of
the four JET™ hinges.
!
Slide each hinge into the hinge slots on one
of the wing halves. The pin will prevent the
hinges from going further than halfway into
the wing.
!
Slide the aileron toward the wing until no
gap remains between the aileron and the
wing.
5.
!
Carefully check the alignment of the aileron.
It should be centered, with about 1/32" on
either end.
!
When satisfied with the alignment, remove
the straight pins, being sure to keep the
aileron tight to the wing. You may wish to
apply a few pieces of masking tape to keep
the pieces in place.
6.
!
Keeping the aileron and wing in position,
apply 3 or 4 drops of thin CA glue to the
small exposed area of each hinge.
!
Turn the assembly over and again apply 3
or 4 drops of thin CA glue to the exposed
hinge surfaces.
!
Allow to dry for 10 minutes before flexing
the aileron.
7.
!
Repeat the above steps for the other half of
the wing.
WING ASSEMBLY
AILERON INSTALLATION
4.
!
Select the aileron for the wing on which you
are working and insert the exposed half of
each hinge into the aileron slots.
4