Kofax Document Exchange Server 2.0 User Manual
Page 17
Kofax Document Exchange Server Installation Guide for JBoss
Kofax, Inc.
13
X To continue with an upgrade
1
The Installer indicates that an existing version of Kofax Document Exchange Server is on
the computer, and it can be upgraded. Click Next to continue.
2
The introduction screen appears. Click Next.
3
If you have VRS installed on your system that is not part of a previous Kofax Document
Exchange Server installation, you have the option to upgrade it and clean up any leftover
files. Click OK to do this.
4
Review the Kofax Document Exchange Server license agreement and select “I accept the
terms of the License Agreement” to continue with the installation. Click Next to continue.
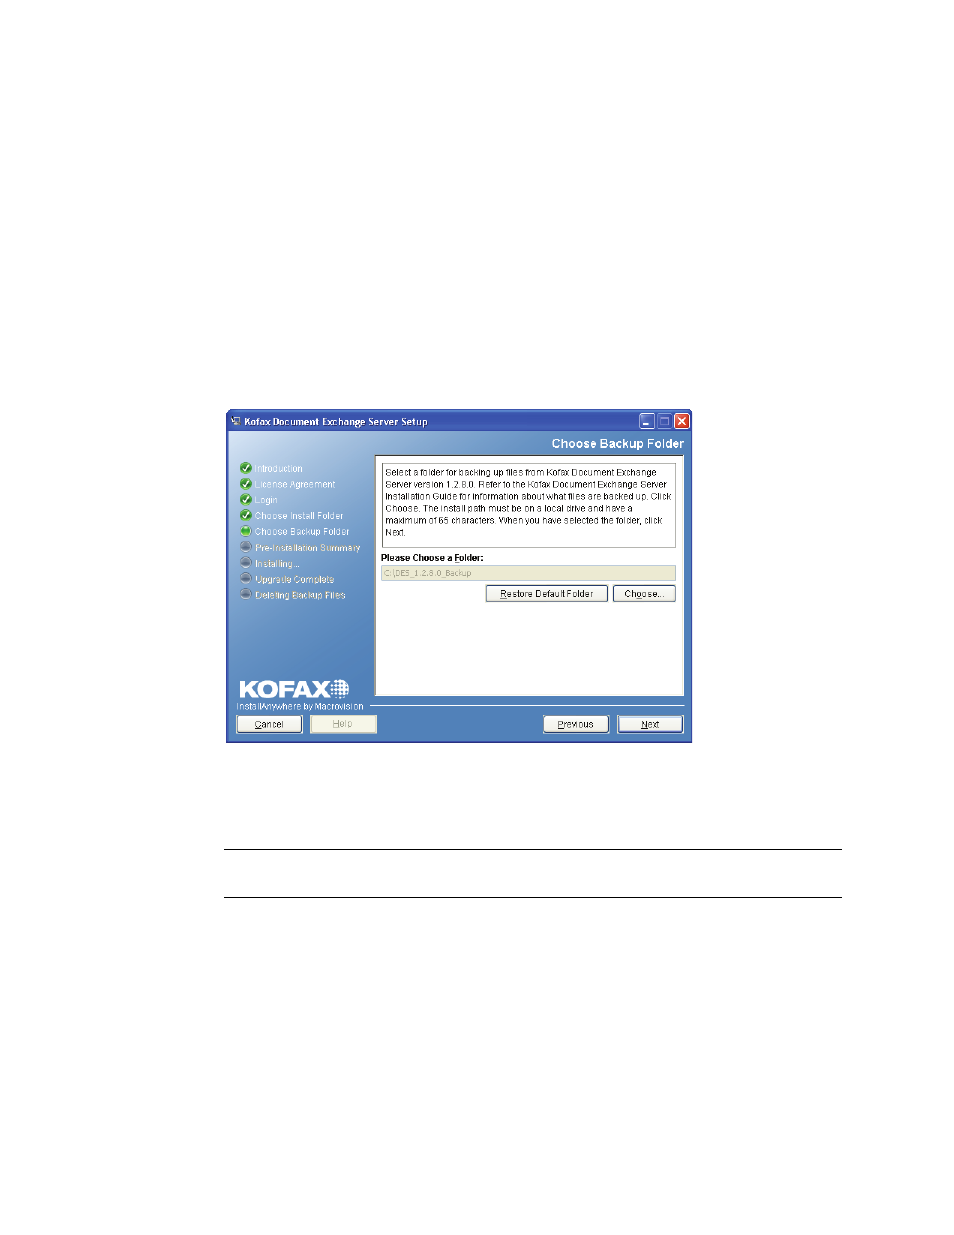
5
Select the folder that the Installer uses for its backup. Use the default folder or change it by
clicking Choose and selecting the path from the window that appears. The path must be
on a local drive and have a maximum of 65 characters. If you want to switch back to the
default folder, click Restore Default Folder. When you have selected the folder, click Next.
Figure 4. Choosing the Backup Folder
6
Review the installation settings. To start the upgrade, click Install. The Installer begins the
upgrade and indicates the status. When it is finished, it indicates whether the upgrade
was successful.
Warning
Do not close the Installer window until the upgrade is complete. Interrupting
the installation can leave the system in an unrecoverable state.
7
If the upgrade is successful, you have the option of deleting the files that were backed up
during the upgrade. Select the option if you want to delete the backup files.
8
If you have custom workflows and destinations, do the following:
Redeploy custom workflows with Kofax Administration Console. Refer to the Kofax
Administration Console Help for more information.
Reinstall custom destinations. Refer to the instructions provided with your custom
destination.