Kofax Document Exchange Server 2.0 User Manual
Page 15
Kofax Document Exchange Server Installation Guide for JBoss
Kofax, Inc.
11
X To continue with a new installation
1
You are prompted to confirm that the necessary ports are open. Refer to Open Ports on
page 4 for more information. If the ports are available for Kofax Document Exchange
Server, click OK to continue the installation.
2
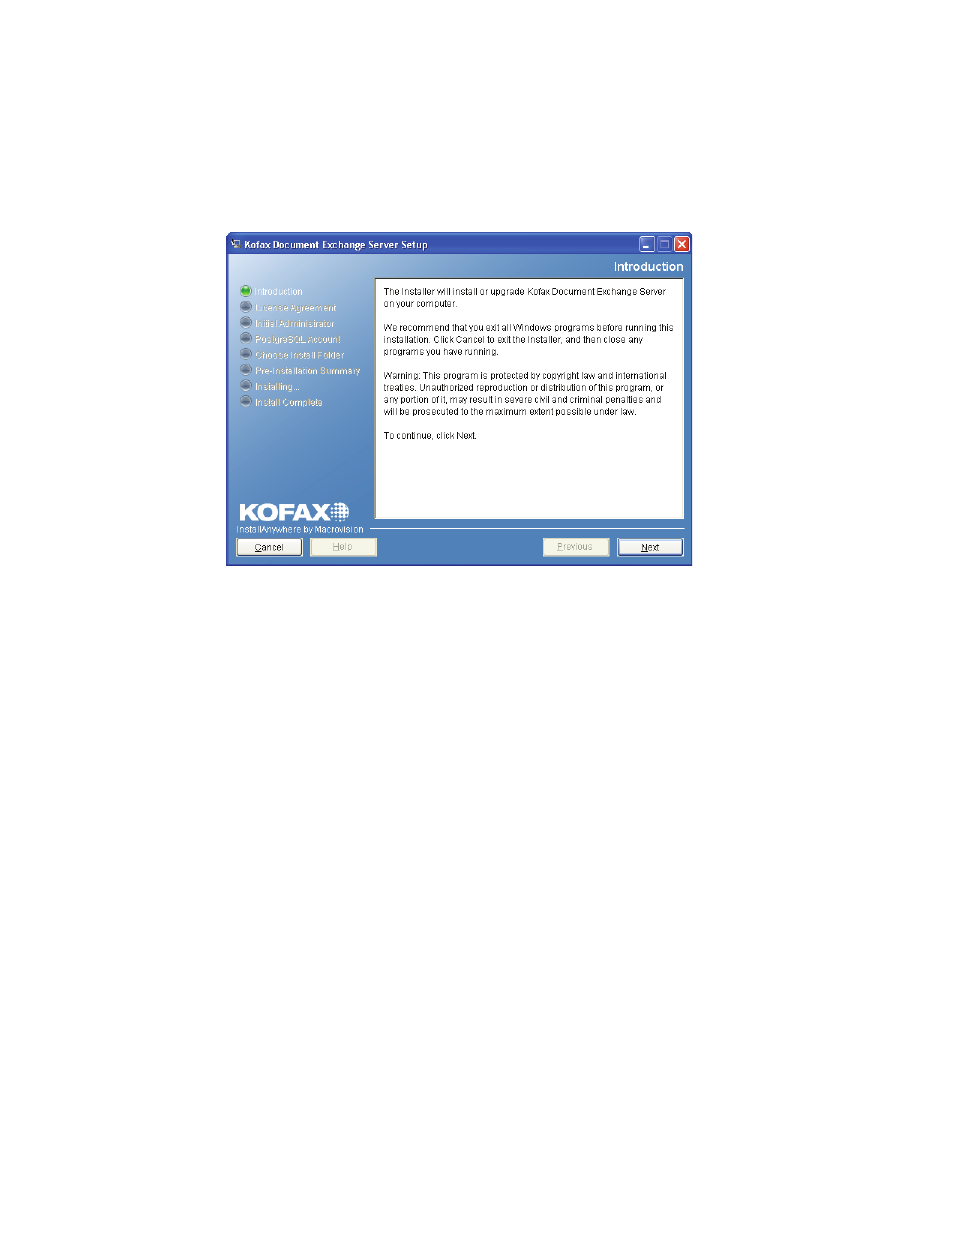
The introduction screen appears (Figure 2). Click Next.
Figure 2. Kofax Document Exchange Server Installer Introduction Screen
3
If you have VRS installed on your system that is not part of a previous Kofax Document
Exchange Server installation, you have the option to upgrade it and clean up any leftover
files. Click OK to do this.
4
Review the Kofax Document Exchange Server license agreement and select “I accept the
terms of the License Agreement” to continue with the installation. Click Next to continue.
5
Type the user name and password for the initial Kofax Document Exchange Server
administrator. Use this user account to log on to Kofax Administration Console for the
first time. The user name and password must meet the following rules:
User names must be unique on the server.
User names cannot include spaces, and the following characters are not permitted: ~ #
% * \ ; / : & ? . ' , " ` $ < + >
User names and passwords are case-sensitive.
Passwords can include spaces, but not at the beginning or end. There can be no
repeating spaces.
The password for the initial administrator cannot include the following characters that
are prohibited by the database: & $ < ' > \ * / "
You can create additional administrators by assigning the Administrator role to other
users in Kofax Administration Console.
Click Next to continue.
6
Type a password for a PostgreSQL account that the database service will use to start. Note
the following rules:
Follow the password policy established by your Network Administrator.
The following characters are not permitted: < > / "
Click Next to continue.