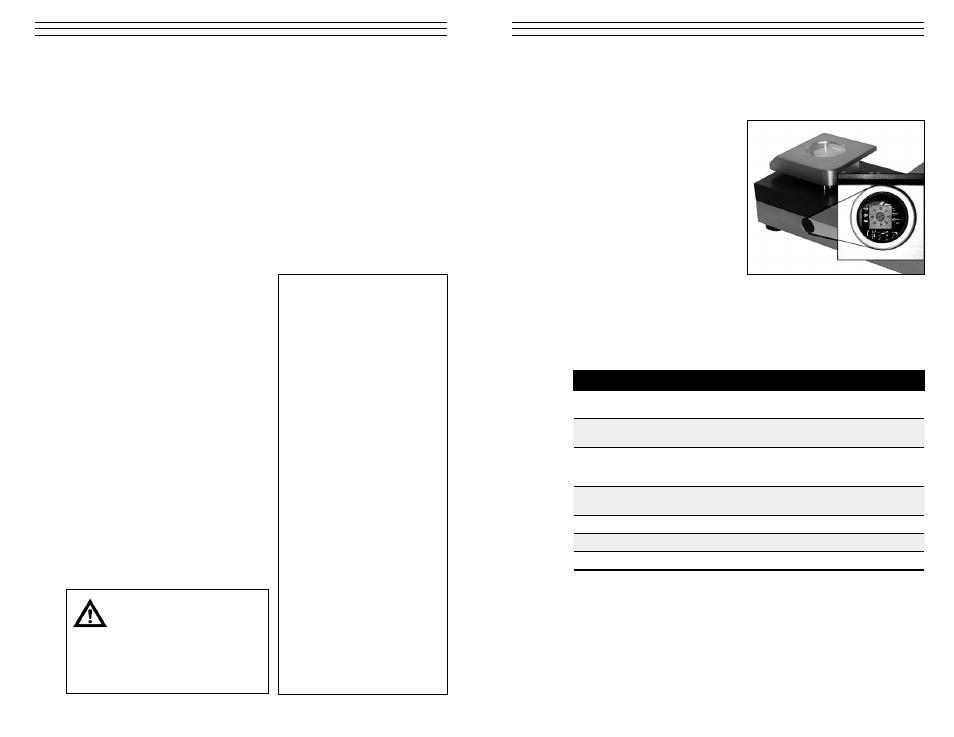
Need photo – Checkline WTTM-GEN1 User Manual
Page 7

– 7 –
6.0 B
ASIC
P
ROCEDURES
6.1 Changing the pull speed (default: 50mm/min)
The pull speed can be adjusted
according to the testing standards.
You need a small and a large screw
driver to do this. The selector switch
is protected by a screw thread cap,
in order to avoid an unintentional
manipulation of the pull speed.
To adjust the pull speed:
1. Switch off the instrument and
unplug the power supply.
2. Loosen the protection cap with
the large screw driver
(flat or phillips head?).
3. Adjust the selector switch to the desired pull speed
(How? Using the small
screw driver?)
4. Replace and tighten the protective cap.
Standard
Speed
Switch Position
DIN IEC 60352 Part 2*
25 mm/min
1
UL 486 C
DIN IEC 60352 Part 2
UL 486 C
37.5 mm/min
2
DIN IEC 60352 Part 2
50 mm/min
UL 486 C
SAE AS7928 Table II
3
SAE AS7928 Table II**
100 mm/min
4
SAE/USCAR-21
SAE/USCAR-21
150 mm/min
5
SAE/USCAR-21
200 mm/min
6
SAE/USCAR-21
250 mm/min
7
* DIN IEC 60352 Part 2 replaces DIN 4161/3 ** SAE AS7928 Table II replaces MIL-T-7928
BS5B178 corresponds to IEC 60352 Part 2 UL486A corresponds to IEC 60352 Part 2
– 14 –
10.0 C
ALIBRATION
The WTTM Pull Tester has been calibrated in accordance with factory procedures and
is certified to perform within the stated accuracy specifications shown in the
Specifications section found on page 18. Assuming the unit is handled with care
and operated as detailed in this manual it should remain accurate for an extended
time period. If however, it is subjected to forces that exceed its maximum range or
if it is not properly cared for, it might need to be recalibrated.
It is recommended that the calibration is verified at least on an annual basis and more
frequently if feasible. Normally, instruments of this type go out of tolerance from one
day to the next and rarely on a regular periodic basis.
A calibration procedure is provided in this manual, however it should only be per-
formed by individuals properly trained for this type of service and with the appropriate
certified standards (known weights or secondary force measuring system such as a
load cell, etc.).
Re-Calibration Set-up
1. Remove the lever by unscrewing it in a
counter-clockwise direction and move
the Wire Clamp assembly out from the
path of the hanging sample.
2. Position the WTTM in a vertical
position so that the keypad & display
are at the top (refer to photo). Be sure
to secure it so it can not topple over
when the weight is attached.
3. Using a heavy-duty monofilament
(fishing line), wire or similar, suspend
a 50 Kg weight from one of the teeth
on the wire terminal fixture by hooking
a loop of the material over the selected
tooth.
4. Temporarily, remove the weight and
follow the Re-Calibration Procedures
shown on page 16.
■ Make sure that the
WTTM is well secured
in the vertical position.
Caution
■ Select a material that is strong
enough to support 50 Kg of weight.
need photo
