After image, Mosaic-spotlight – Panasonic WJ-MX30 User Manual
Page 29
Attention! The text in this document has been recognized automatically. To view the original document, you can use the "Original mode".
Then press the AUTO TAKE Button (61) repeatedly. Two
versions adding different digital effects instantly can be
switched.
A-bus
B-bus
Paint + Strobe
Negative
3.
After Image
•
To reset the functions to the factory set mode, press
the POWER Button (1) off. Then while holding down
both color-A (49) and B (50) Buttons, press POWER
Button (1).
•
Select the same source input for both the A-bus and
B-bus.
• Press the STROBE Button (27).
• Press the MIX Button (52).
• Adjust the TIME Control (26) and Mix/Wipe Lever (58)
to obtain the necessary After Image.
•
If required, press the A/V Synchro Control (29) to
synchronize this effect to the audio.
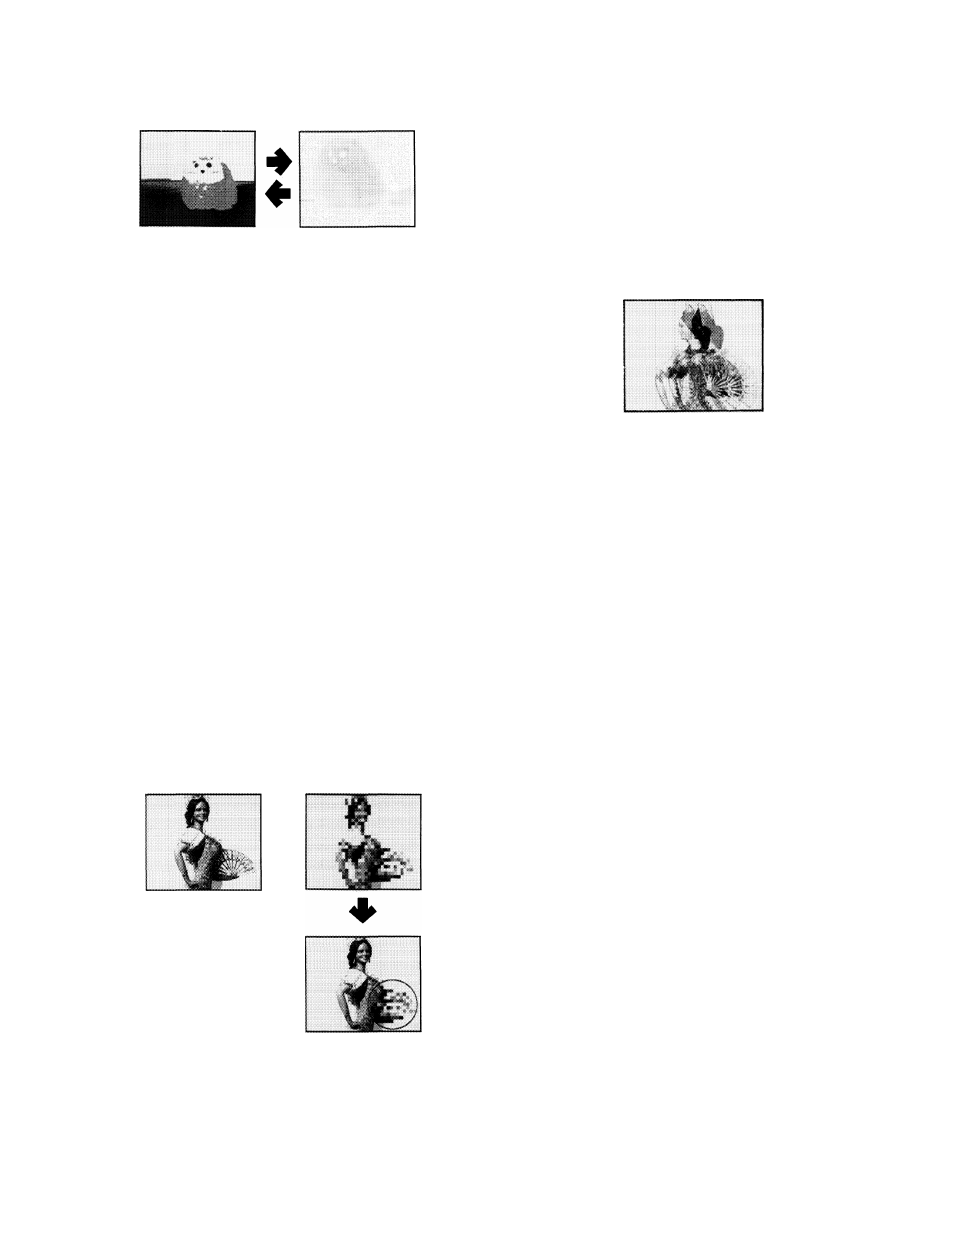
2.
Mosaic-Spotlight
•
To reset the functions to the factory set mode, press
the POWER Button (1) off. Then while holding down
both color-A (49) and B (50) Buttons, press POWER
Button (1).
•
Select the same source input for both the A-bus and
B-bus.
•
The A-bus should have no Digital Effects applied to it
by pressing A-Button (A).
• Turn the Mix/Wipe Lever (58) to the B-bus position.
•
Press the B-Button (22) on the DIGITAL EFFECT block.
•
Press the MOSAIC Button (24).
•
Press the Square Button (13) on the WIPE PATTERN
block.
•
Adjust the Mix/Wipe Lever (58) to obtain the desired
wipe size.
•
Press the Positioner ON/OFF Button (45).
•
The Positioner Joystick (46) now controls the location
of the mosaic image.
•
If the border is desired to highlight the "anonymous”
area, press the EDGE Button (16) on the WIPE PATTERN
block.
•
If the Reverse function (REVERSE Button (12)) and/or
the Monochrome function (MONO Button (32)) is added,
more highlight effect can be produced.
Bus A
Bus B
-
27
-