Auto looping, The a - slot, Loop roll – Rane MP 4 Manual 1.9.2 User Manual
Page 17: Loop roll with midi
RANE MP 4
FOR
SERATO SCRATCH LIVE
•
OPERATOR’S MANUAL
1.9.2
17
off, disable the adjust loops with vinyl option
in the setup screen. There are 9 available loop
slots per track. If a loop is set in a given slot,
the background (behind the loop number) will be
green. Press the x button to clear the loop. If you
click on the locked loop symbol, a red border
will appear. This indicates the loop is locked, and
you will not be able to adjust the end points or
delete the loop until you unlock it, by clicking on
the number again.
NOTE: Looping applies to rel and int modes.
auTO LOOpING
Auto looping allows
you to create loops
instantly. If the track has
a BPM value simply click the number of bars you
wish to loop and Scratch Live will create the loop
for you. The loop is snapped to the beats in the
song detected by Scratch Live so even if you
press the button slightly out of time Scratch Live
will still create a perfect loop for you.
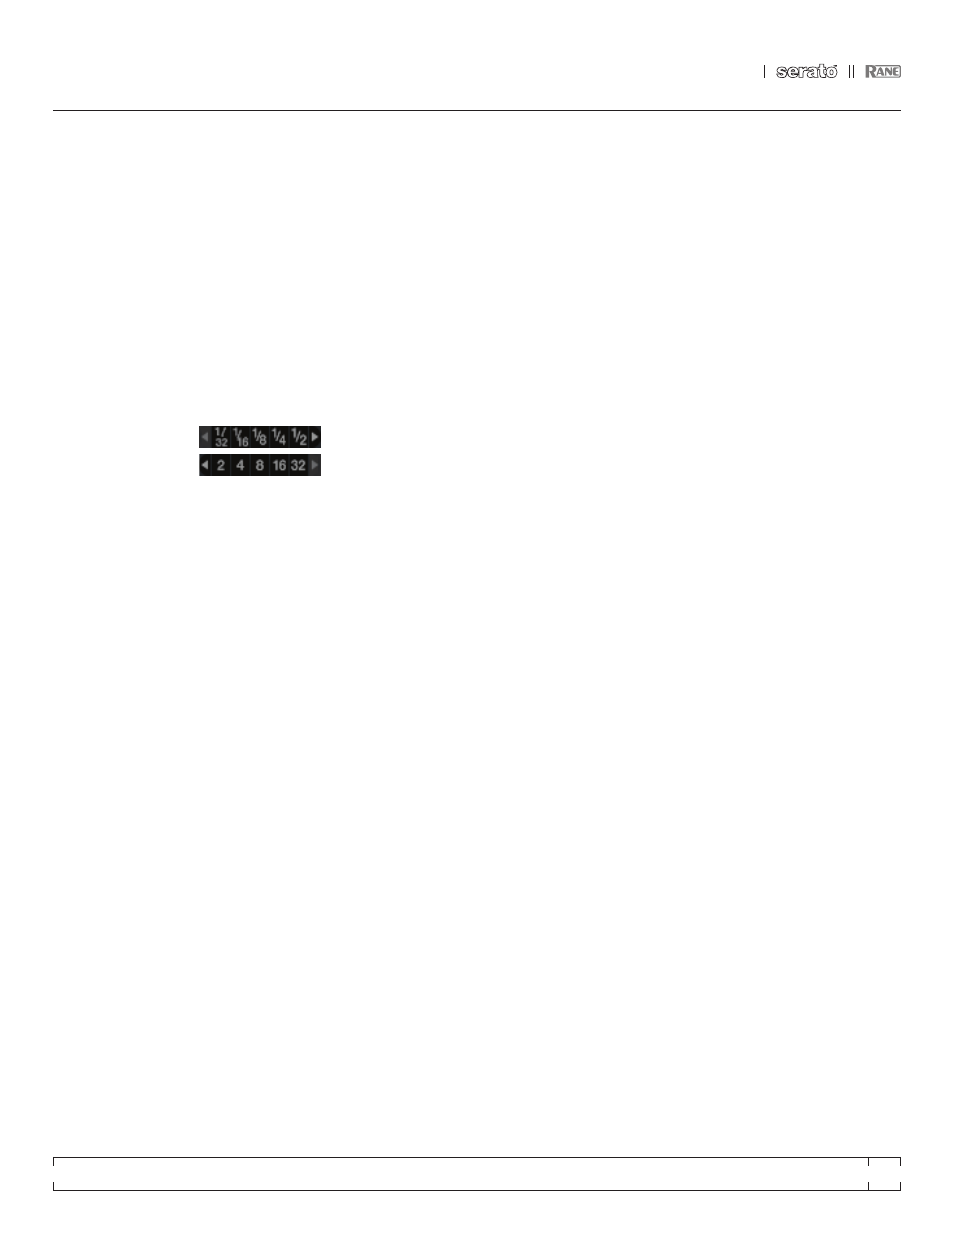
Five auto-loop buttons are available on screen
at any one time. They range from 1/32 to 32
bars. The user can select the auto loop range
with the
and buttons.
Pressing an auto-loop button will create a loop
start point from the nearest beat to the playhead
(within reason), and set a loop endpoint in the
future. Pressing auto-loop 1 while auto-loop
1 is active will deactivate the loop. Pressing a
different auto-loop button while looping is active
will extend the endpoint of the current loop to
the appropriate new auto-loop length.
You can also save an auto-loop to the next
available slot. When using an auto-loop, a save
button is visible where the lock loop button
normally is.
NOTE: auto-looping requires the track Bpm
to be set.
SEE “SET auTO-Bpm” ON paGE 12.
ThE a - SLOT
A special loop slot ‘A’ exists for auto-looping. The
act of using the auto-loop buttons sets a loop in
the ‘A’ slot, following the rules above. Turning
a loop off using the auto-loop buttons returns
you to the loop slot that you were previously in
at the time you started auto- looping. Turning
the loop off using the ‘loop’ button leaves you
in the ‘A’ slot. The ‘A’ slot is not saved to disk
automatically, pressing ‘save’ saves the loop to
the first empty slot in 1-9.
Auto-looping shortcut keys are alt-1 to 5 for
the left deck, and alt-6 to 0 for the right deck.
They correspond to the looping buttons as laid
out on screen. ie. if the onscreen buttons display
1 2 4 8 16 bar loops, alt-1 triggers 1 bar loop,
and alt-5 triggers a 16 bar loop.
LOOp ROLL
Loop roll performs a standard auto-loop, but
when the loop is turned off, the playback position
is returned to the position where it would be if it
had not entered the loop (much like censor).
The other difference between loop roll
and standard autoloop is the ‘roll’ button is
momentary. The loop is engaged when the
button is pressed down, and disengaged when
the button is released. Use short loop lengths to
create “stutter” type effects.
To activate loop roll, hold control + alt while
clicking on the desired autoloop increment, or
use the
keyboard shortcuts: control + alt + 1
through 5 for the left deck and control + alt + 6
through 0 for the right deck. (ie. the same as the
autoloop controls with the additional ‘alt’ key as
a modifier).
The range of values available for loop roll
are 1/32 through to 32 bars. The shortcut keys
will activate whichever loop lengths are visible
on screen, i.e., if you have lengths of a 1/4 bar
through to 4 bars visible for the left deck, control
+ alt + 1 will activate a 1/4 bar loop roll, control +
alt + 2 will activate a 1/8 bar loop roll and so on.
Use the
and buttons to toggle through
the range of possible lengths visible on screen.
LOOp ROLL WITh mIdI
You can assign loop roll to MIDI in several ways:
After pressing the MIDI assign button in Scratch
Live, press the control + alt keys, click on an
auto-loop value, then click on the button/slider
you want it mapped to on your MIDI controller.
Alternatively, you can assign the singular loop
roll button to MIDI, then assign a MIDI knob or
slider on your controller to the autoloop select
knob (visible in the MIDI assign panel area when
in MIDI assign mode) to change the values on
the fly.
TIp: When you have the “autoloop Select”
knob assigned to mIdI, you have all of the
loop roll lengths at your disposal. This allows
you to roll up and down the loop length scale,
to create interesting stutter and build-up
effects.
NOTE: Like autoloop, loop roll requires a Bpm
value written to the Id3 tag in order to work.
Build overviews with the “set auto-bpm” box
checked and the proper range for your music
selected to ensure an accurate Bpm value.