4 - i, Nstallating, Your – Vintage Cellars Transtherm Double Ermitage Solid Door Black User Manual
Page 7: Wine, Cabinet
7
GB
Unpacking
•
When your cabinet is delivered, check the outside for signs of damage
(impact, warping…).
•
Open the door and check that the various elements inside are intact
(walls, hinges, bottle support…).
•
Remove the protective elements inside your cabinet.
•
If there is a problem, contact your Transtherm retailer.
Installation
Place your cabinet in the desired location.
It must:
•
be open to the outside and well ventilated (not in an enclosed
cupboard, for example),
•
not be too damp (utility room, laundry room, bathroom...),
•
have a flat, stable floor,
•
be supplied with power (standard outlet, 16 A, earthed with 30mA*
circuit breaker). (* not applicable to some countries).
Precautions
•
Do not place your cabinet in an area liable to flood.
•
Do not place your cabinet close to a source of heat or expose it to
direct sunlight
•
Prevent water from splashing on any parts of the rear of the machine.
•
If you are installing your cabinet under a work surface, leave a minimum
space of 5 cm at the sides and at the top of your cabinet. We recommend
that you create an air vent in the work surface.
•
Arrange the power lead so that it is accessible and does not come into
contact with any of the appliance’s components.
•
Tilt the cabinet slightly backwards in order to adjust the front feet (by
screwing or unscrewing them) so that you can level your cabinet (spirit
level recommended).
•
Place the humidity cartridge (which you will find in your cabinet’s
“accessories” bag) at the bottom of the cabinet, under the grill, in the
specially provided tray (see diagram below). When using for the first time,
immerse the entire cartridge in water for a few minutes to saturate it then
drain it thoroughly.
•
Install the stop (which is located in the accessories bag) at the back of
the cabinet (see diagram).
•
This allows a space of 7 cm to be maintained between the wall and the
rear of the cabinet. This space allows your cabinet’s power consumption to
be optimised.
•
Place the 2 caps in
the 2 holes at the top of the
cabinet.
•
Do not push the caps
all the way in, in order to
allow the rear stop to be
installed.
•
Slide the rear stop
between the caps and the
wall of the cabinet, then push
the 2 caps all the way in.
•
Place your cabinet in
the desired location.
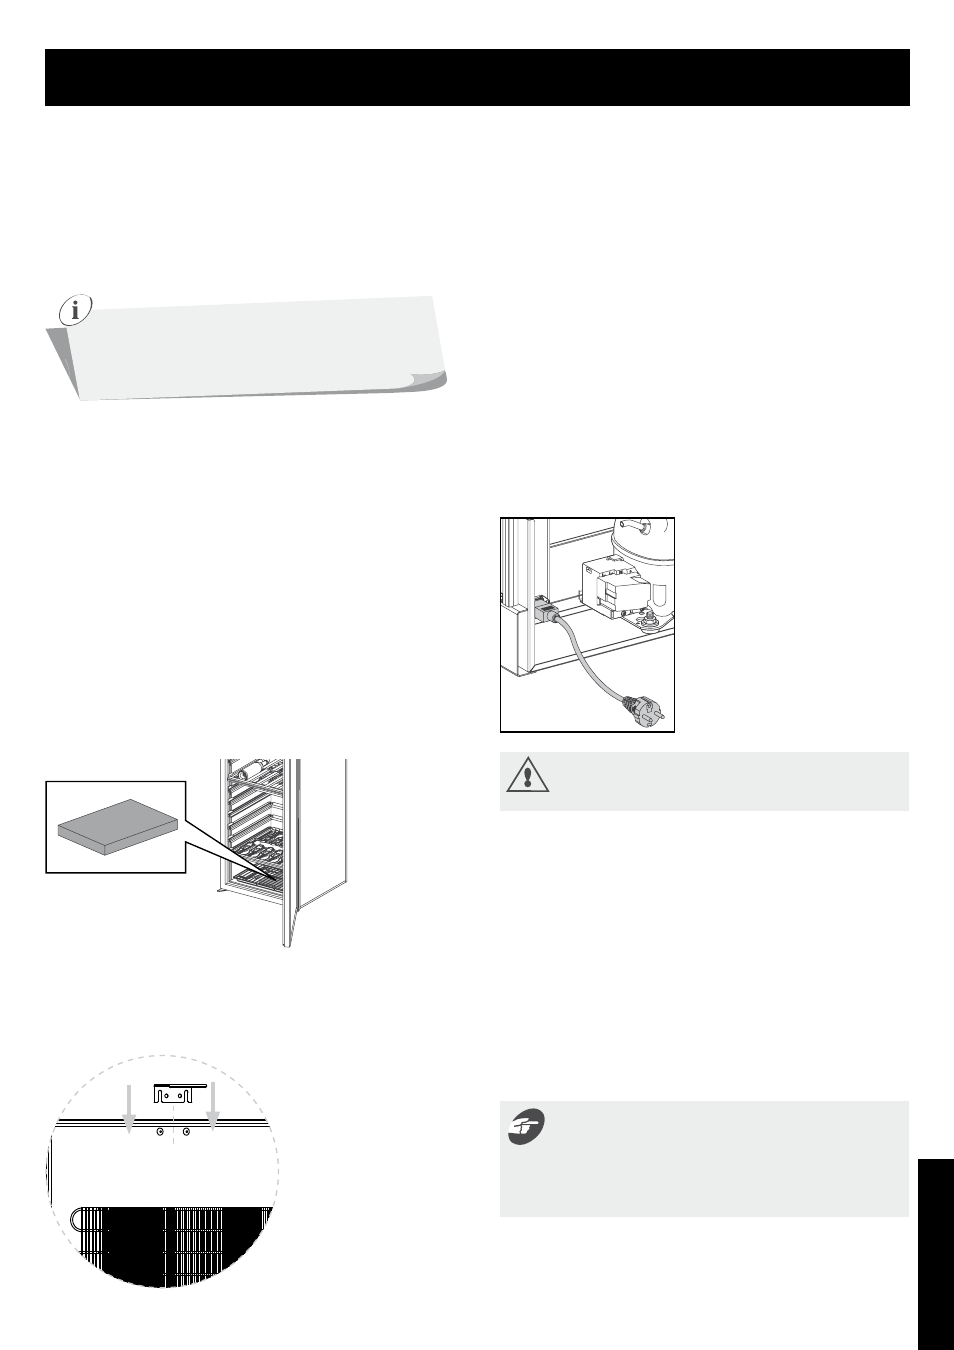
•
Take the lead (which you will find in your cabinet’s “accessories” bag)
and plug it into the connector, located at the back of the cabinet, on the
bottom left-hand side (see diagram below).
•
Wait 48hrs before plugging in your cabinet
Replacement of the LEDs on the control panel must
only be carried out by a qualified electrician.
When moving your cabinet,
never tilt it more
than 45°, and always on
its side (on the
opposite side of the flexible lead).
Bottles must be arranged so that they do not come into contact
with the back wall. If this happens, the condensation created on
the wall may trickle onto the shelves and damage the bottle
labels. In addition, contact with the cold wall may create a frost point,
which is harmful to your wine.
4 - i
nstAllAting
your
Wine
cABinet