Replacing the right-side middle panel, Removing the right-side bottom panel – Dell Alienware Aurora R3 (Early 2011) User Manual
Page 40
Replacing the Right-Side Middle Panel
1.
Follow the instructions in
Before You Begin
.
2.
Align the right-side middle panel on top of the right-side bottom panel.
3.
Replace the two screws that secure the right-side middle panel to the chassis.
4.
Replace the lighting board (see
).
5.
Replace the right-side top panel (see
Replacing the Right-Side Top Panel
).
6.
Connect your computer and all attached devices to electrical outlets, and turn them on.
Removing the Right-Side Bottom Panel
1.
Follow the instructions in
Before You Begin
.
2.
Remove the hard-drive fan assembly (see
Removing the Hard-Drive Fan Assembly
).
3.
Remove the power-supply cover (see
Removing the Power Supply
).
4.
Disconnect the DC wire harness from the power supply.
5.
Remove the right-side top panel (see
Removing the Right-Side Top Panel
6.
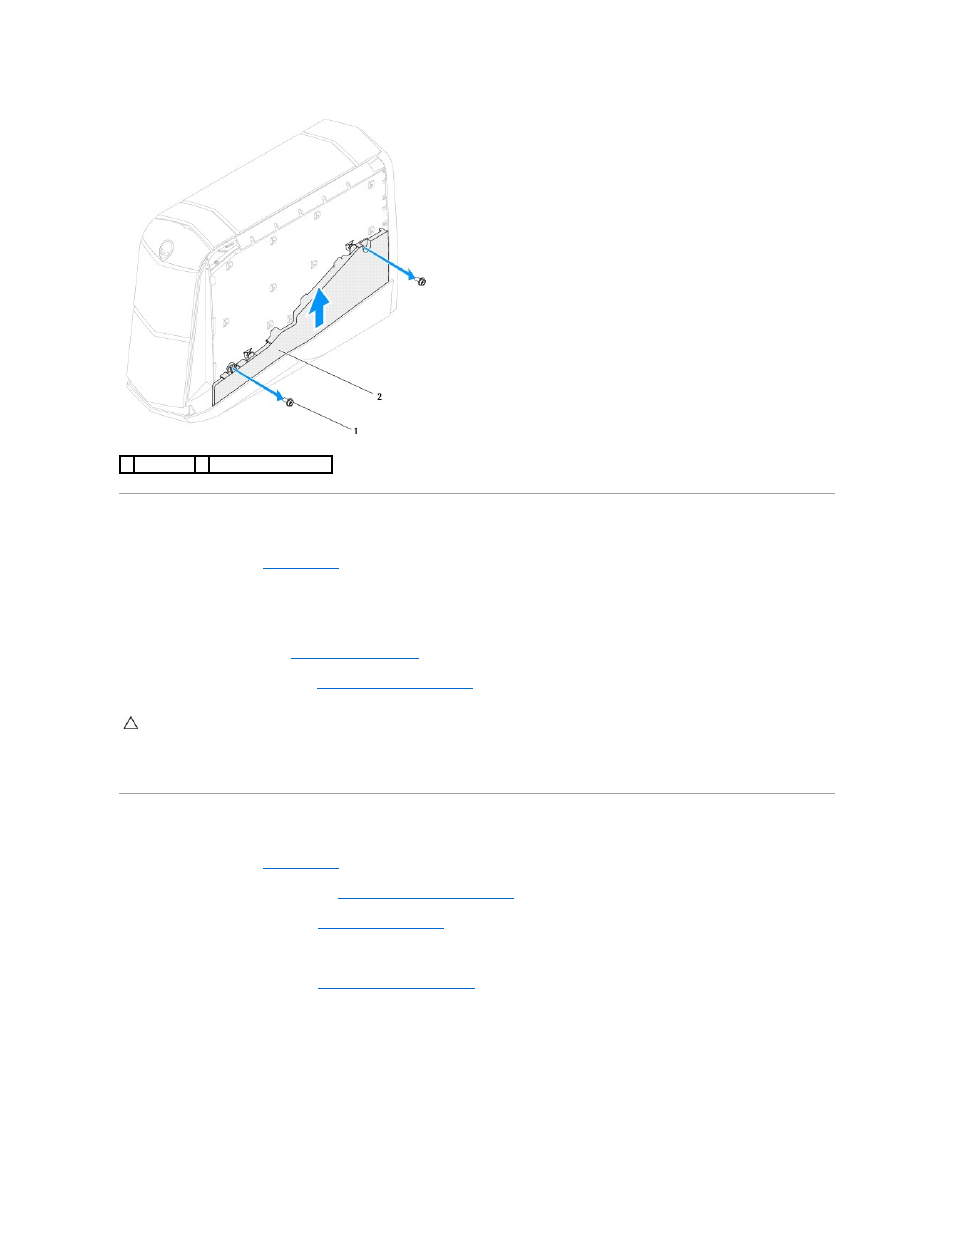
Remove the two screws that secure the right-side bottom panel to the chassis.
1 screws (2)
2 right-side middle panel
CAUTION:
Before turning on the computer, replace all screws and ensure that no stray screws remain inside the computer. Failure to do so may
result in damage to the computer.